AshSerigala
Member
- Thread starter
- #1
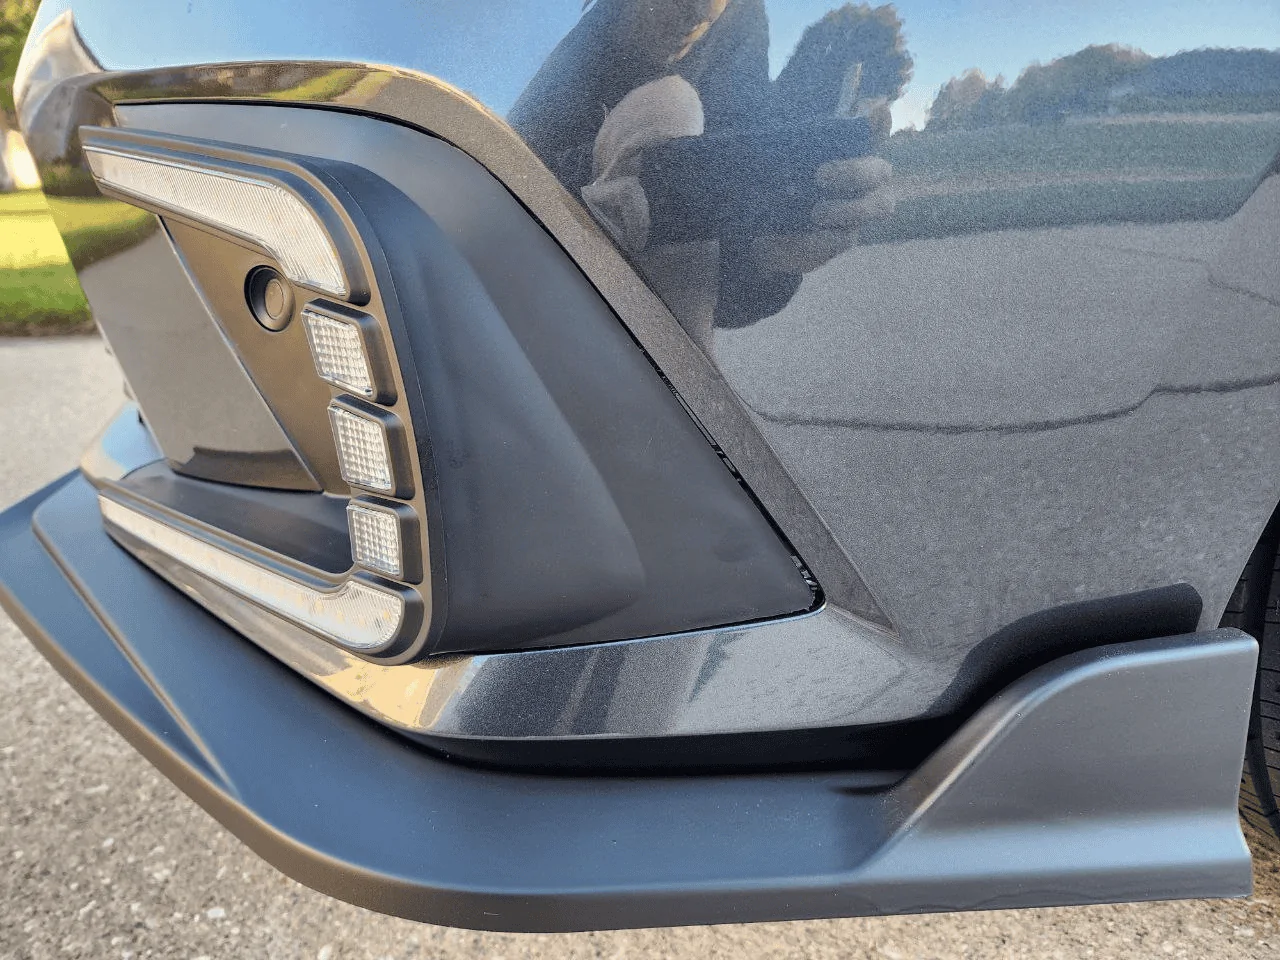
Hello! I decided I wanted to jump into seeing how these LED trims look around the foglights. It's a style I sorta prefer to see, as I always felt the trim around the foglights was so pronounced in shape, yet..dull. I guess that's not a bad thing, as its more calm looking? Well, Either way. I wanted to have a go at installing these LED trims that I've seen a few people do and personally found them to look pretty neat! I've yet to INSTALL them, this is more "My experience along the way"
First and foremost, I would like to say these DO NOT natively fit the sport-touring trim. The Touring has parking sensors built into these parts. The aftermarket LED trims, do not. There for it is NOT plug and play without modifications.

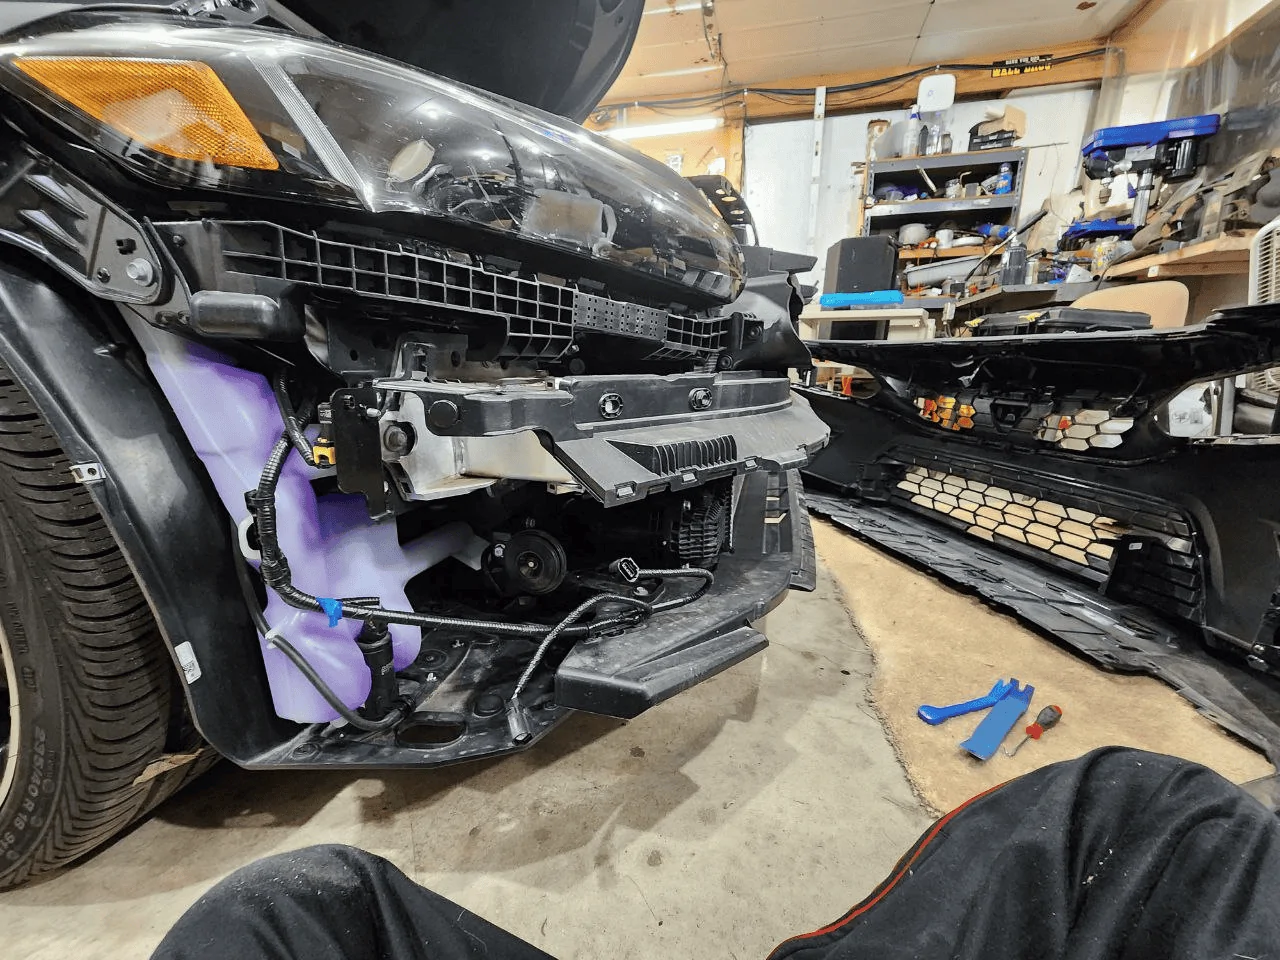
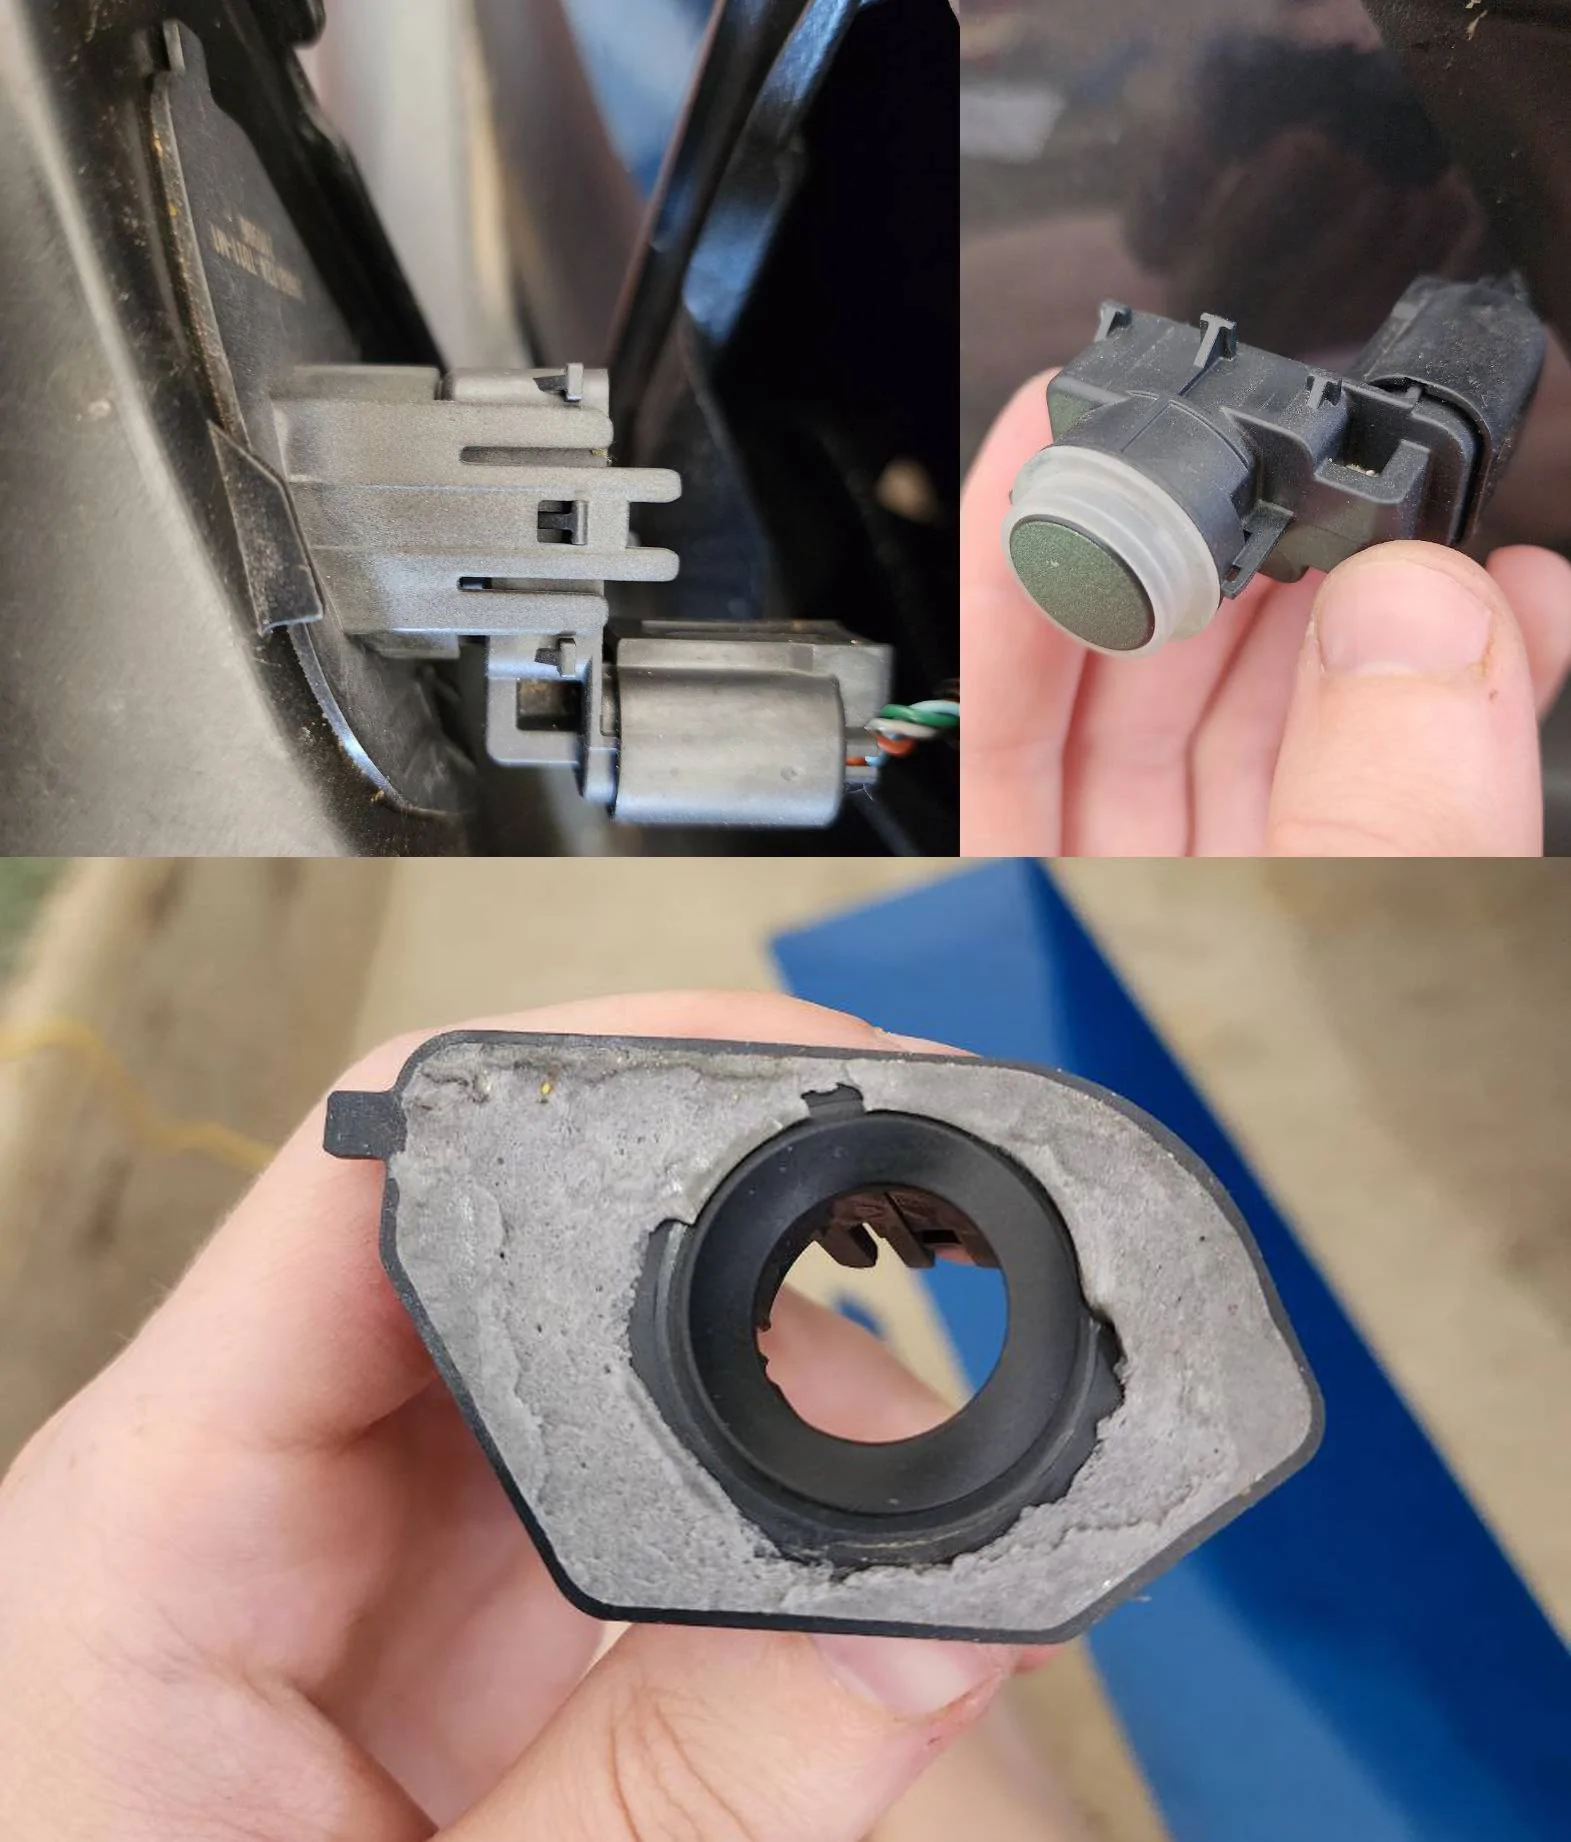
That all said, Lets begin. First off, I wanted to take a peak at what I'm dealing with. I wouldn't really entitle myself a "Car person" I'm a computer geek and CNC fanatic. I didn't want to take the bumper off to get to these, so I used shim-stock and prybars to aid at removal, to see how these things work. After popping the unit out, I was finally able to see the back side of the parking sensor. The unit itself is held on via 2 clips. This simply pops out revealing the sensor. The plastic part it connects to, is literally double-sided taped on. This is nothing more than a curved thin piece of plastic. It in no way "clips" onto anything, Tape only.

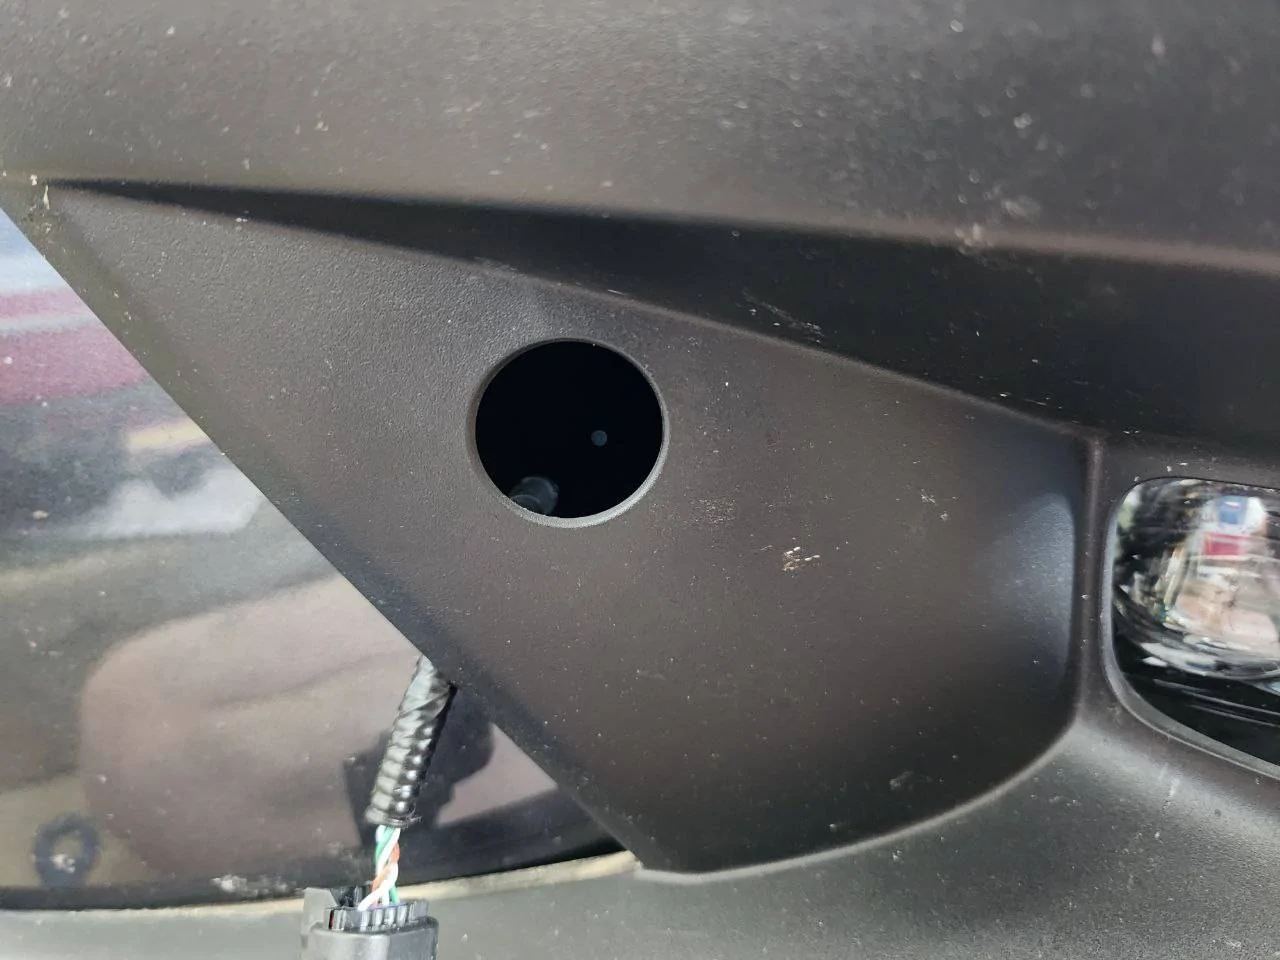
So, the spot for the sensor is literally nothing more than a roughly 28mm diameter hole with a chamfer around it. The backside is much the same. Nothing to it.

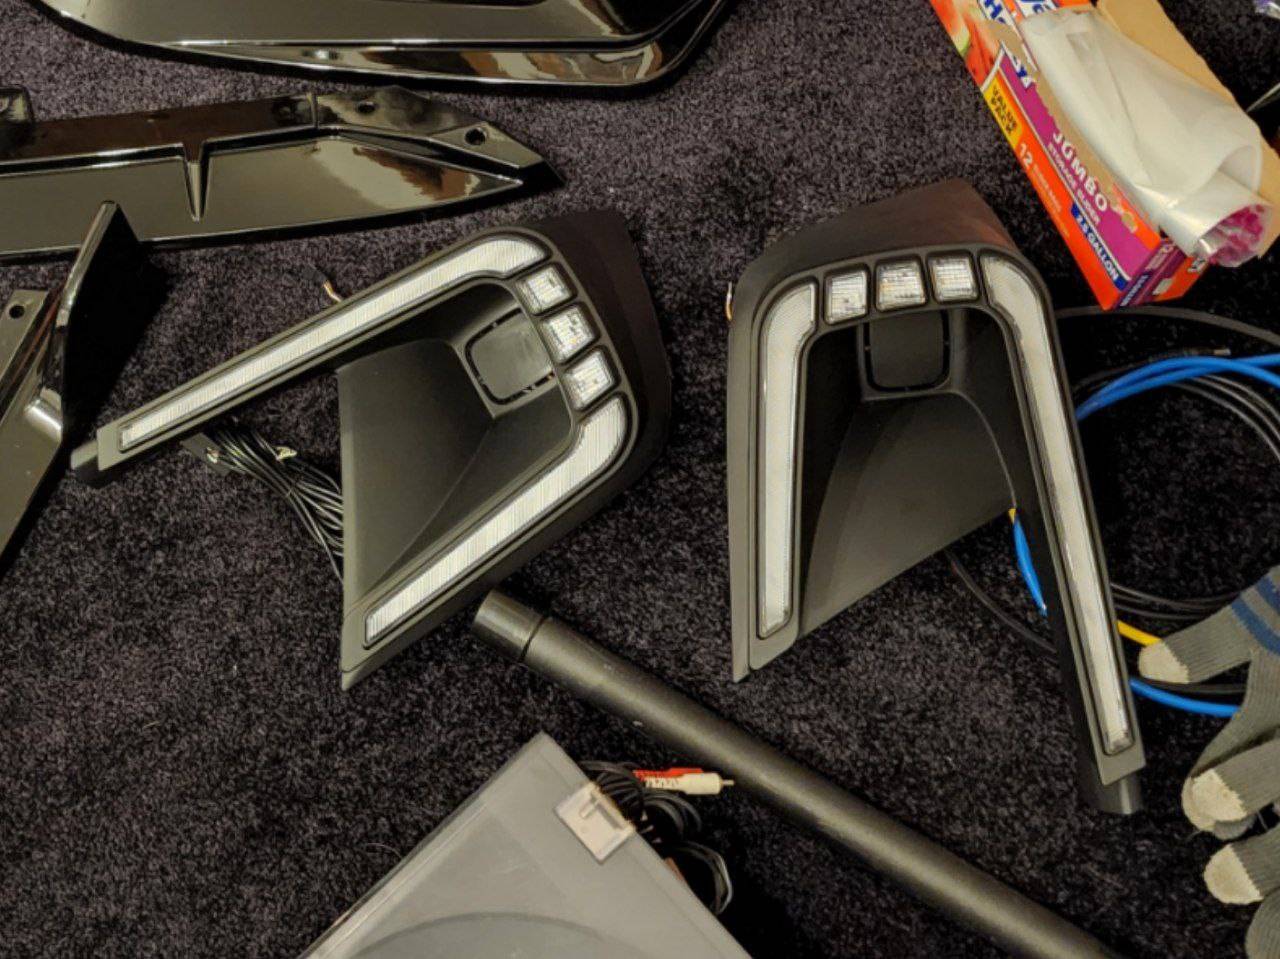
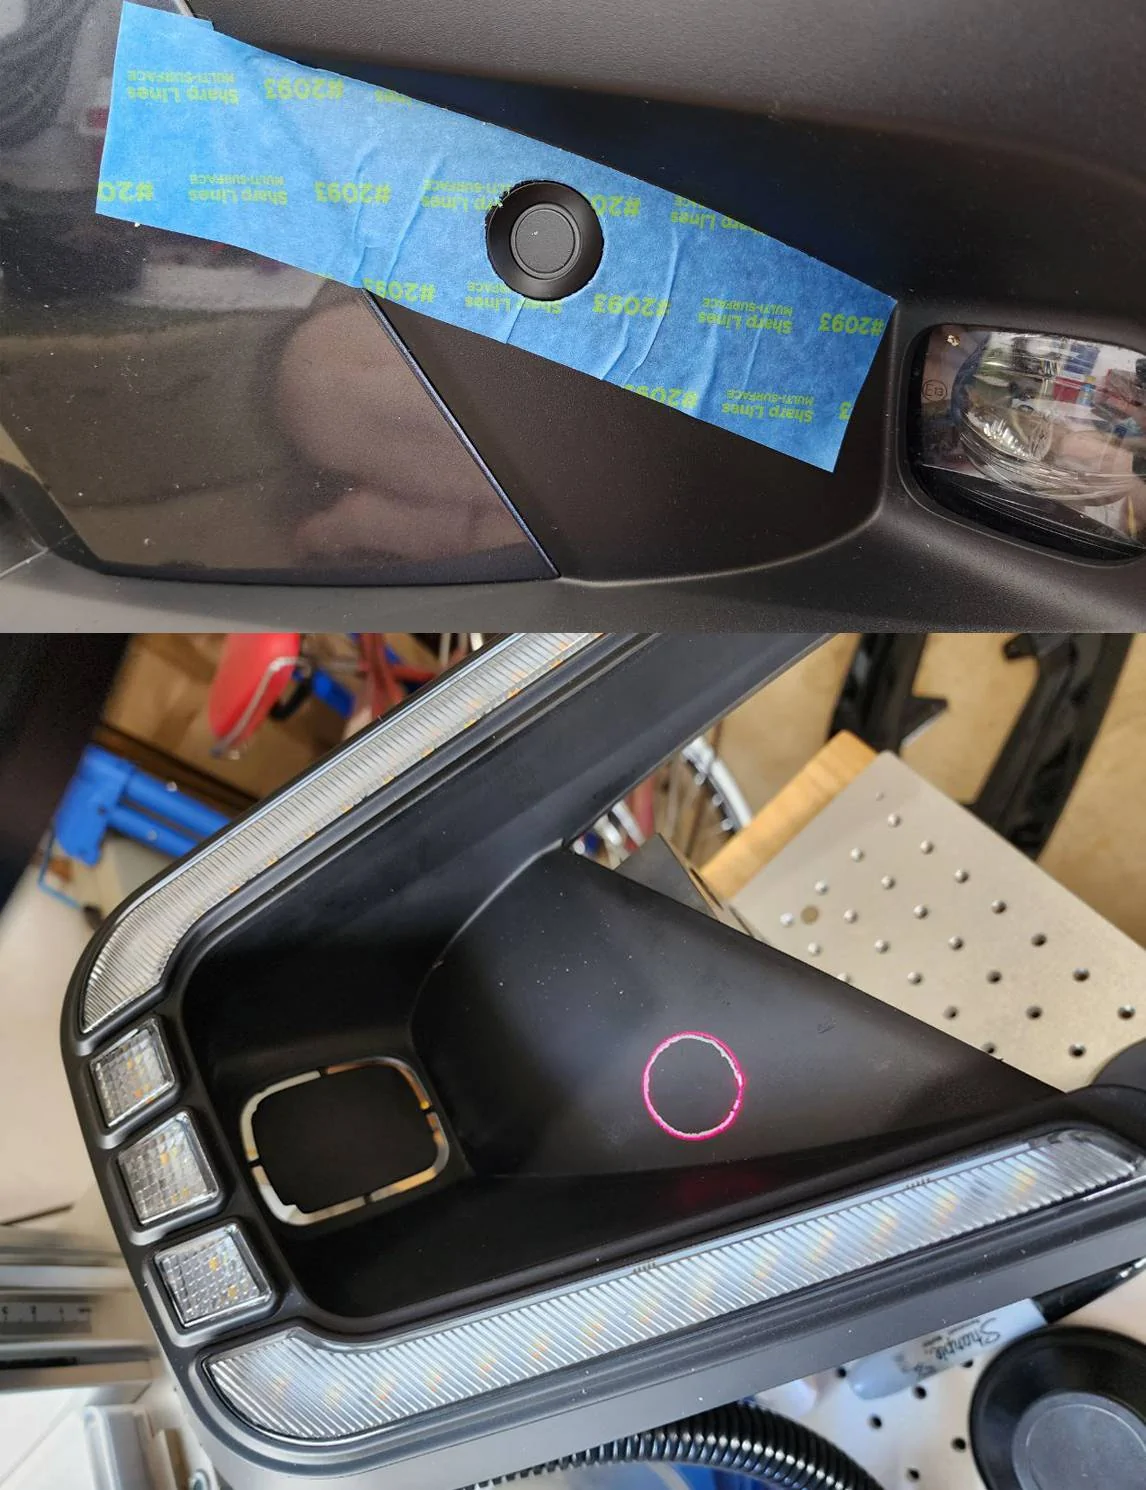
So, now knowing what I'm dealing with, I decided to mod the aftermarket parts. I used painters tape to follow the contour, top edge of the trim. Something that I know I could use as a reference and repeat it fairly well. It was easy to see the indent of the sensor, to cut it out in the tape. Simply placed it on the aftermarket part and roughed the circle shape with a sharpie marker. From there because I was too lazy to figure out how I'm going to drill a 28mm perfect hole in a curved surface, my easiest solution was to just shove it into the laser etcher and buzz a quick 28mm circle. Laser light follows the contour so..couldn't be any simpler.

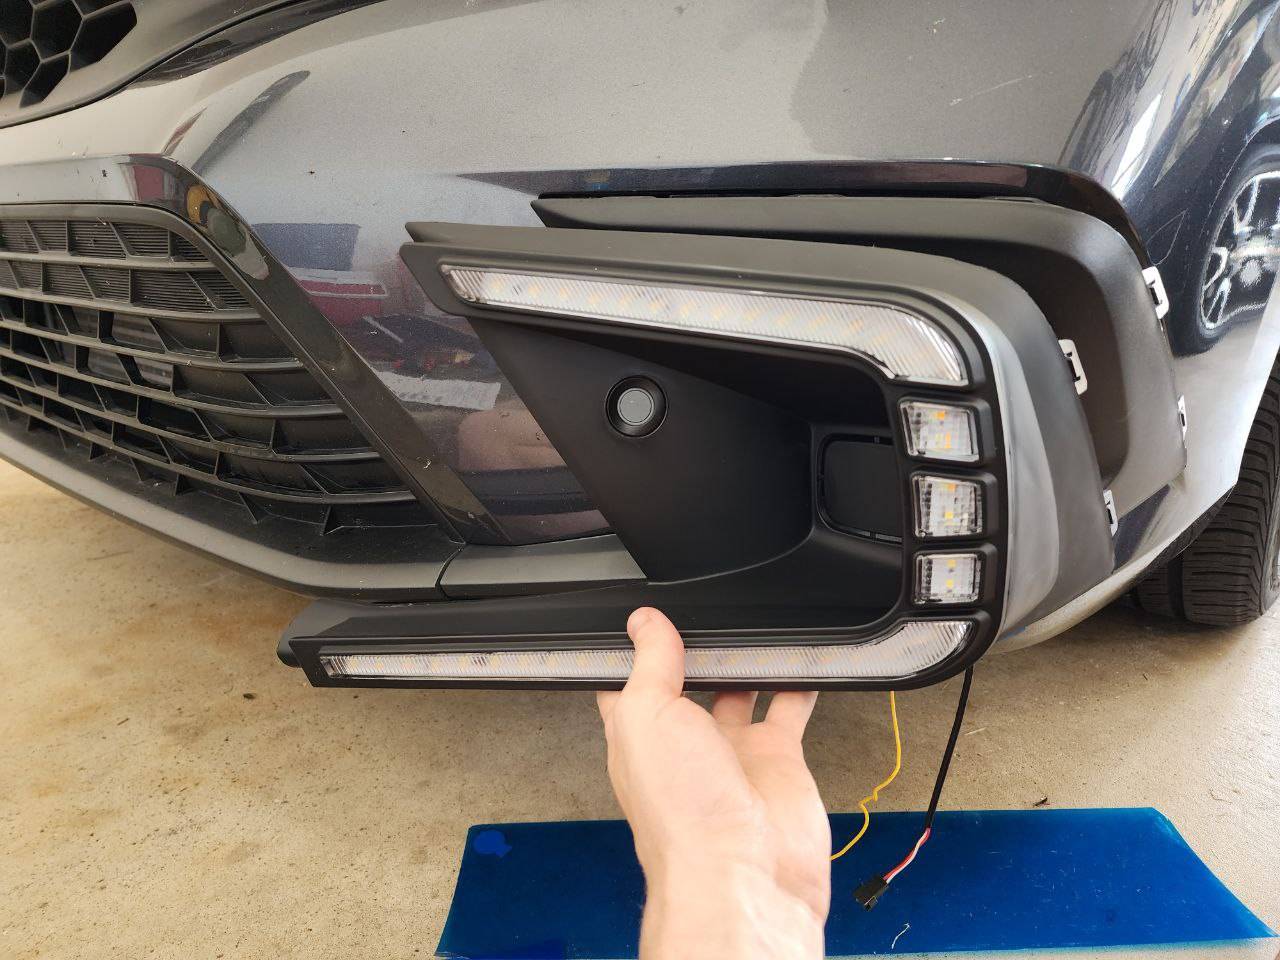
The end result is a parking sensor installed onto the aftermarket parts a test fit. Aside the fact my hole is sharp-edge and not chamfer, it looks pretty identical to the stock sensor installment. Honestly couldn't be happier with how overly easy it was, as I've seen some pretty crazy ways these sensors mount. Thank you Honda for just plowing a sensor onto a flat-plate with double sided tape hahaha.
And yeah! Like said, this isn't installed yet. This was prep for installment and I got farther than expected, as I didn't plan for it to be so easy. I half assumed I was going to be doing 3D printed parts and buying spare sensors...NOPE! Got my oil change next week & after some talks with the dealership, I'm going to finally rip that bumper off and properly install them and cable-manage. I honestly don't use the parking sensors. Never have I needed to park right on top of someone's bumper or right against a wall. Even then, It's not hard to just sit up higher and see the scoop of my hood and know where I'm at. Gotta keep the car's system happy though. Pretty excited to get these running. Just thought I'd share my findings and post pictures incase anyone else is looking to do similar and goes "Wait...I have parking sensors..dang-it!" When the answer is -- That's fine. Use a step drill or something and do your best to mark a 27-28mm hole and you'll be 100% fine.
First and foremost, I would like to say these DO NOT natively fit the sport-touring trim. The Touring has parking sensors built into these parts. The aftermarket LED trims, do not. There for it is NOT plug and play without modifications.
That all said, Lets begin. First off, I wanted to take a peak at what I'm dealing with. I wouldn't really entitle myself a "Car person" I'm a computer geek and CNC fanatic. I didn't want to take the bumper off to get to these, so I used shim-stock and prybars to aid at removal, to see how these things work. After popping the unit out, I was finally able to see the back side of the parking sensor. The unit itself is held on via 2 clips. This simply pops out revealing the sensor. The plastic part it connects to, is literally double-sided taped on. This is nothing more than a curved thin piece of plastic. It in no way "clips" onto anything, Tape only.
So, the spot for the sensor is literally nothing more than a roughly 28mm diameter hole with a chamfer around it. The backside is much the same. Nothing to it.
So, now knowing what I'm dealing with, I decided to mod the aftermarket parts. I used painters tape to follow the contour, top edge of the trim. Something that I know I could use as a reference and repeat it fairly well. It was easy to see the indent of the sensor, to cut it out in the tape. Simply placed it on the aftermarket part and roughed the circle shape with a sharpie marker. From there because I was too lazy to figure out how I'm going to drill a 28mm perfect hole in a curved surface, my easiest solution was to just shove it into the laser etcher and buzz a quick 28mm circle. Laser light follows the contour so..couldn't be any simpler.
The end result is a parking sensor installed onto the aftermarket parts a test fit. Aside the fact my hole is sharp-edge and not chamfer, it looks pretty identical to the stock sensor installment. Honestly couldn't be happier with how overly easy it was, as I've seen some pretty crazy ways these sensors mount. Thank you Honda for just plowing a sensor onto a flat-plate with double sided tape hahaha.
And yeah! Like said, this isn't installed yet. This was prep for installment and I got farther than expected, as I didn't plan for it to be so easy. I half assumed I was going to be doing 3D printed parts and buying spare sensors...NOPE! Got my oil change next week & after some talks with the dealership, I'm going to finally rip that bumper off and properly install them and cable-manage. I honestly don't use the parking sensors. Never have I needed to park right on top of someone's bumper or right against a wall. Even then, It's not hard to just sit up higher and see the scoop of my hood and know where I'm at. Gotta keep the car's system happy though. Pretty excited to get these running. Just thought I'd share my findings and post pictures incase anyone else is looking to do similar and goes "Wait...I have parking sensors..dang-it!" When the answer is -- That's fine. Use a step drill or something and do your best to mark a 27-28mm hole and you'll be 100% fine.