OP
OP
PRL Motorsports
Premium Performance Products
- Joined
- Jan 26, 2017
- Threads
- 72
- Messages
- 1,107
- Reaction score
- 1,004
- Location
- Export, PA
- Website
- prlmotorsports.com
- Vehicle(s)
- 2022 Civic Si, 2023 Civic Type-R
- Thread starter
- #16
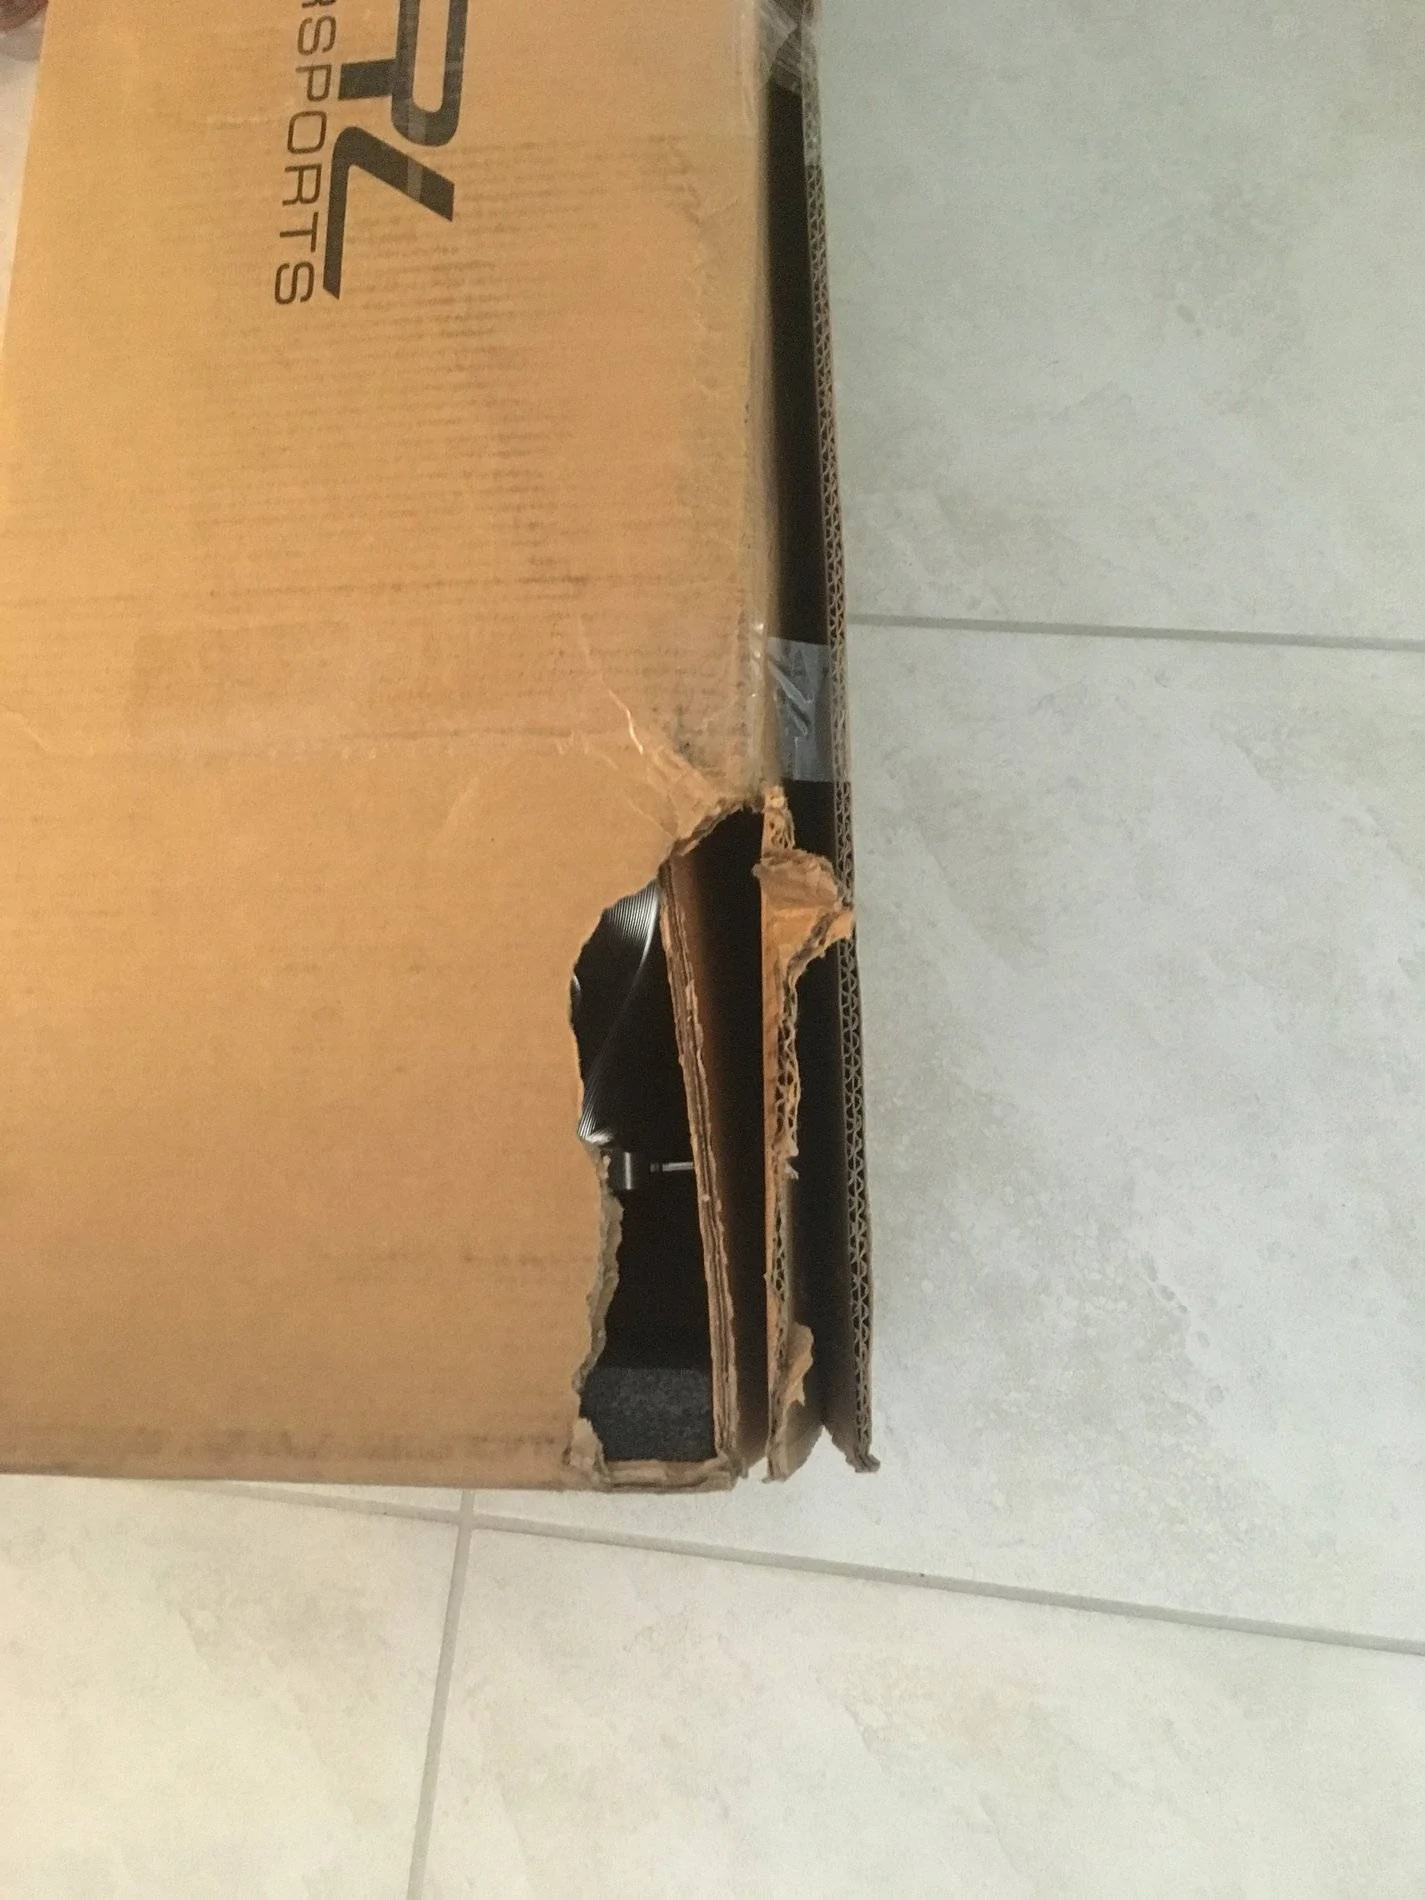
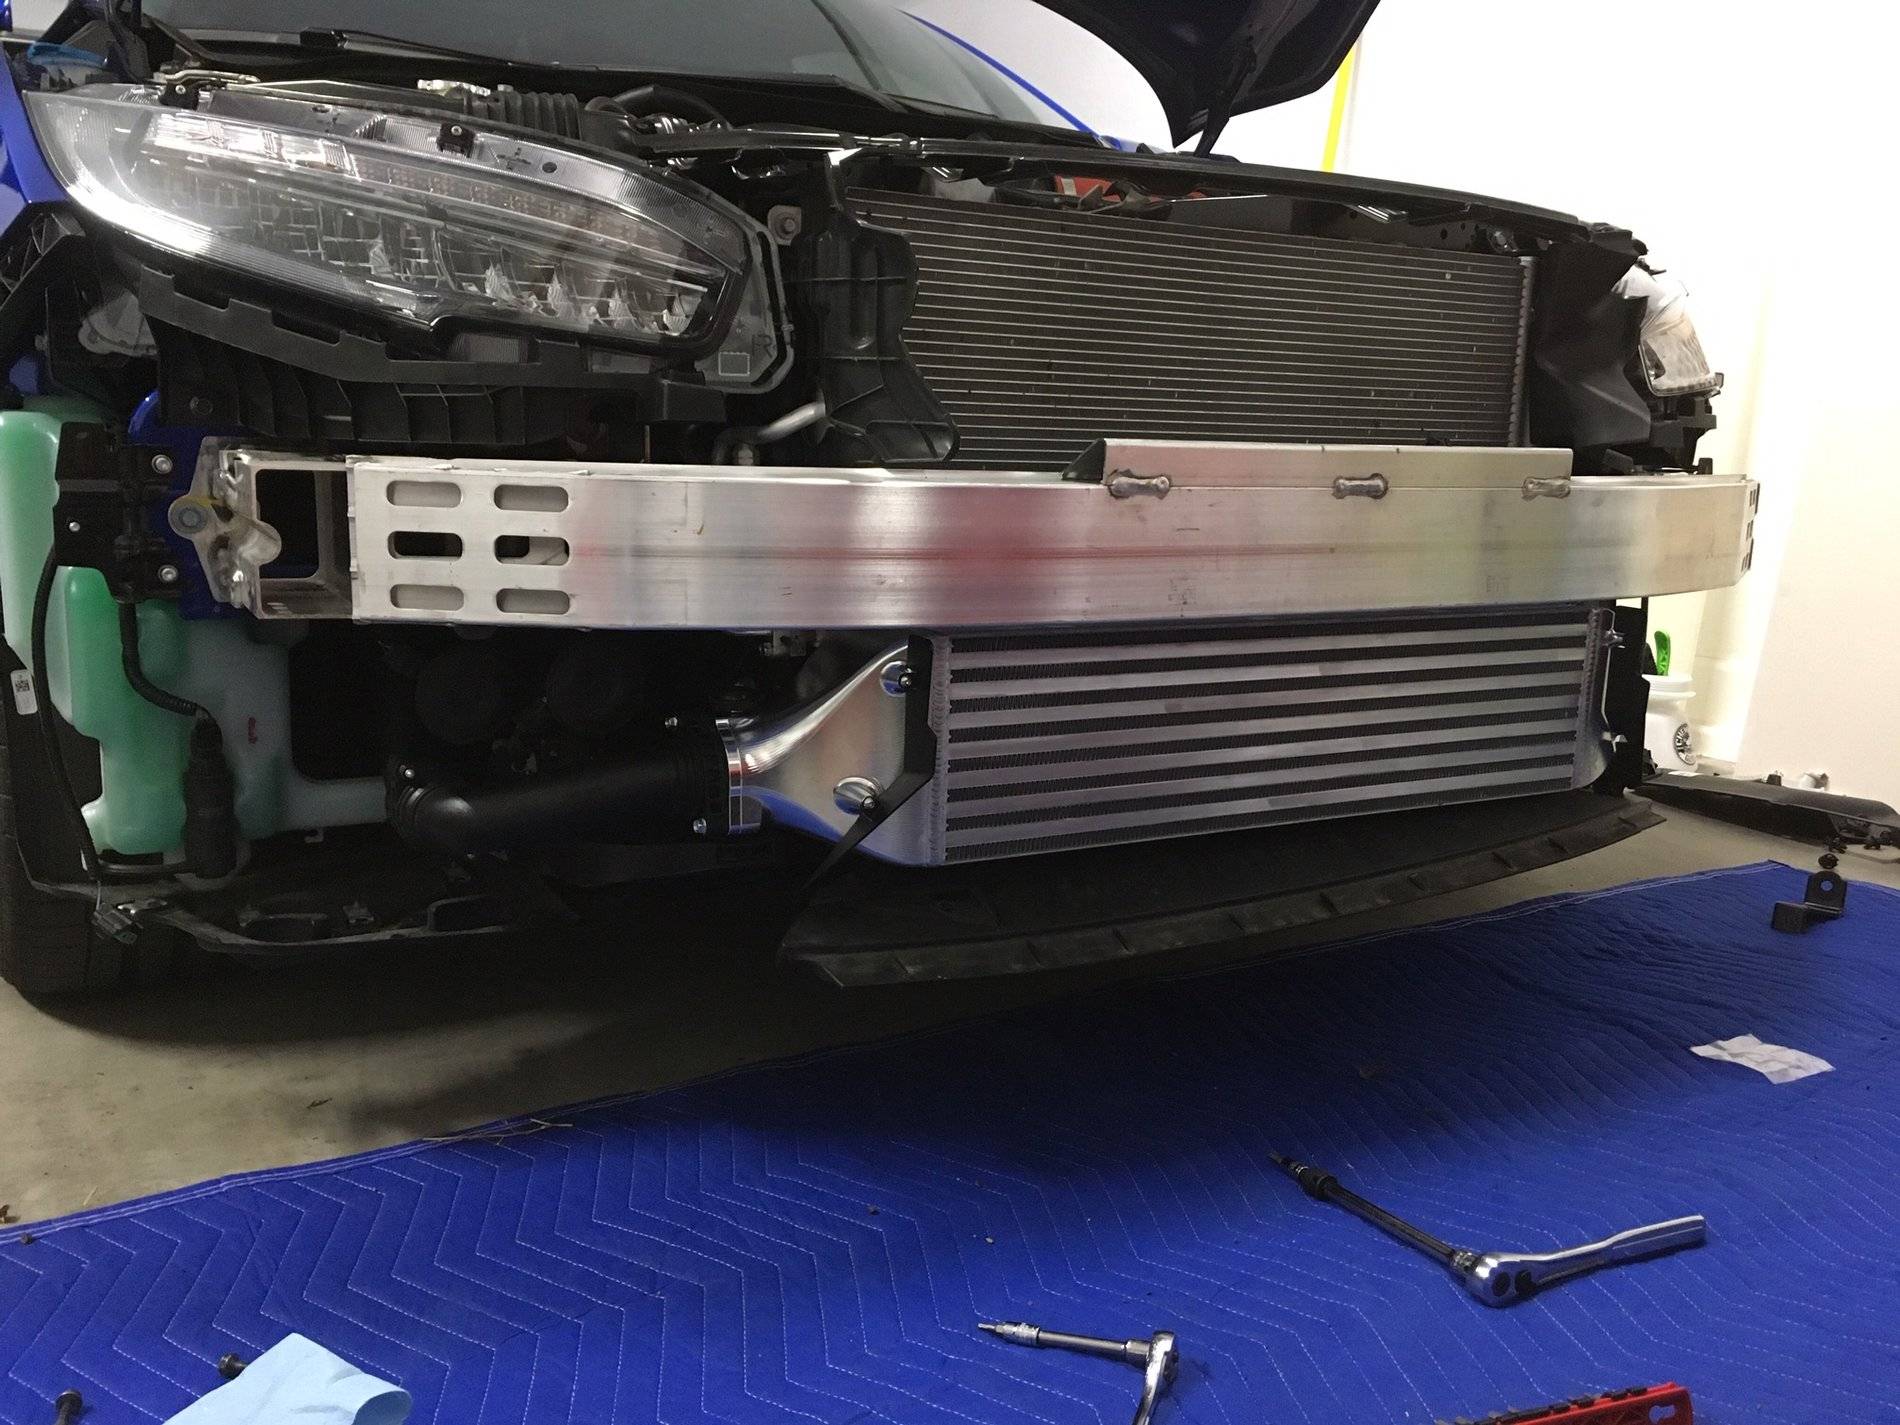
We're glad to hear that!See I was about to get all cranky that I wasn't gonna be able to put this on for another week or two but you post these pictures...
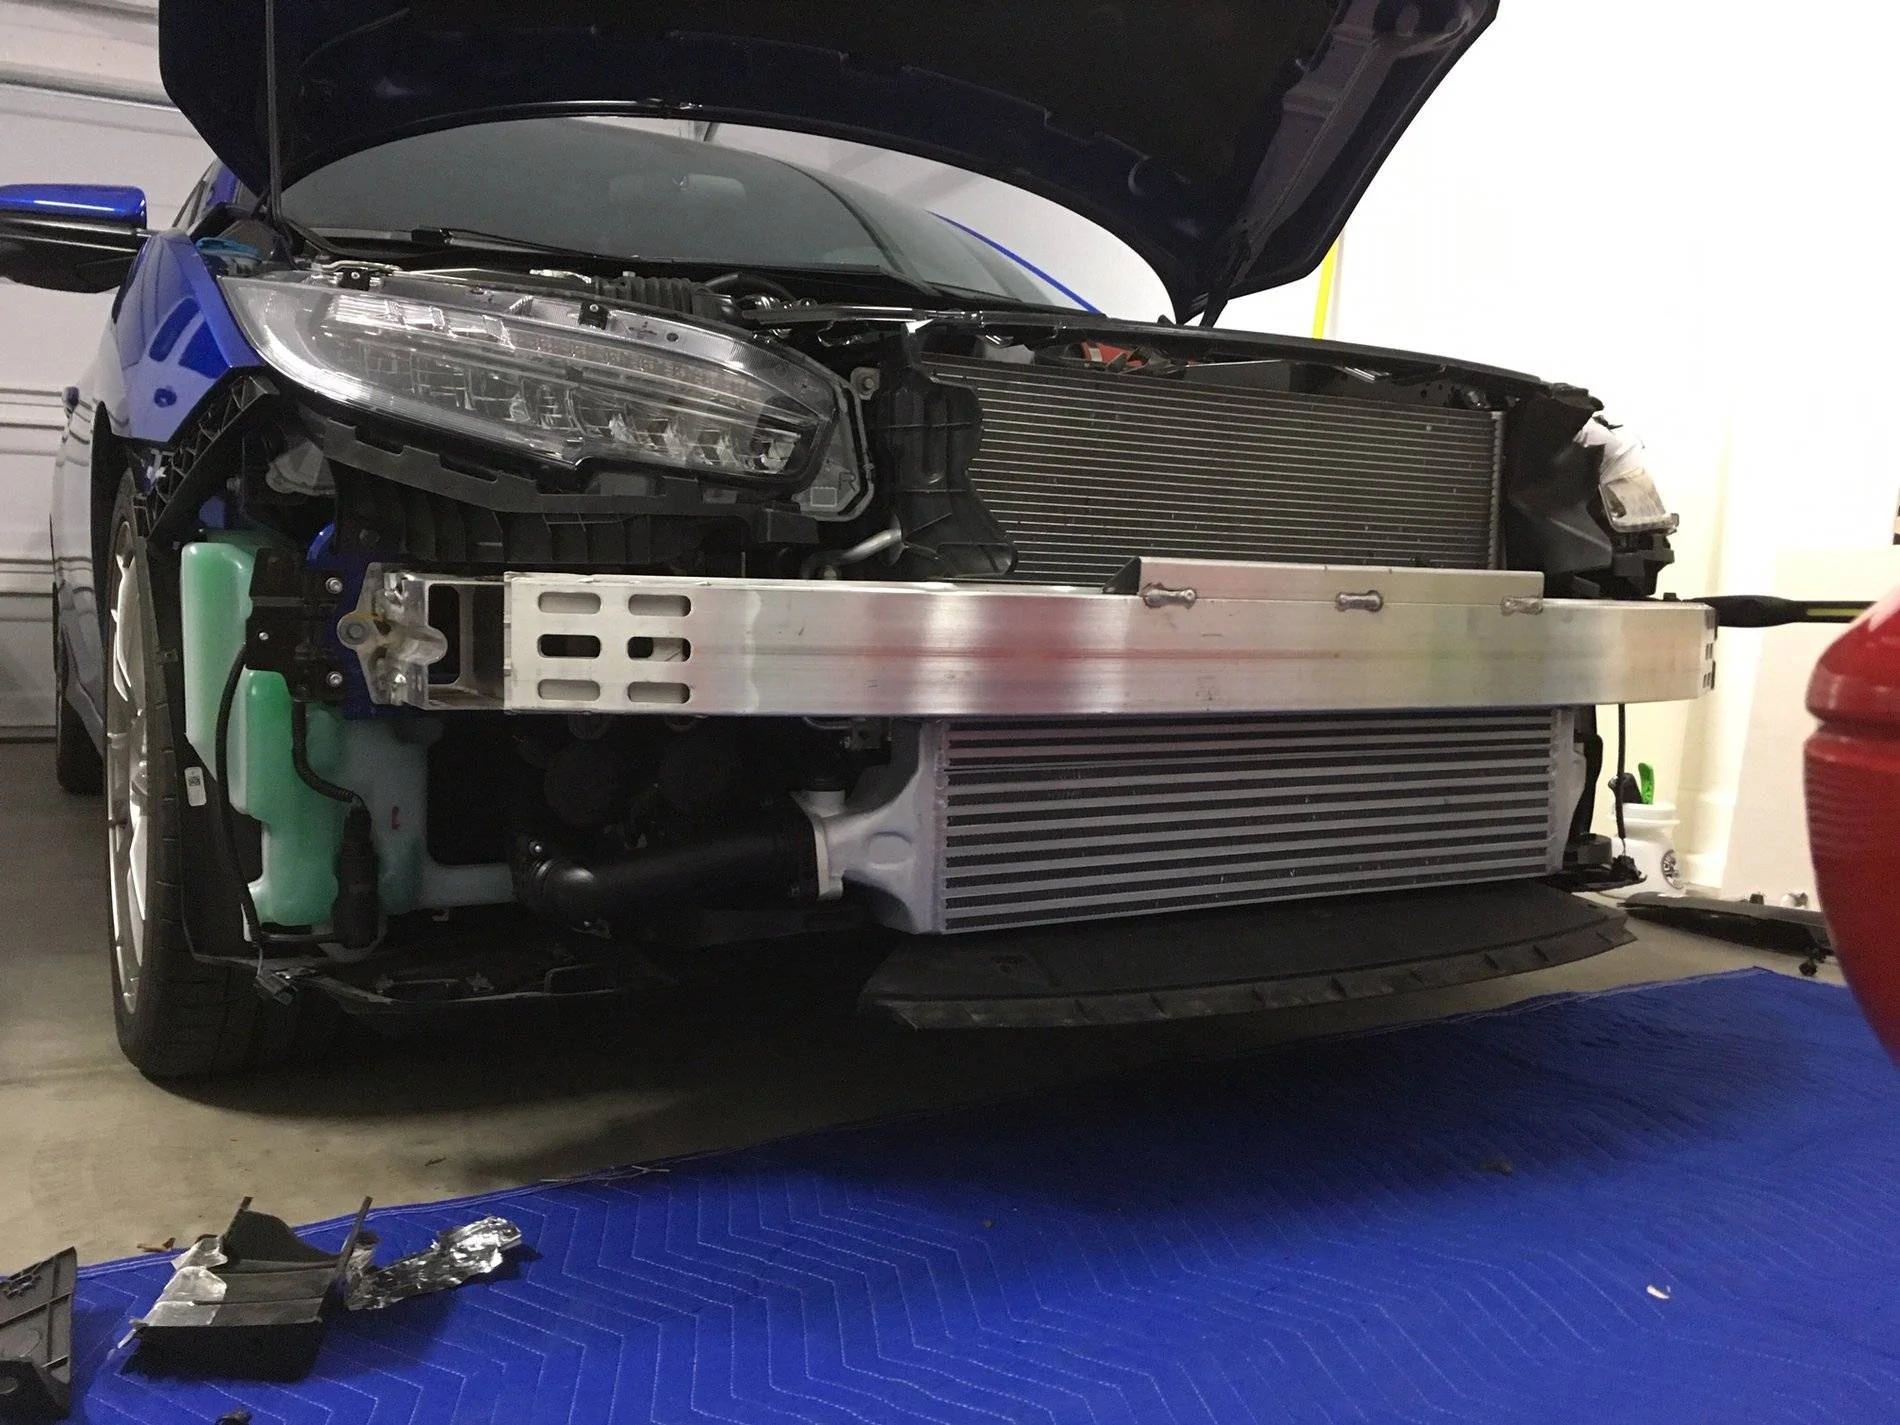
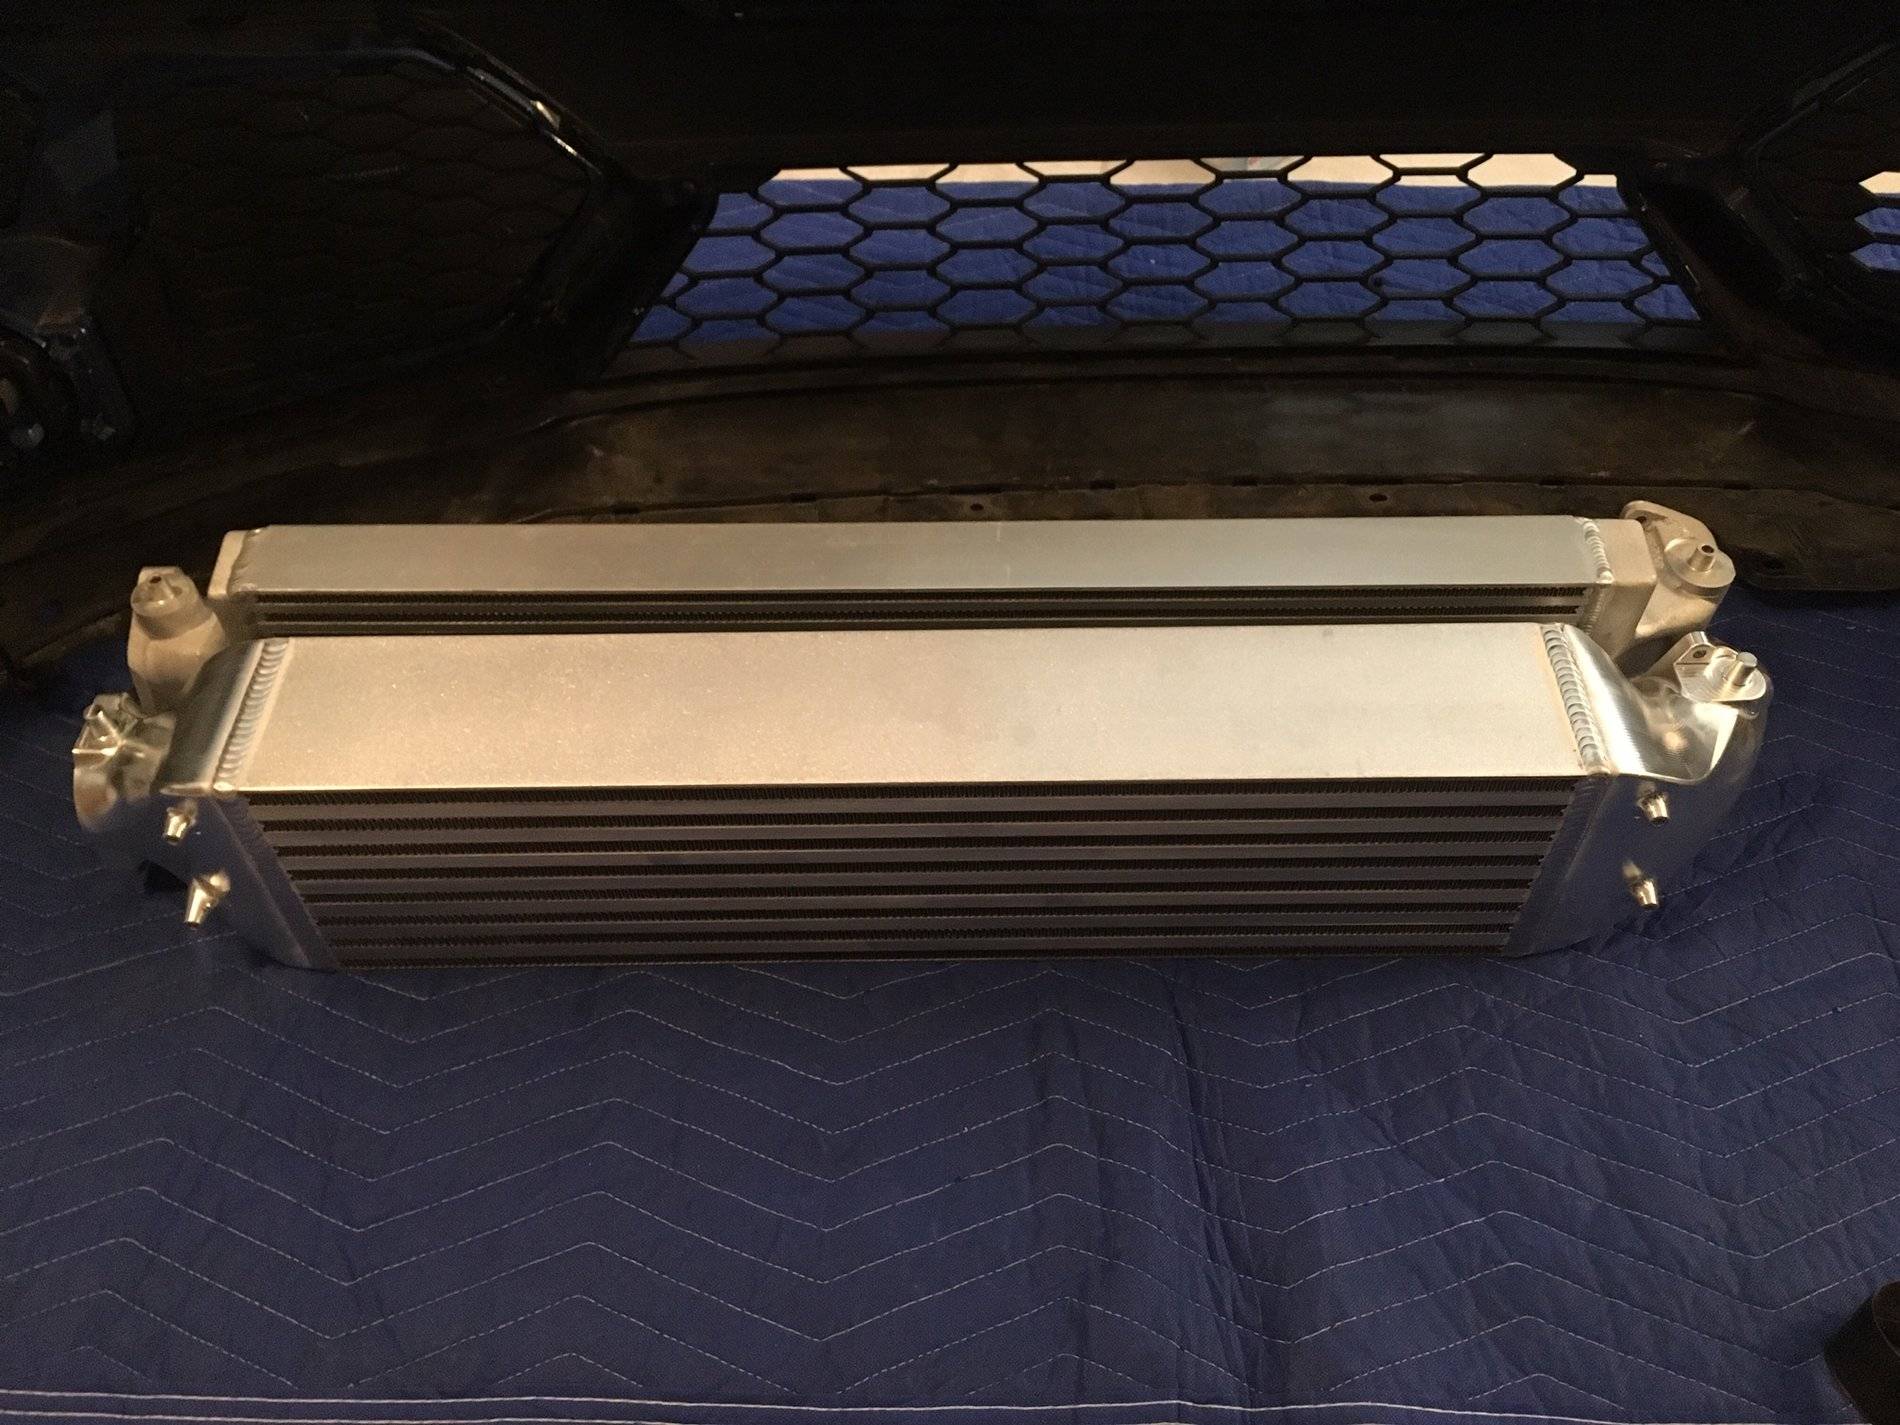
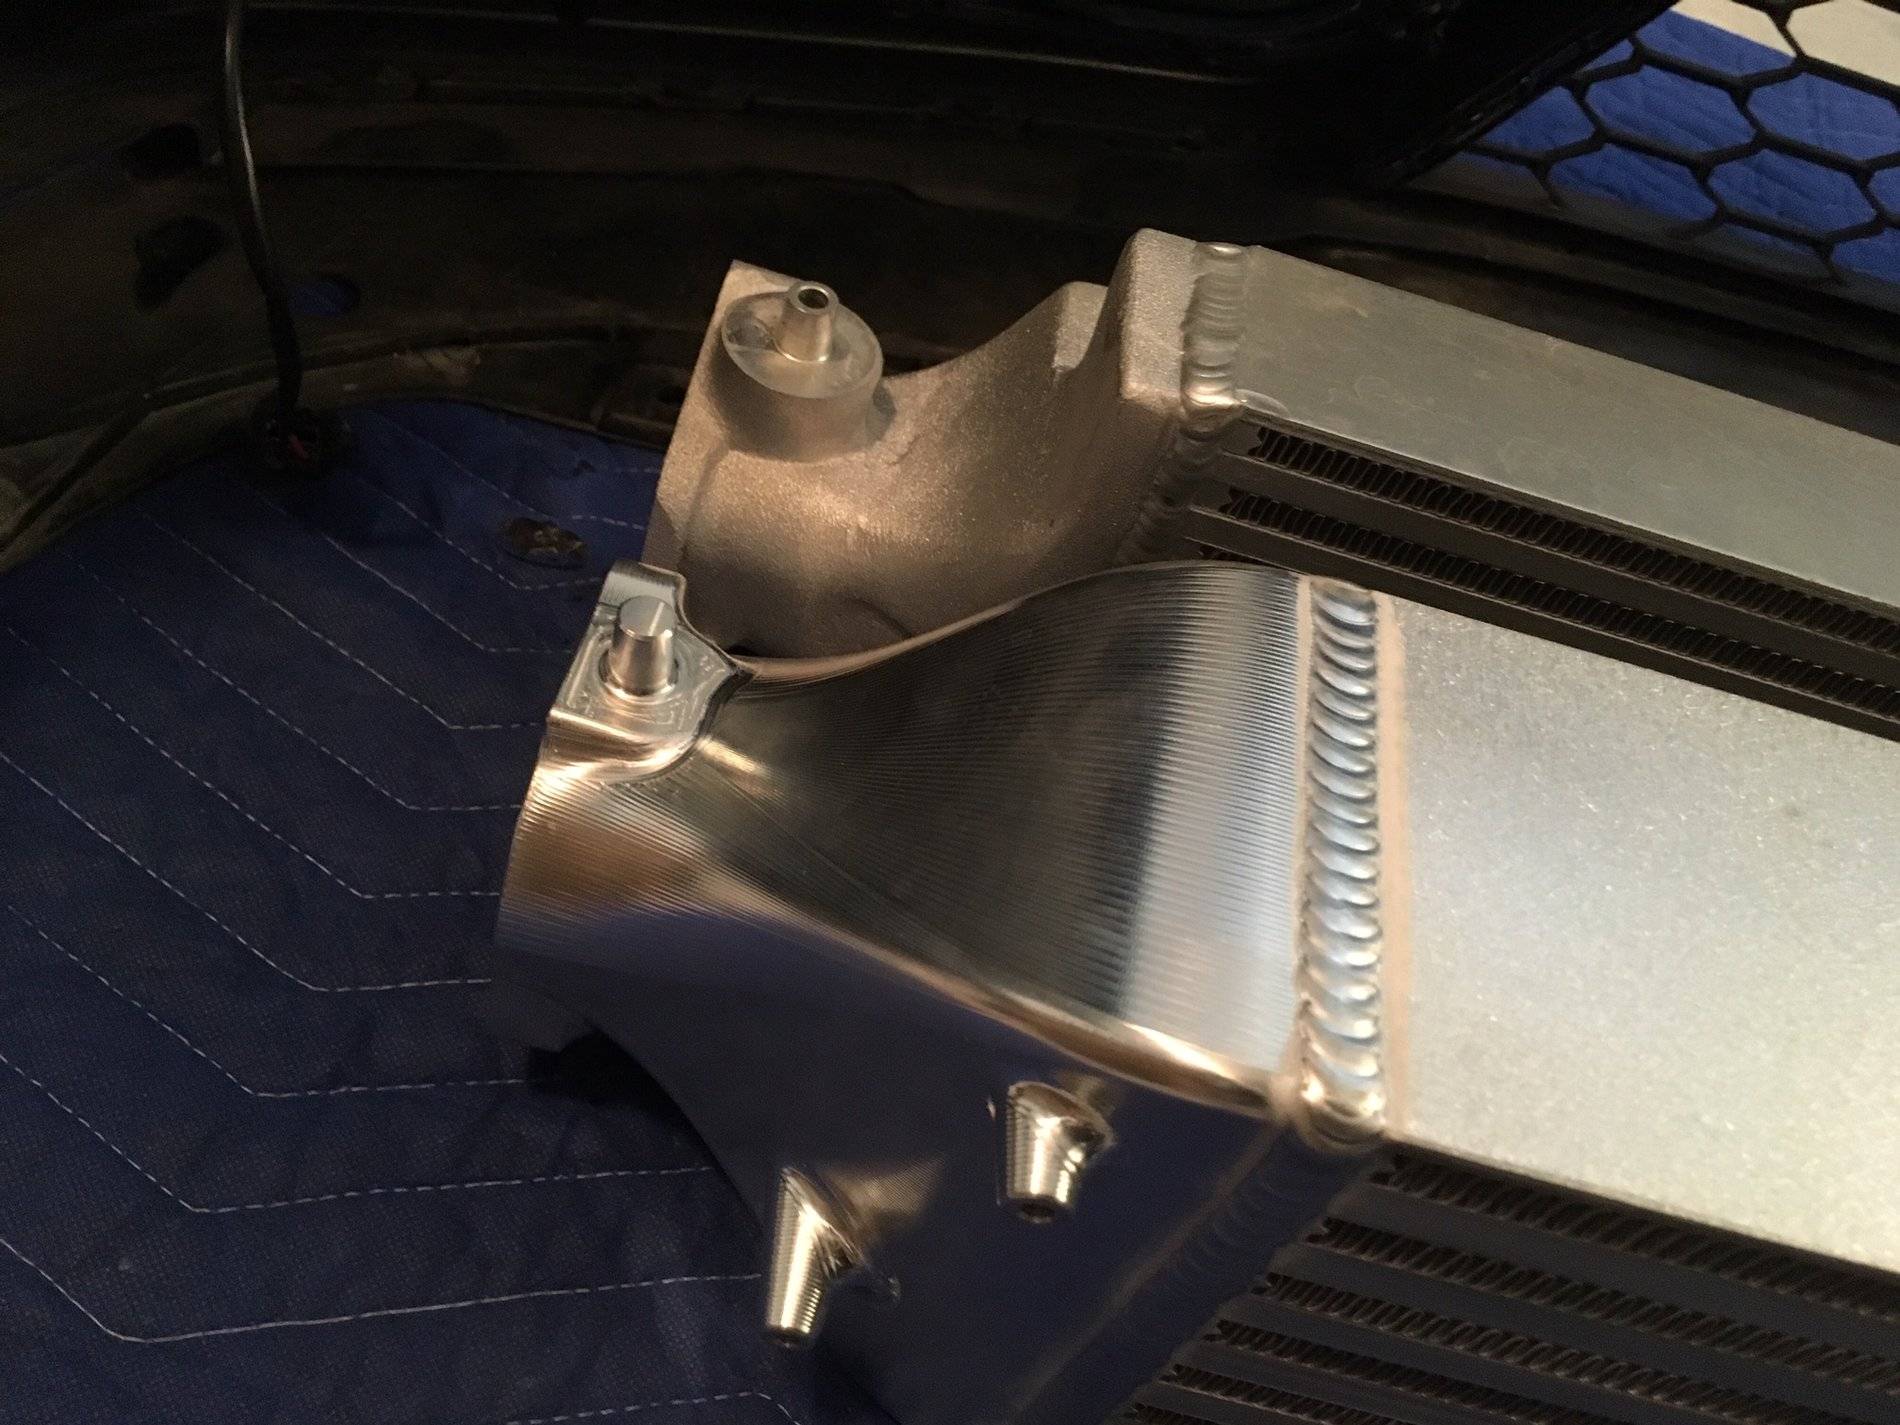
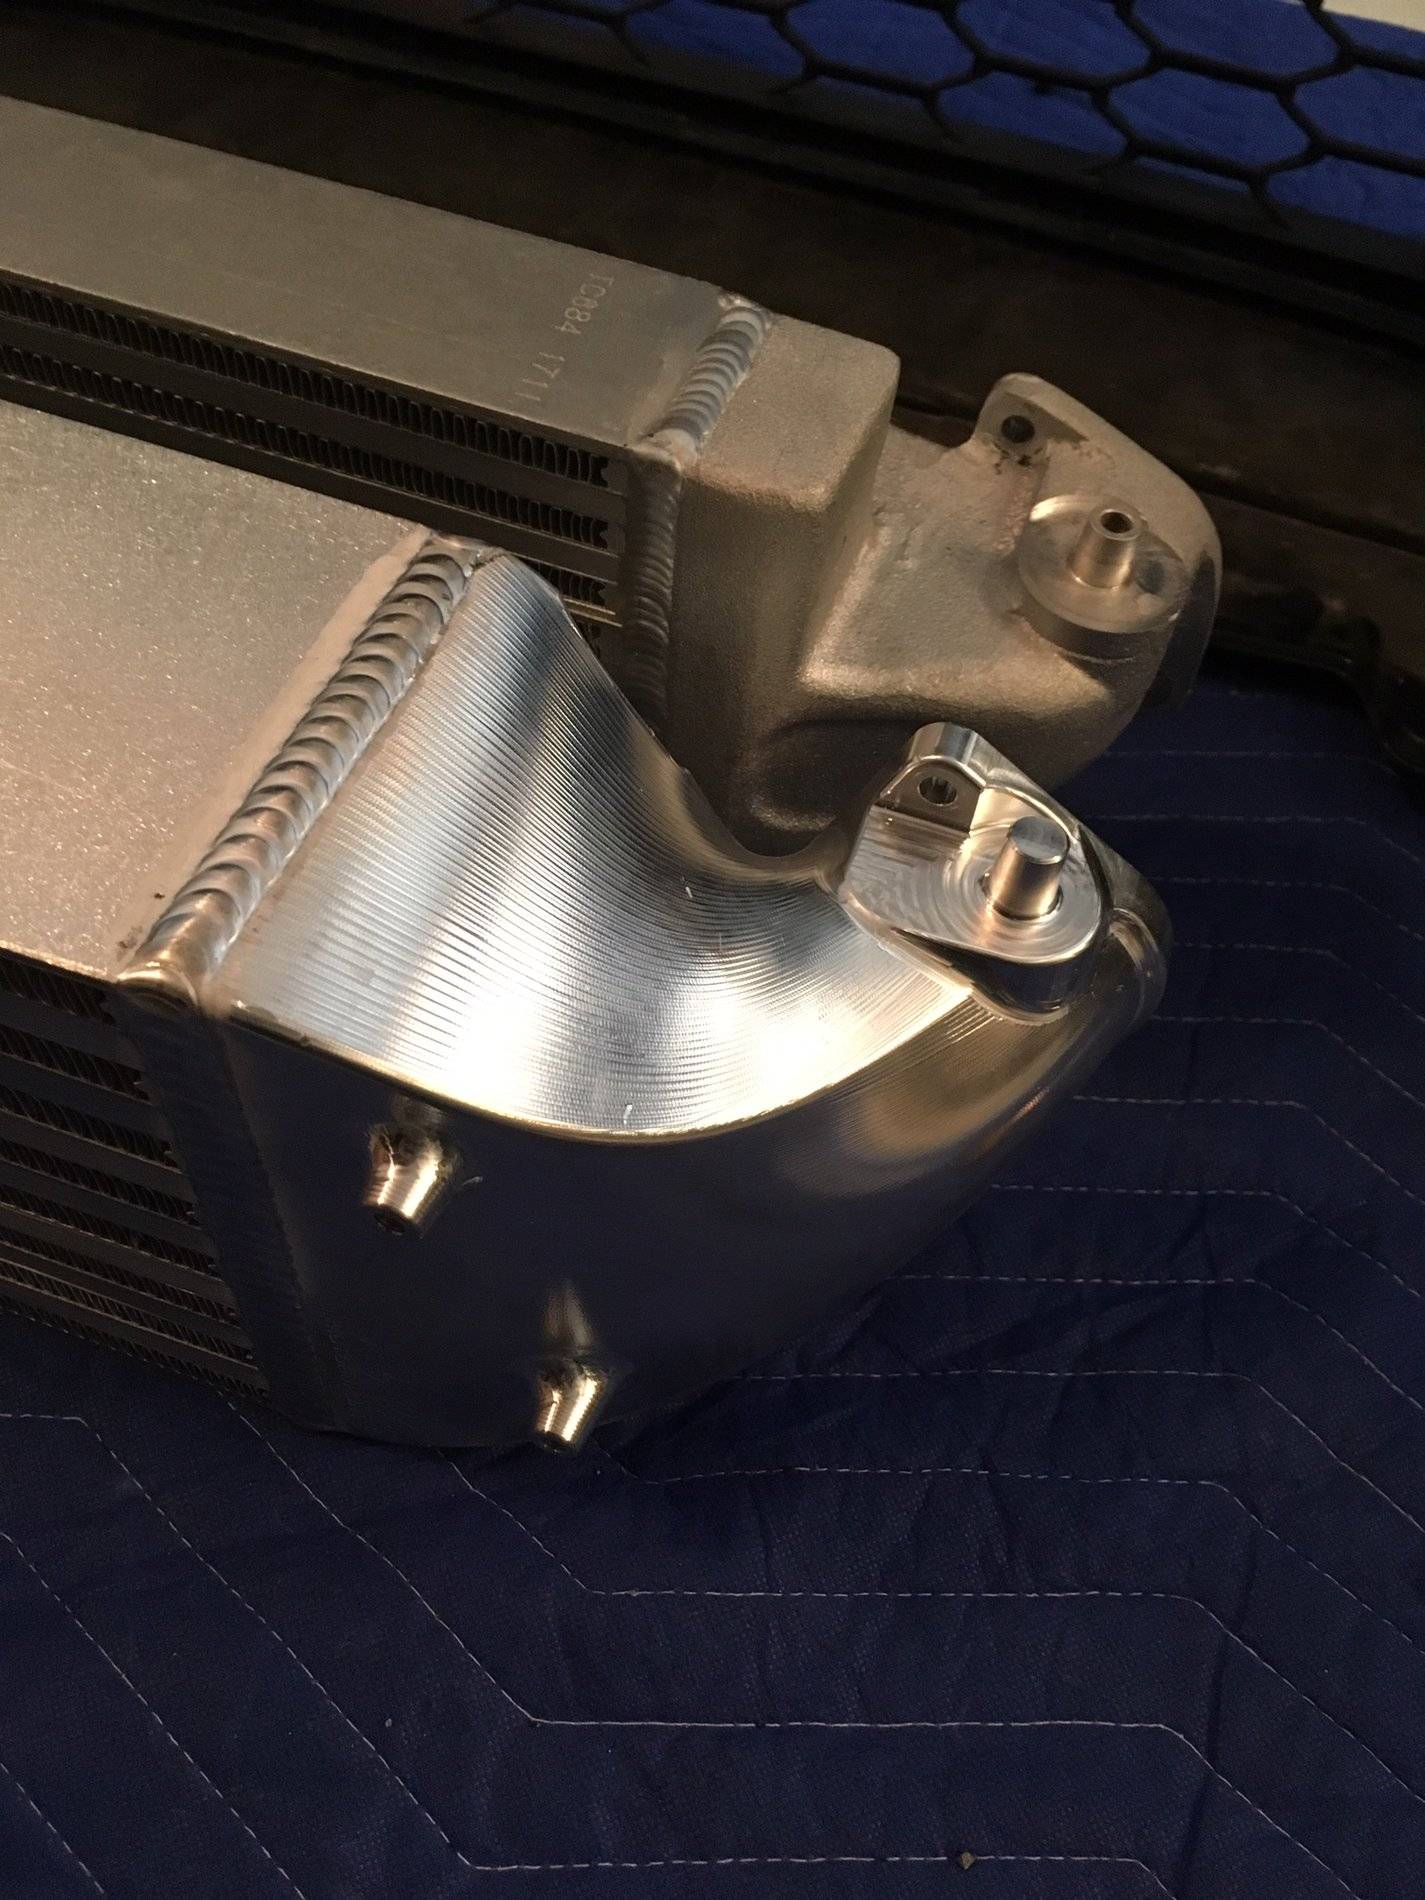
And the dash numbers for the O-rings and everything!! Dude, the engineering that went into this is awesome. I'm so happy I went with PRL.

")
Sponsored