tibwolf
Member
- Thread starter
- #1
My FL5 is a bit fatiguing to drive on the highways and poor roads around the DC/MD/VA area, so I'm going to treat various parts of the car to see what works and what doesn't for reducing road noise. Doesn't look like many have done this for one reason or another, but I drive a lot and ferry my kids around, so I'm prioritizing everybody's sanity over absolute weight savings of "race car." I may eventually tweak the sound system with a DSP and better subwoofer which typically goes hand in hand with sound treatment, but that's not a priority at the moment. I have no intention of switching to lower performance tires ")
I'm planning on conducting this in several stages:
TLDR: ~3lbs of material, <2hrs of work, 10% total road noise reduction with a lot of the higher frequencies of poor asphalt removed.
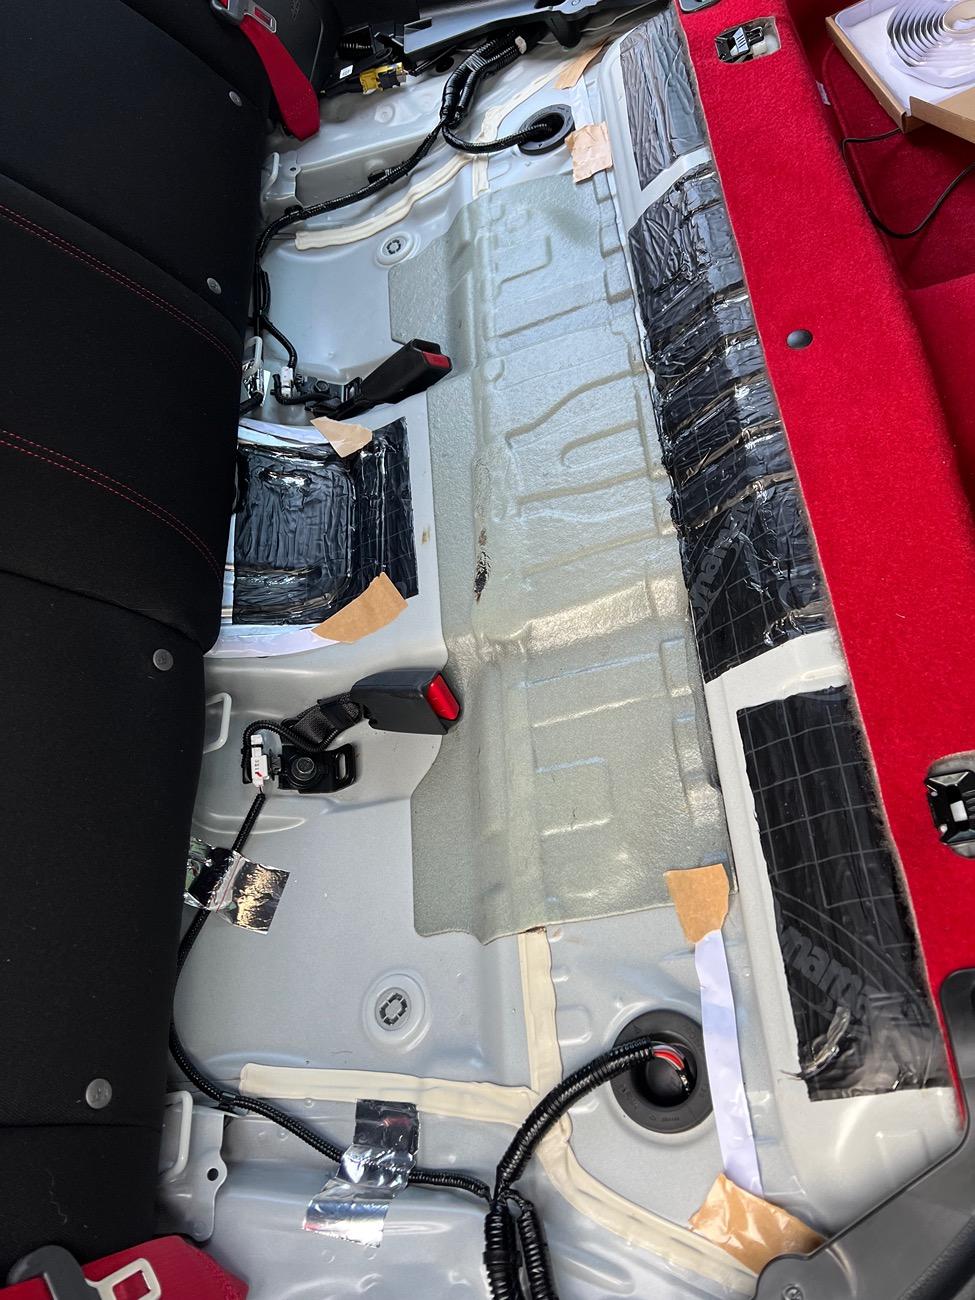
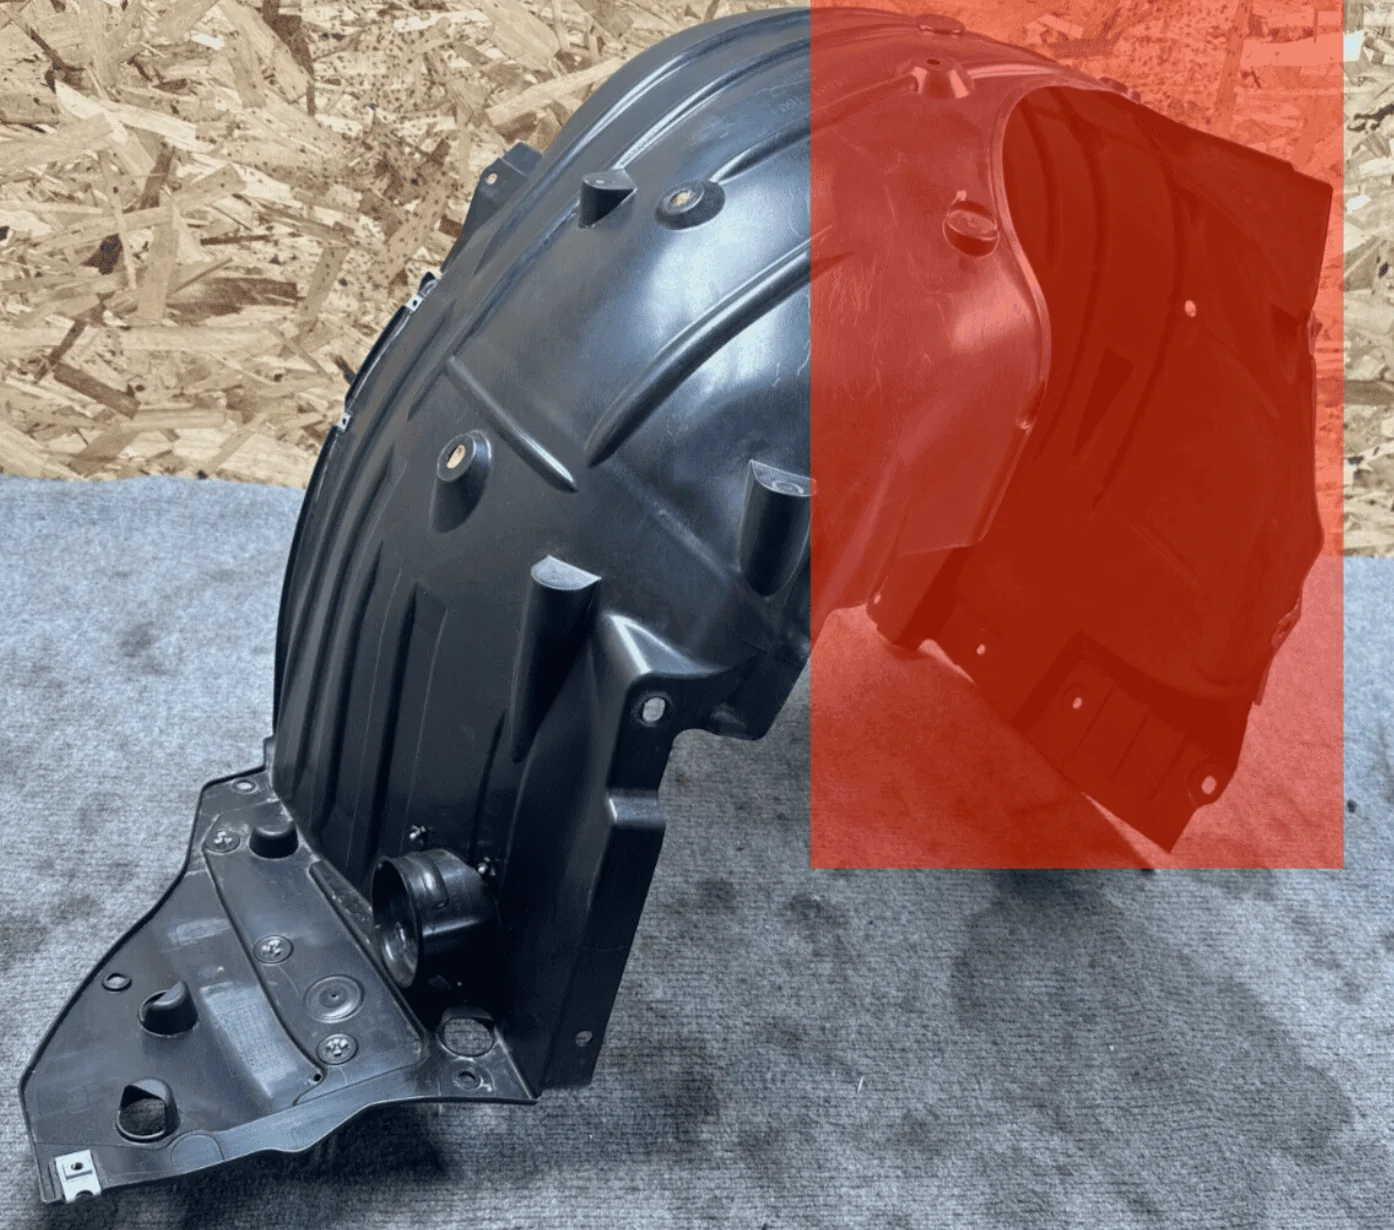
I removed the back halves of each front fender liner. There are around 5 Philips screws and 5 plastic push rivets on each side. Turning the wheel to the opposite side helps to give some clearance to reach the rear and top push rivets for removal. I did this without lifting the car or taking off the wheels. The rough area of fasteners removed is shown below in red.

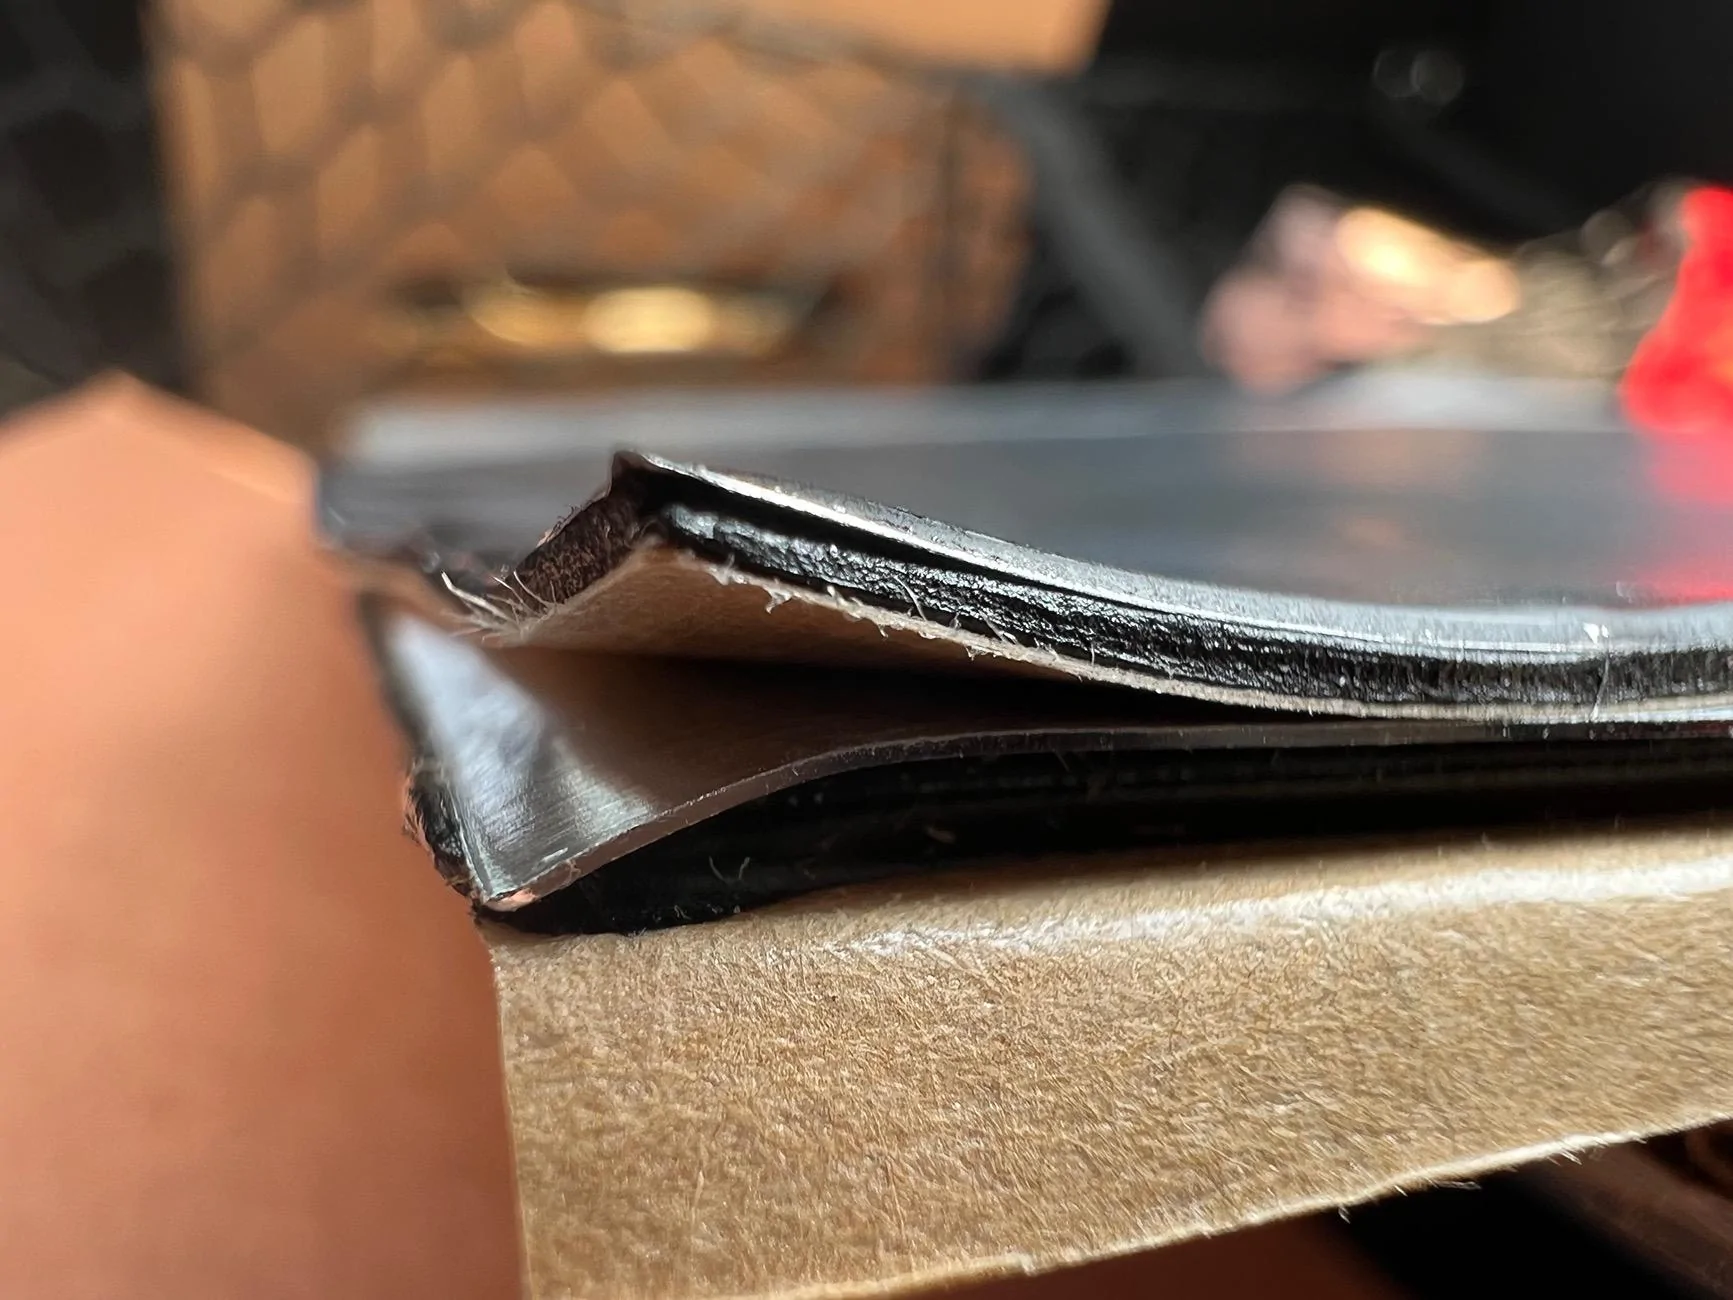
I removed up to the top middle of the liner so I could get my hands behind and check what I'm working with. Tapping the firewall returned solid thuds, meaning that I wouldn't have to treat the panel with CLD. Tapping the fender skin was anything but solid. I applied a single ~6"x10" piece of the Dynamat Xtreme to the interior of the fender sheet metal. I applied a large ~8"x12" piece of Dynamat Xtreme to the lower portion of the fender liner and a ~8"x6" piece right above. The contours and protrusions made perfect adhesion a bit difficult, so using smaller sections may be better if anybody wants to recreate this. My reasoning here was that while this fender liner was anything but rigid, there's some testing to back up adding CLD mass to fender liners as a sort-of MLV barrier. This is one of the few situations where CLD will act as a sound barrier.
Next up I prepped two pieces of the Thinsulate to act as a small sound absorber. A large ~15"x18" piece was prepped with 3M spray adhesive along with the sheet metal of the firewall. I maneuvered the Thinsulate behind the loose fender liner and positioned the 15" lower side to be about 1" from the bottom of the car and the 18" outer side to be right up to where the fender vent is. I ended up with a little excess coverage which I tucked along sheet metal and am happy with my cuts. I next prepped around 8"x14" of Thinsulate for the fender. I placed this as far rearward inside as I could get and ended up going a little past the middle of the fender. There's a lot of space here for more material, but I didn't have anything appropriate for this and I didn't want to waste my Thinsulate by stuffing 10 sqft in each fender. Note: the lower portion of the fender liner is pretty flush with the firewall. There's not a ton of space to stuff materials in if you expect to retain use of the stock fasteners and maintain clearance to the tires. I wouldn't expect to use the larger SM600L material as it's more than 1.5" thick and compressing the fibers to fit the small space removes any additional sound absorption benefit.
Results: I went on a quick 30 minute drive over some rough city roads at speeds up to around 50mph. Subjectively, I'd guess that around 10% of the total road noise has been removed, with more of the higher frequencies tamed. Hitting imperfections, storm drains, and expansion joints still results in audible thuds, but a lot of the white-noise sounding tire roar from chip-seal and weathered asphalt is gone. I'll be able to share impressions of a 3 hour drive on mostly I-95 later in the week. No noticed reduction in engine or wind noise.
What would I do differently: For roughly 3lbs of Dynamat and Thinsulate total and less than two hours of my time, I'm pleased with the results. If I wanted to go the extra mile, I'd probably add another layer of thicker fiber material in the upper half of the firewall, as there's more space than the lower portion. I'd also apply some thicker fiber material to the backside of the fender liner. Anybody not concerned with weight would probably benefit from more CLD on the fender itself in excess of 30% coverage, as that panel likes to vibrate. Removing the entire fender liner and treating it with CLD and fiber would probably result in a little more road noise reduction, but that would probably require triple or more material, weight, and effort.
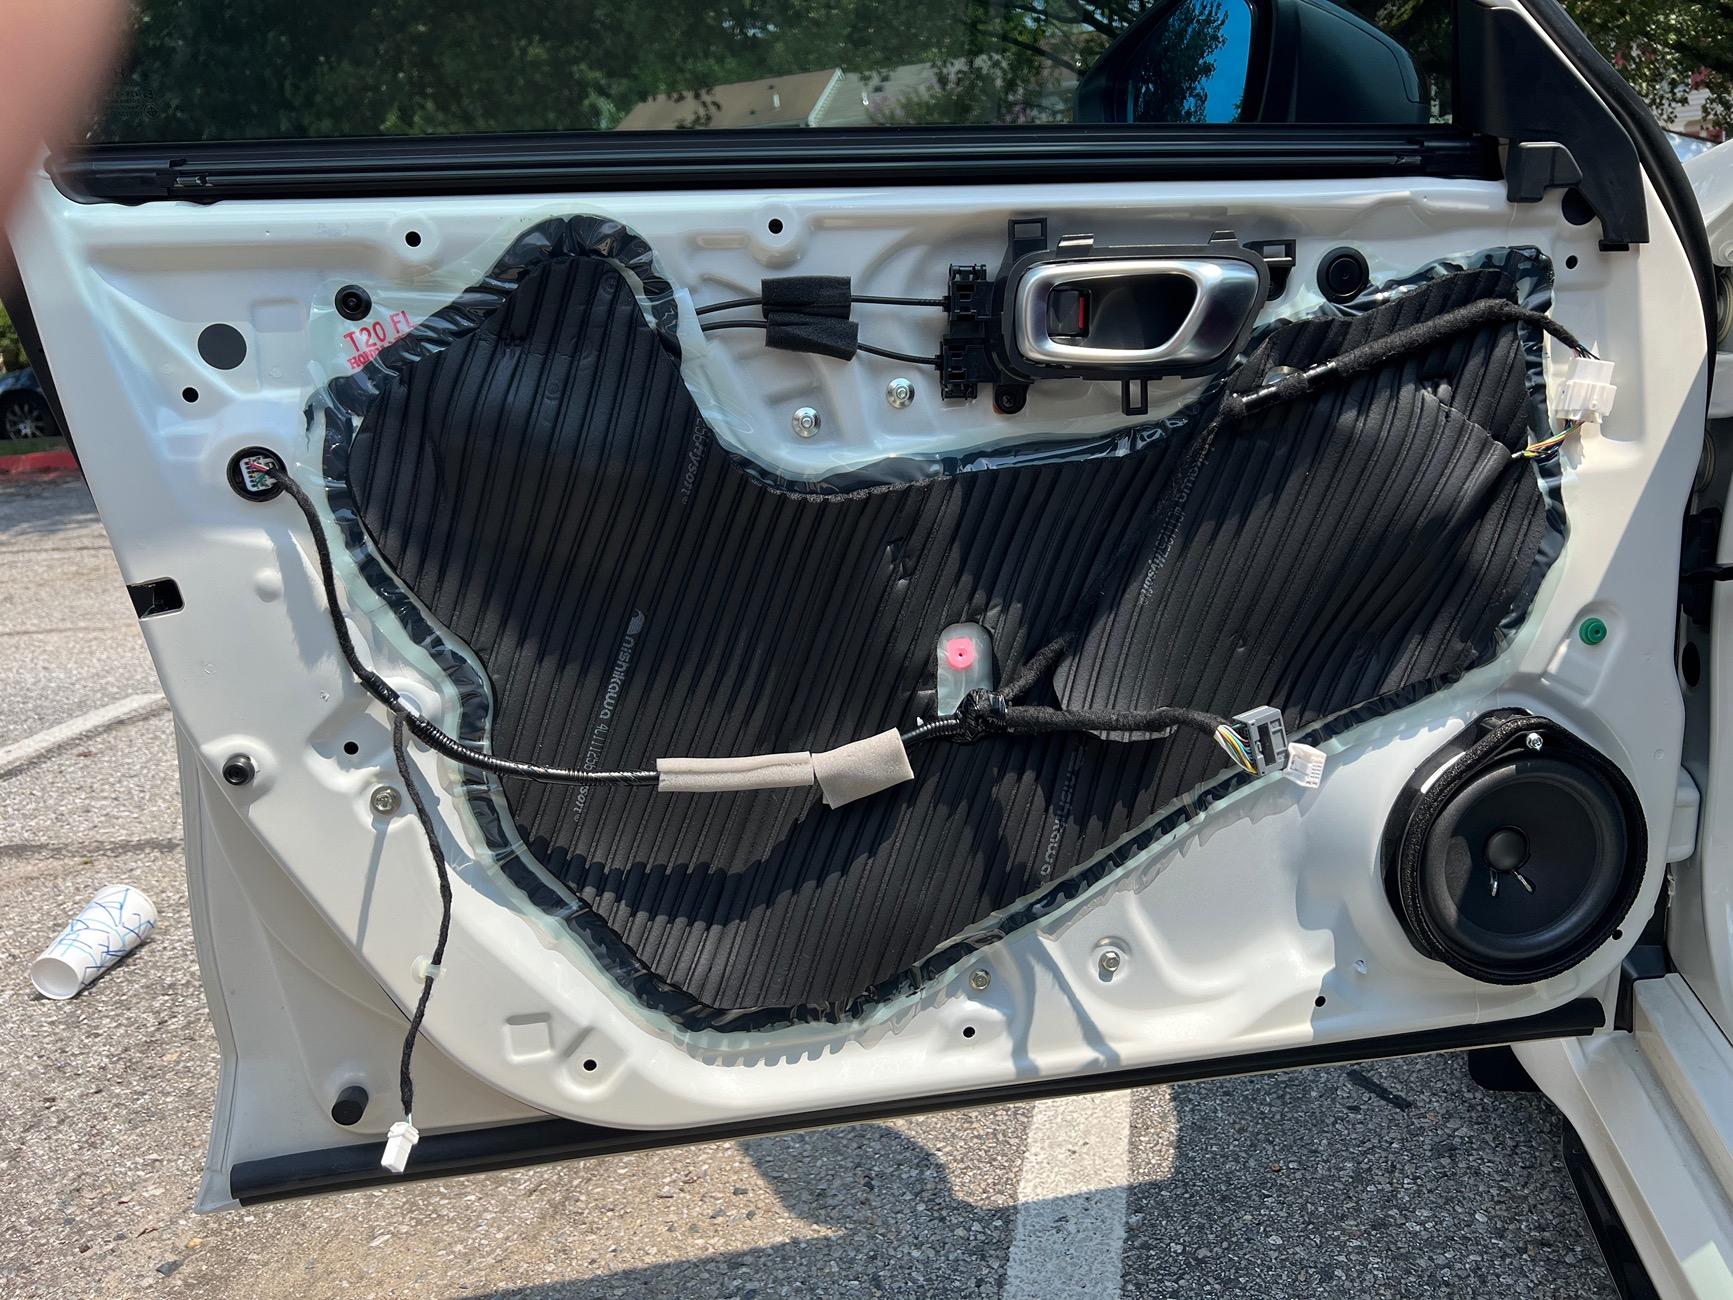
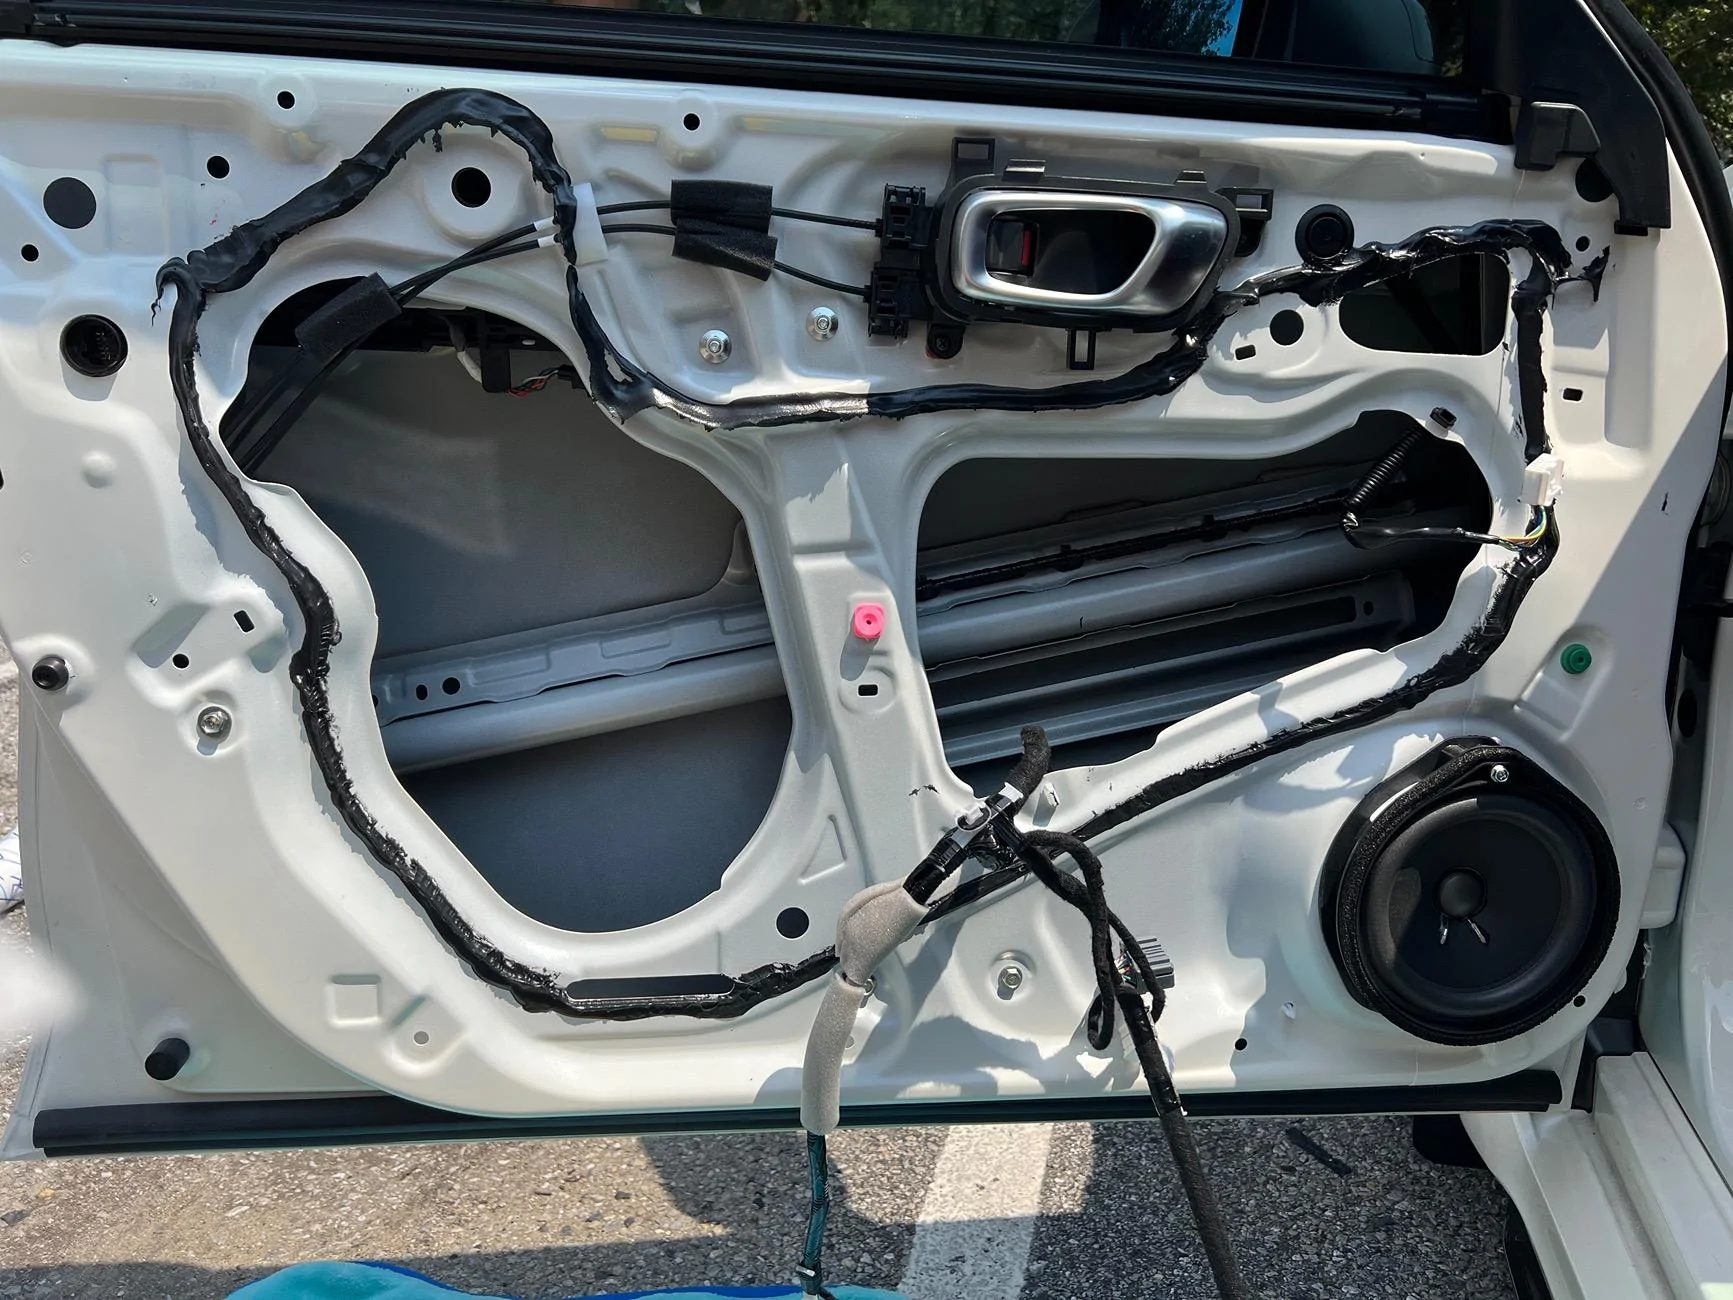
What's next: The Resonix CLD tiles should arrive in a few weeks from being backordered. I'm planning on treating the front doors with better pictures and some more impressions.
I'm planning on conducting this in several stages:
- Front fenders
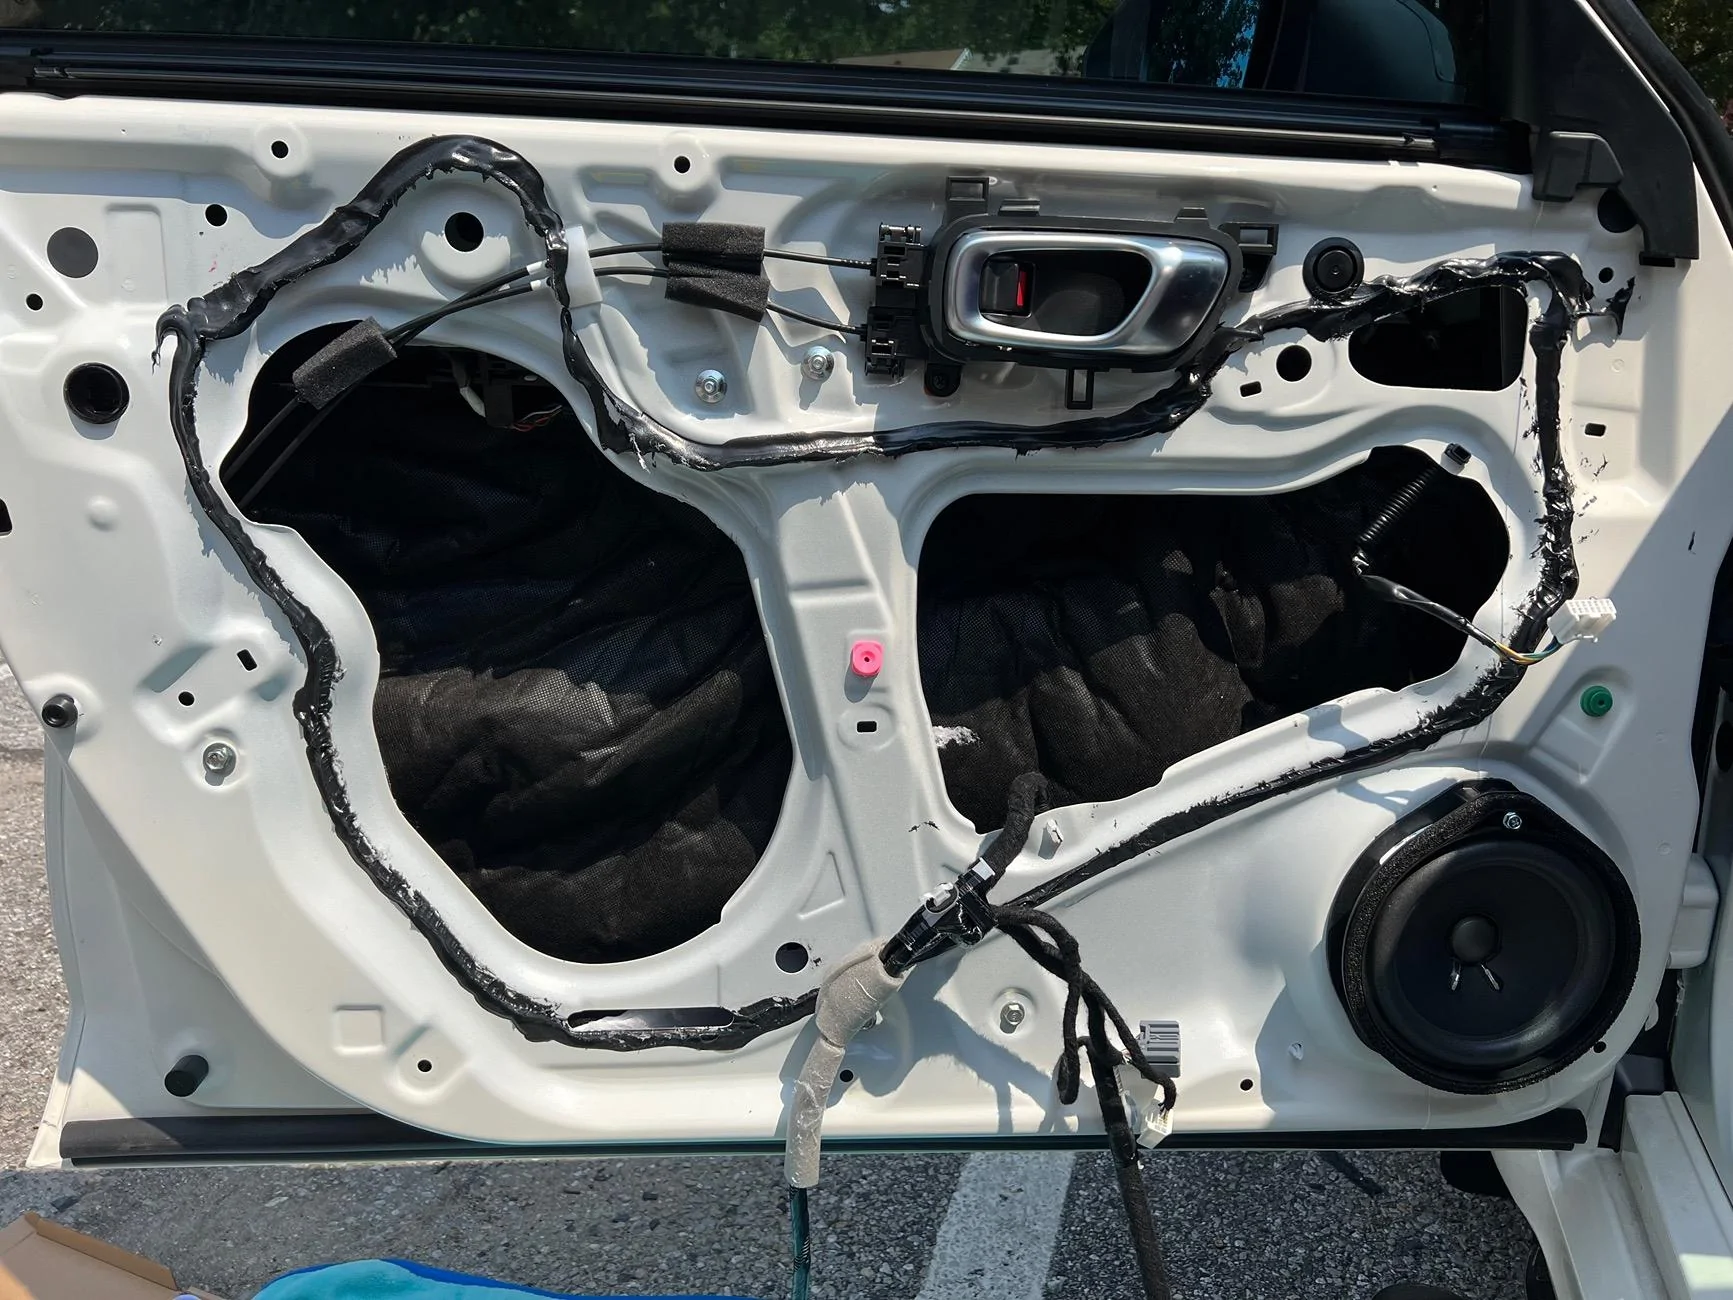
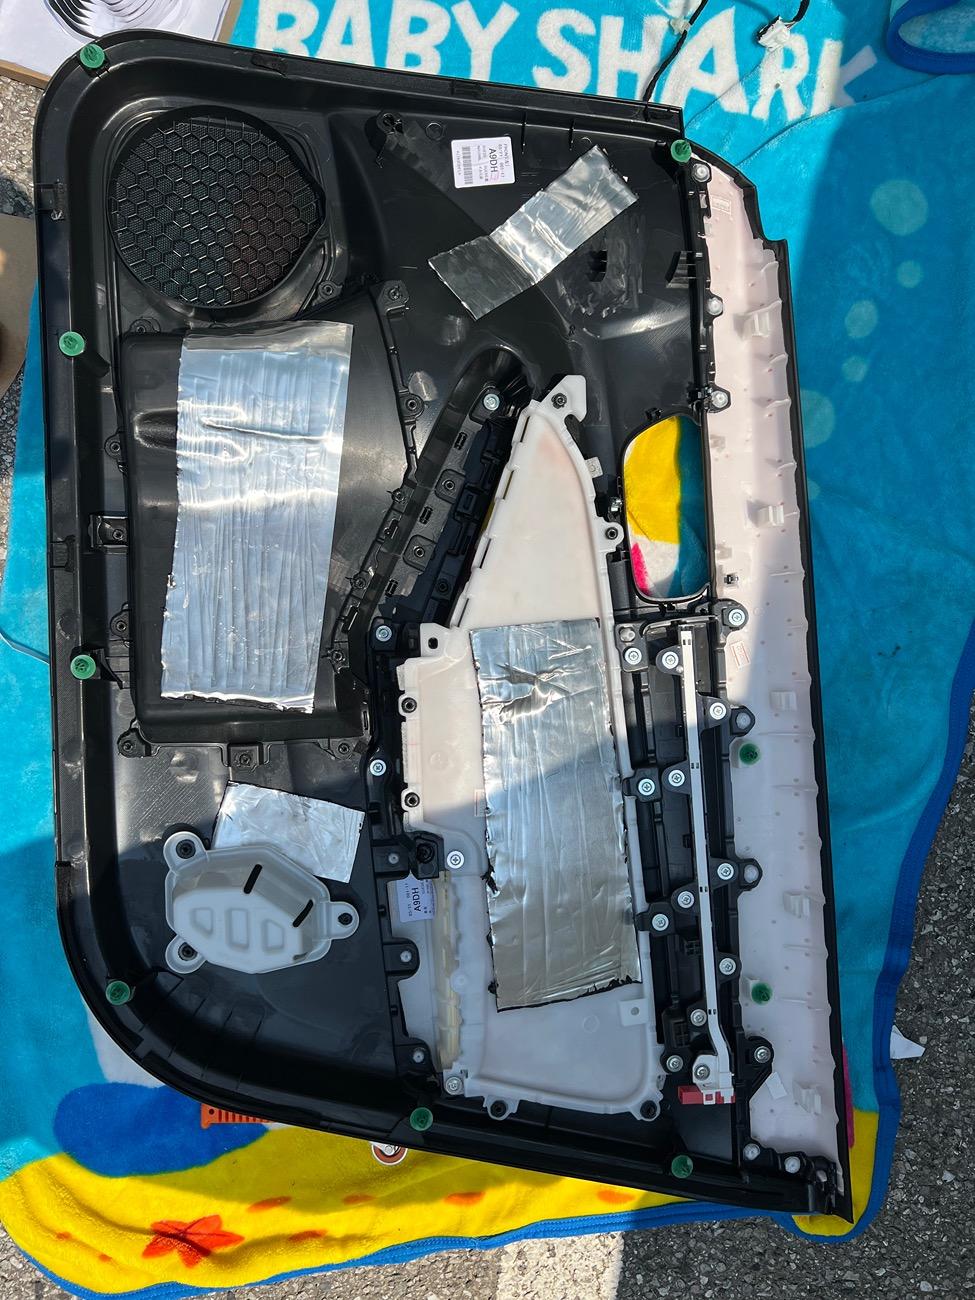
- Front doors
- Rear doors
- Rear fenders and hatch floor area
- Dynamat Xtreme (Around 3 sqft left over from other projects)
- 3M Thinsulate SM200L (15'x3')
- Resoni Mega CLD (20 sqft)
TLDR: ~3lbs of material, <2hrs of work, 10% total road noise reduction with a lot of the higher frequencies of poor asphalt removed.
I removed the back halves of each front fender liner. There are around 5 Philips screws and 5 plastic push rivets on each side. Turning the wheel to the opposite side helps to give some clearance to reach the rear and top push rivets for removal. I did this without lifting the car or taking off the wheels. The rough area of fasteners removed is shown below in red.
I removed up to the top middle of the liner so I could get my hands behind and check what I'm working with. Tapping the firewall returned solid thuds, meaning that I wouldn't have to treat the panel with CLD. Tapping the fender skin was anything but solid. I applied a single ~6"x10" piece of the Dynamat Xtreme to the interior of the fender sheet metal. I applied a large ~8"x12" piece of Dynamat Xtreme to the lower portion of the fender liner and a ~8"x6" piece right above. The contours and protrusions made perfect adhesion a bit difficult, so using smaller sections may be better if anybody wants to recreate this. My reasoning here was that while this fender liner was anything but rigid, there's some testing to back up adding CLD mass to fender liners as a sort-of MLV barrier. This is one of the few situations where CLD will act as a sound barrier.
Next up I prepped two pieces of the Thinsulate to act as a small sound absorber. A large ~15"x18" piece was prepped with 3M spray adhesive along with the sheet metal of the firewall. I maneuvered the Thinsulate behind the loose fender liner and positioned the 15" lower side to be about 1" from the bottom of the car and the 18" outer side to be right up to where the fender vent is. I ended up with a little excess coverage which I tucked along sheet metal and am happy with my cuts. I next prepped around 8"x14" of Thinsulate for the fender. I placed this as far rearward inside as I could get and ended up going a little past the middle of the fender. There's a lot of space here for more material, but I didn't have anything appropriate for this and I didn't want to waste my Thinsulate by stuffing 10 sqft in each fender. Note: the lower portion of the fender liner is pretty flush with the firewall. There's not a ton of space to stuff materials in if you expect to retain use of the stock fasteners and maintain clearance to the tires. I wouldn't expect to use the larger SM600L material as it's more than 1.5" thick and compressing the fibers to fit the small space removes any additional sound absorption benefit.
Results: I went on a quick 30 minute drive over some rough city roads at speeds up to around 50mph. Subjectively, I'd guess that around 10% of the total road noise has been removed, with more of the higher frequencies tamed. Hitting imperfections, storm drains, and expansion joints still results in audible thuds, but a lot of the white-noise sounding tire roar from chip-seal and weathered asphalt is gone. I'll be able to share impressions of a 3 hour drive on mostly I-95 later in the week. No noticed reduction in engine or wind noise.
What would I do differently: For roughly 3lbs of Dynamat and Thinsulate total and less than two hours of my time, I'm pleased with the results. If I wanted to go the extra mile, I'd probably add another layer of thicker fiber material in the upper half of the firewall, as there's more space than the lower portion. I'd also apply some thicker fiber material to the backside of the fender liner. Anybody not concerned with weight would probably benefit from more CLD on the fender itself in excess of 30% coverage, as that panel likes to vibrate. Removing the entire fender liner and treating it with CLD and fiber would probably result in a little more road noise reduction, but that would probably require triple or more material, weight, and effort.
What's next: The Resonix CLD tiles should arrive in a few weeks from being backordered. I'm planning on treating the front doors with better pictures and some more impressions.
Sponsored
Last edited: