honman
Member
- Thread starter
- #1
After upgrading my FL5 with a Billetworkz weighted shift knob and alcantara boot I wanted a red collar, but didn't really like the fitment of the aftermarket options. So I 3D scanned the OEM collar, drew up a model in CAD with some modifications to improve durability, printed it on my resin printer and painted it myself. The model is available here for those of you who want to print your own: https://www.printables.com/model/1771694-oem-shift-boot-collar-for-honda-civic-type-r-2023
I highly recommend using a resin printer because it's a small part with a lot of detail. It's possible to print it with FDM, but support placement and removal is a massive pain and it'll probably need a lot of sanding to get the layer lines out. Make sure that whatever material you use is engineering-grade with a high elongation at break (>25%, >35% ideal) to make sure the locking tabs don't crack or deform when you're snapping the collar onto the nut. I used Sirayatech Blu Nylon Black for my prints. For FDM, something like eSun PETG should work.
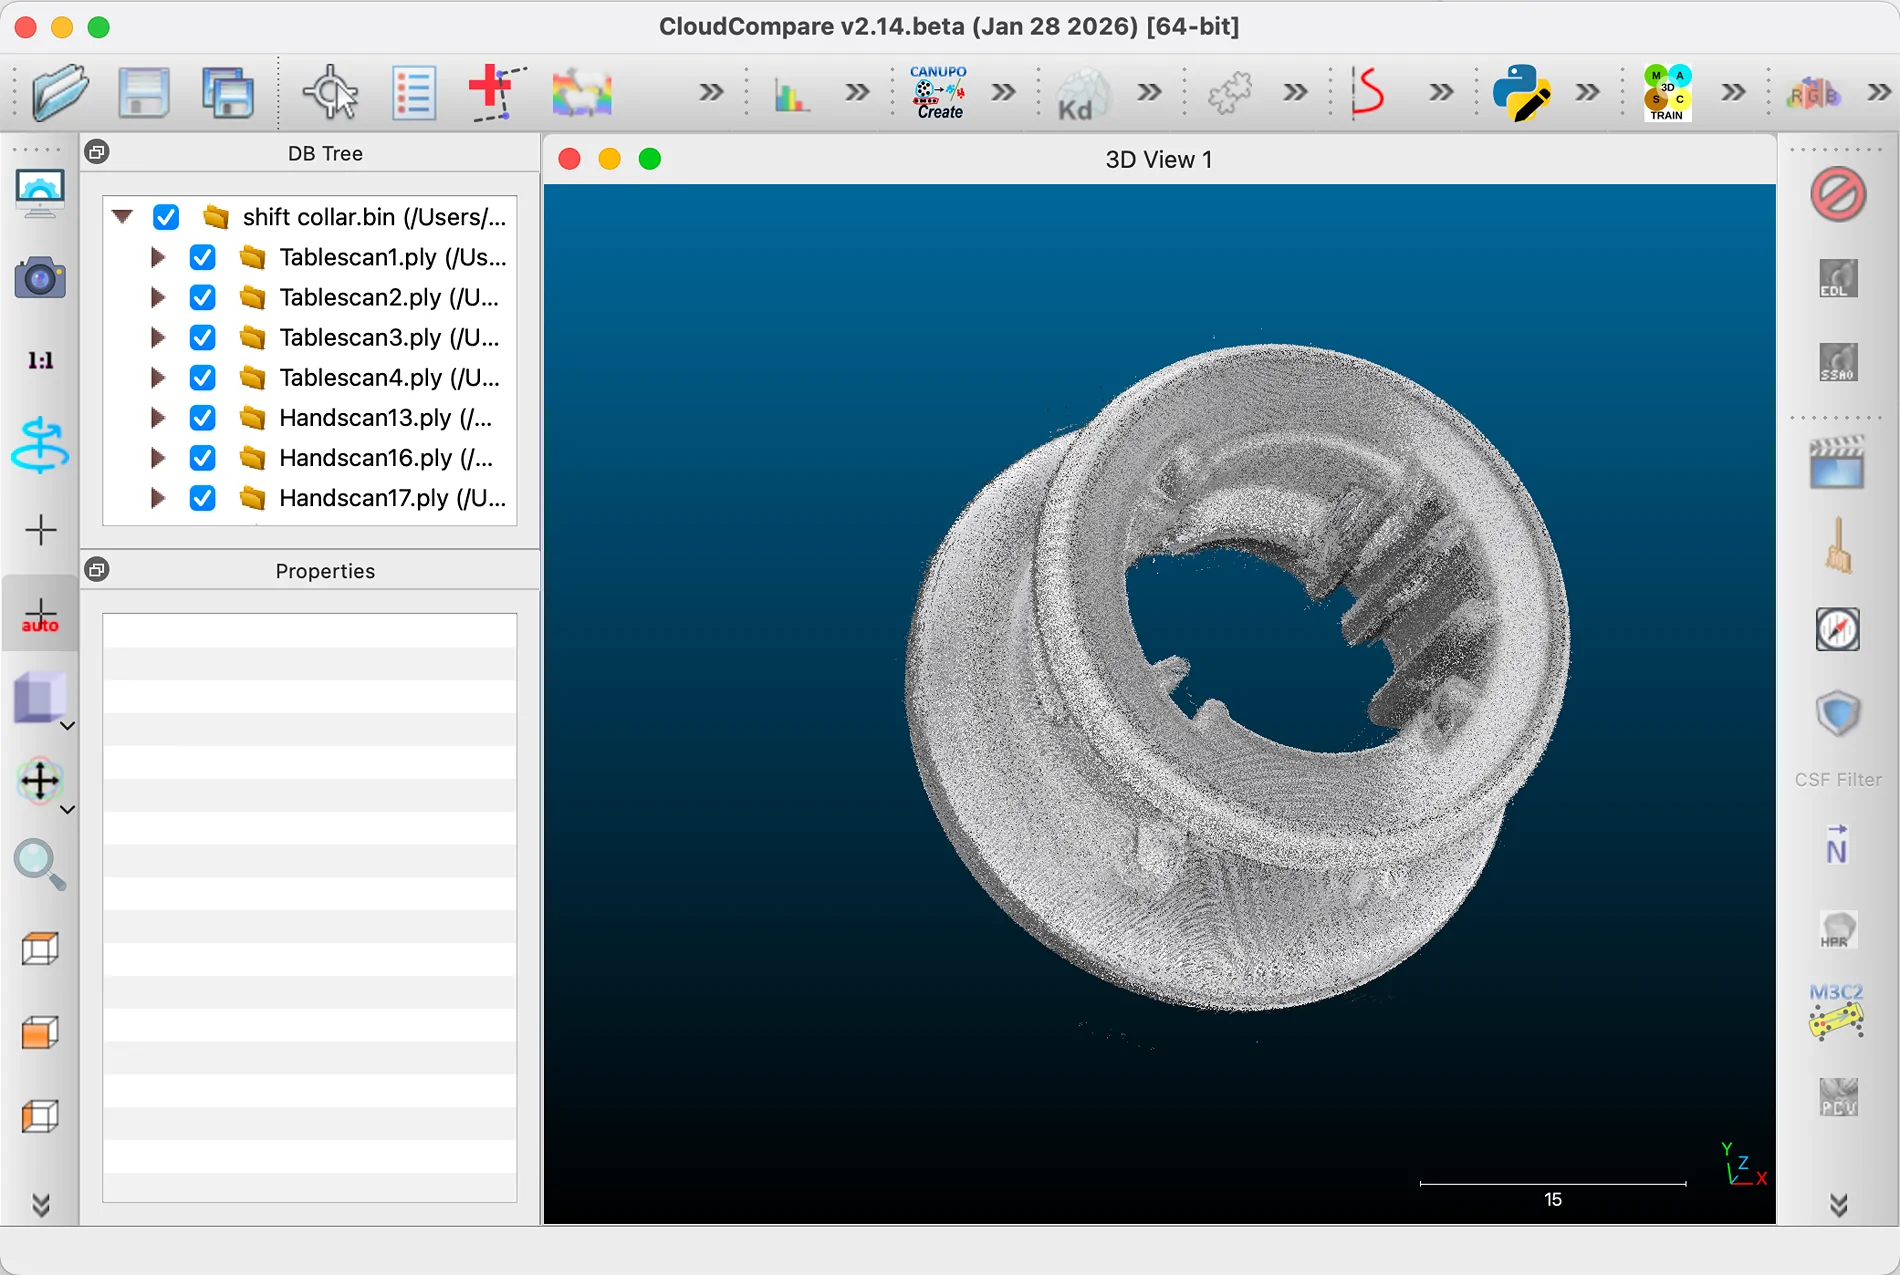
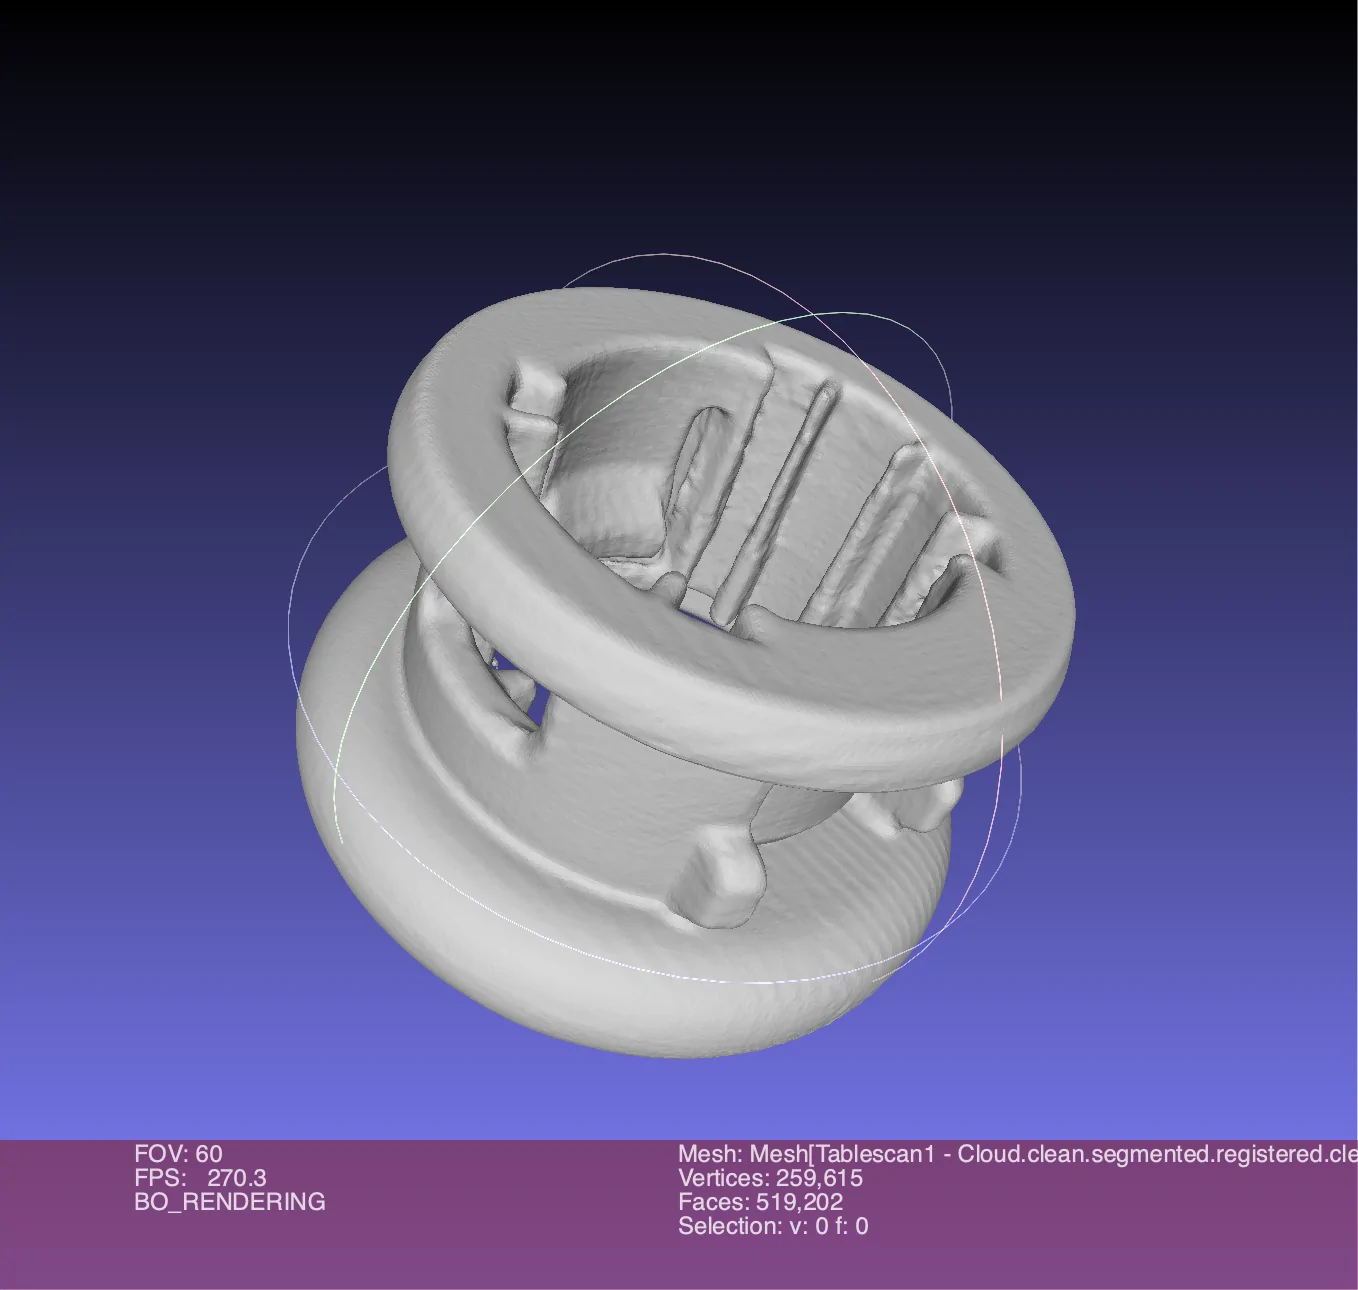
Scanning was done with a 3dmakerpro Seal Lite. I ended up doing a total of 7 scans, then using CloudCompare to align them and create a mesh which I cleaned up in MeshLab. Finally, I could import it into Solidworks and begin the long and painful process of turning it into a proper CAD model.


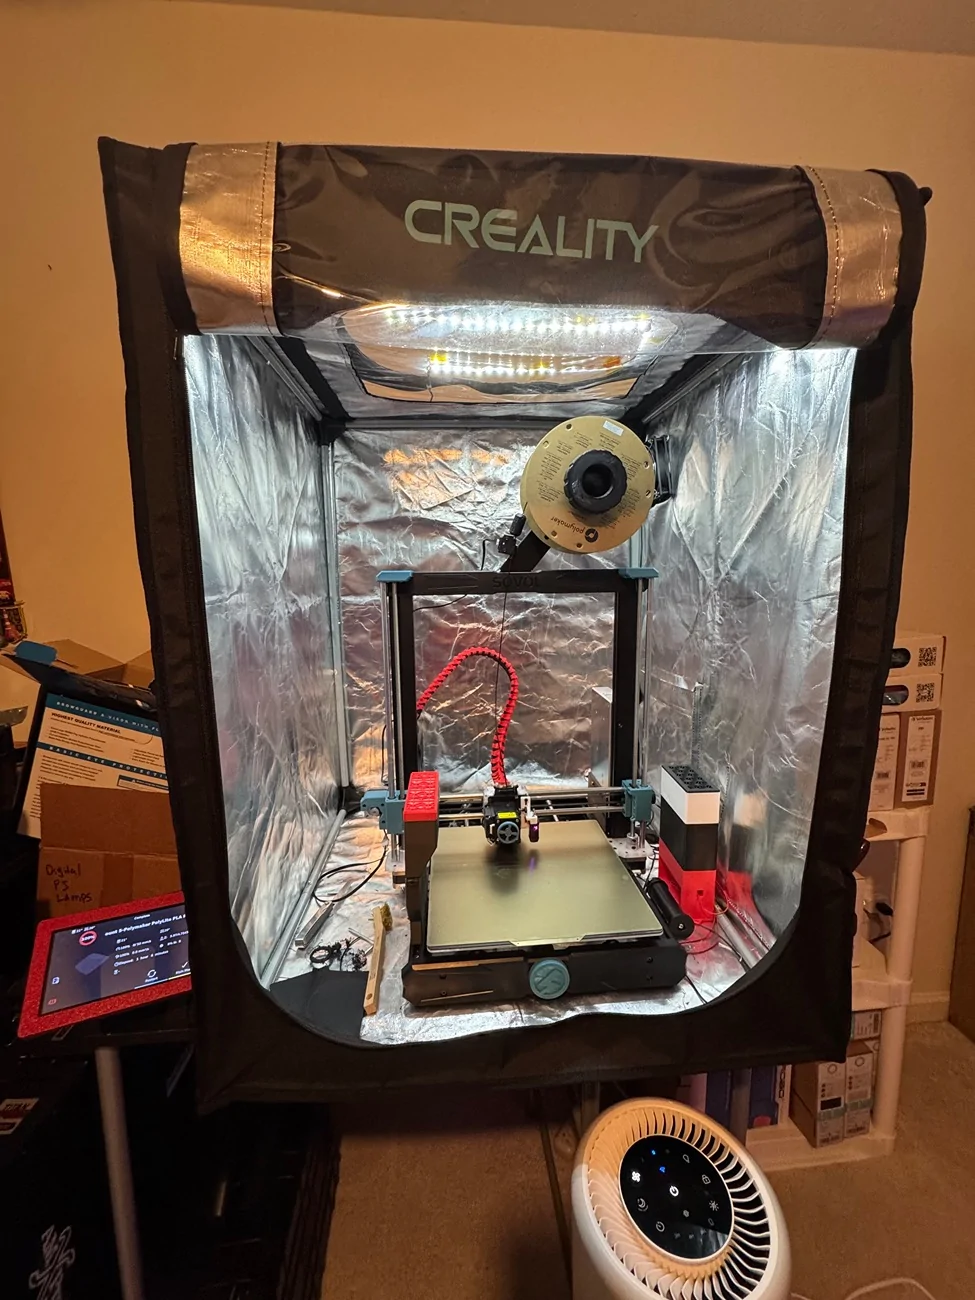
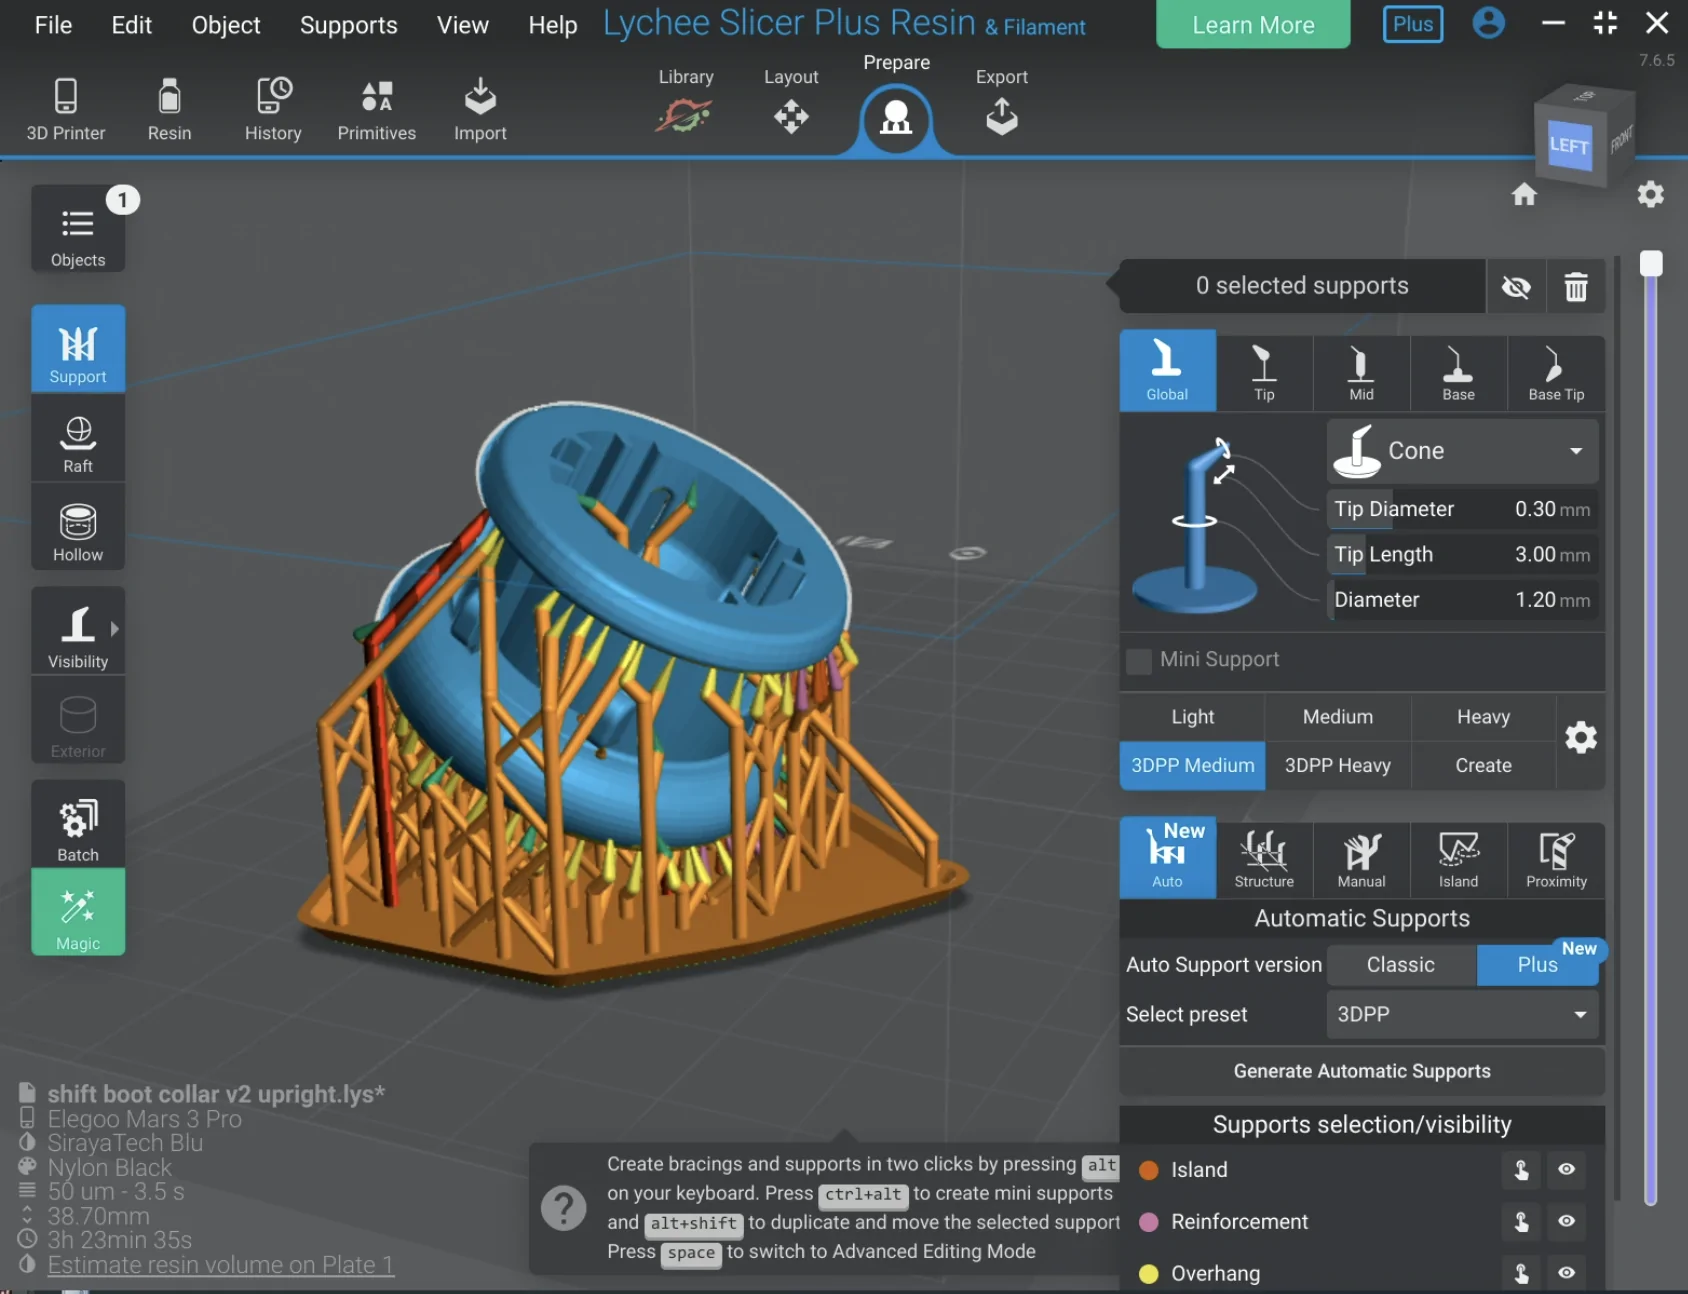
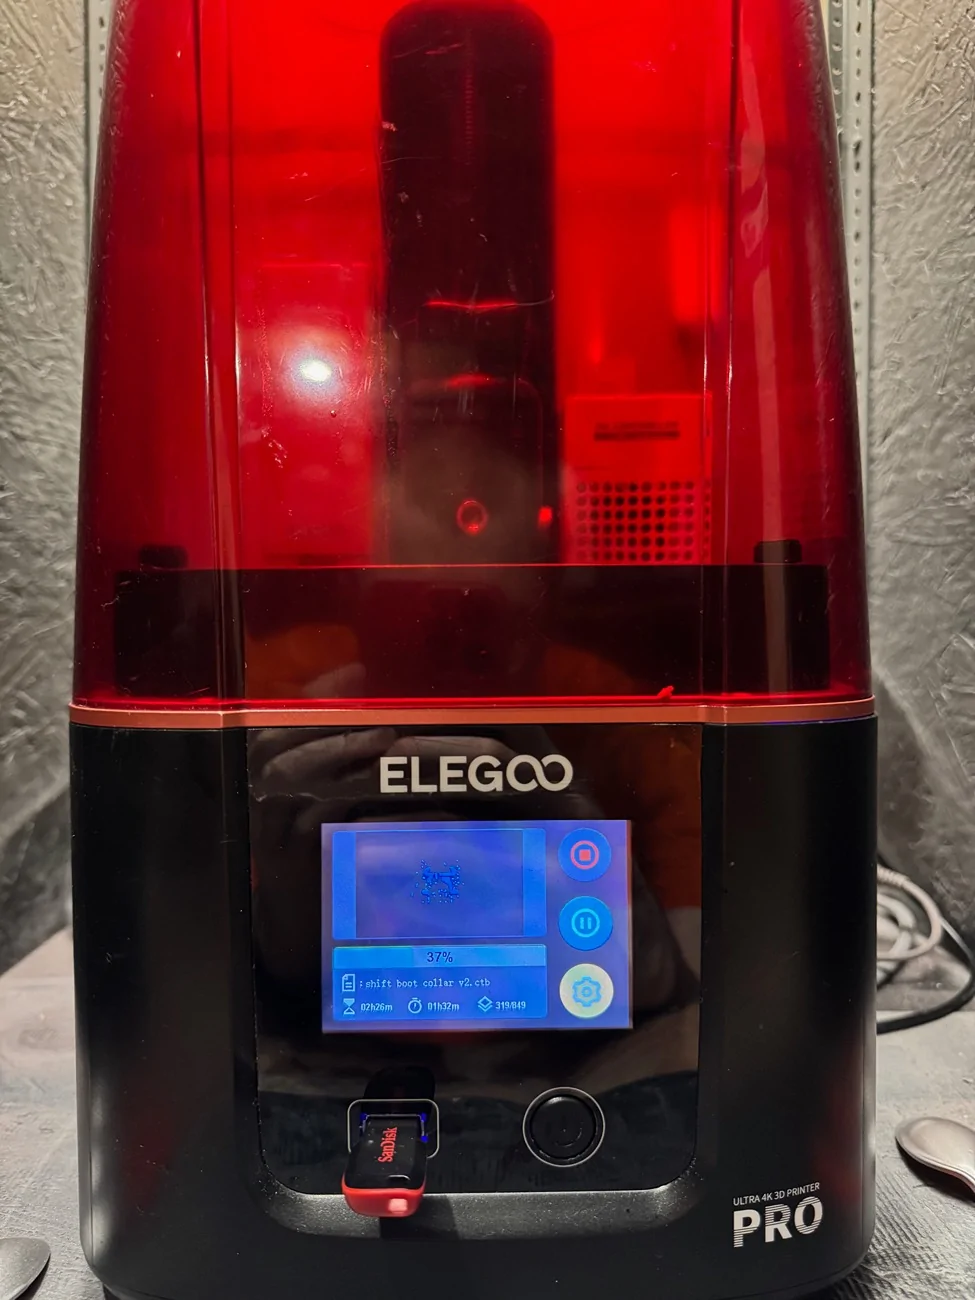
The CAD model was sliced in Lychee and printed on my Mars 3 Pro using Sirayatech Blu Nylon Black resin like I mentioned earlier. Supports were placed such that none touched any surface that would be visible when installed in the car. I included this pre-supported model in my Printables link at the top of this post. When printing, I did have to keep the chamber heated to 30C because Blu is a pretty viscous resin.
 .
.


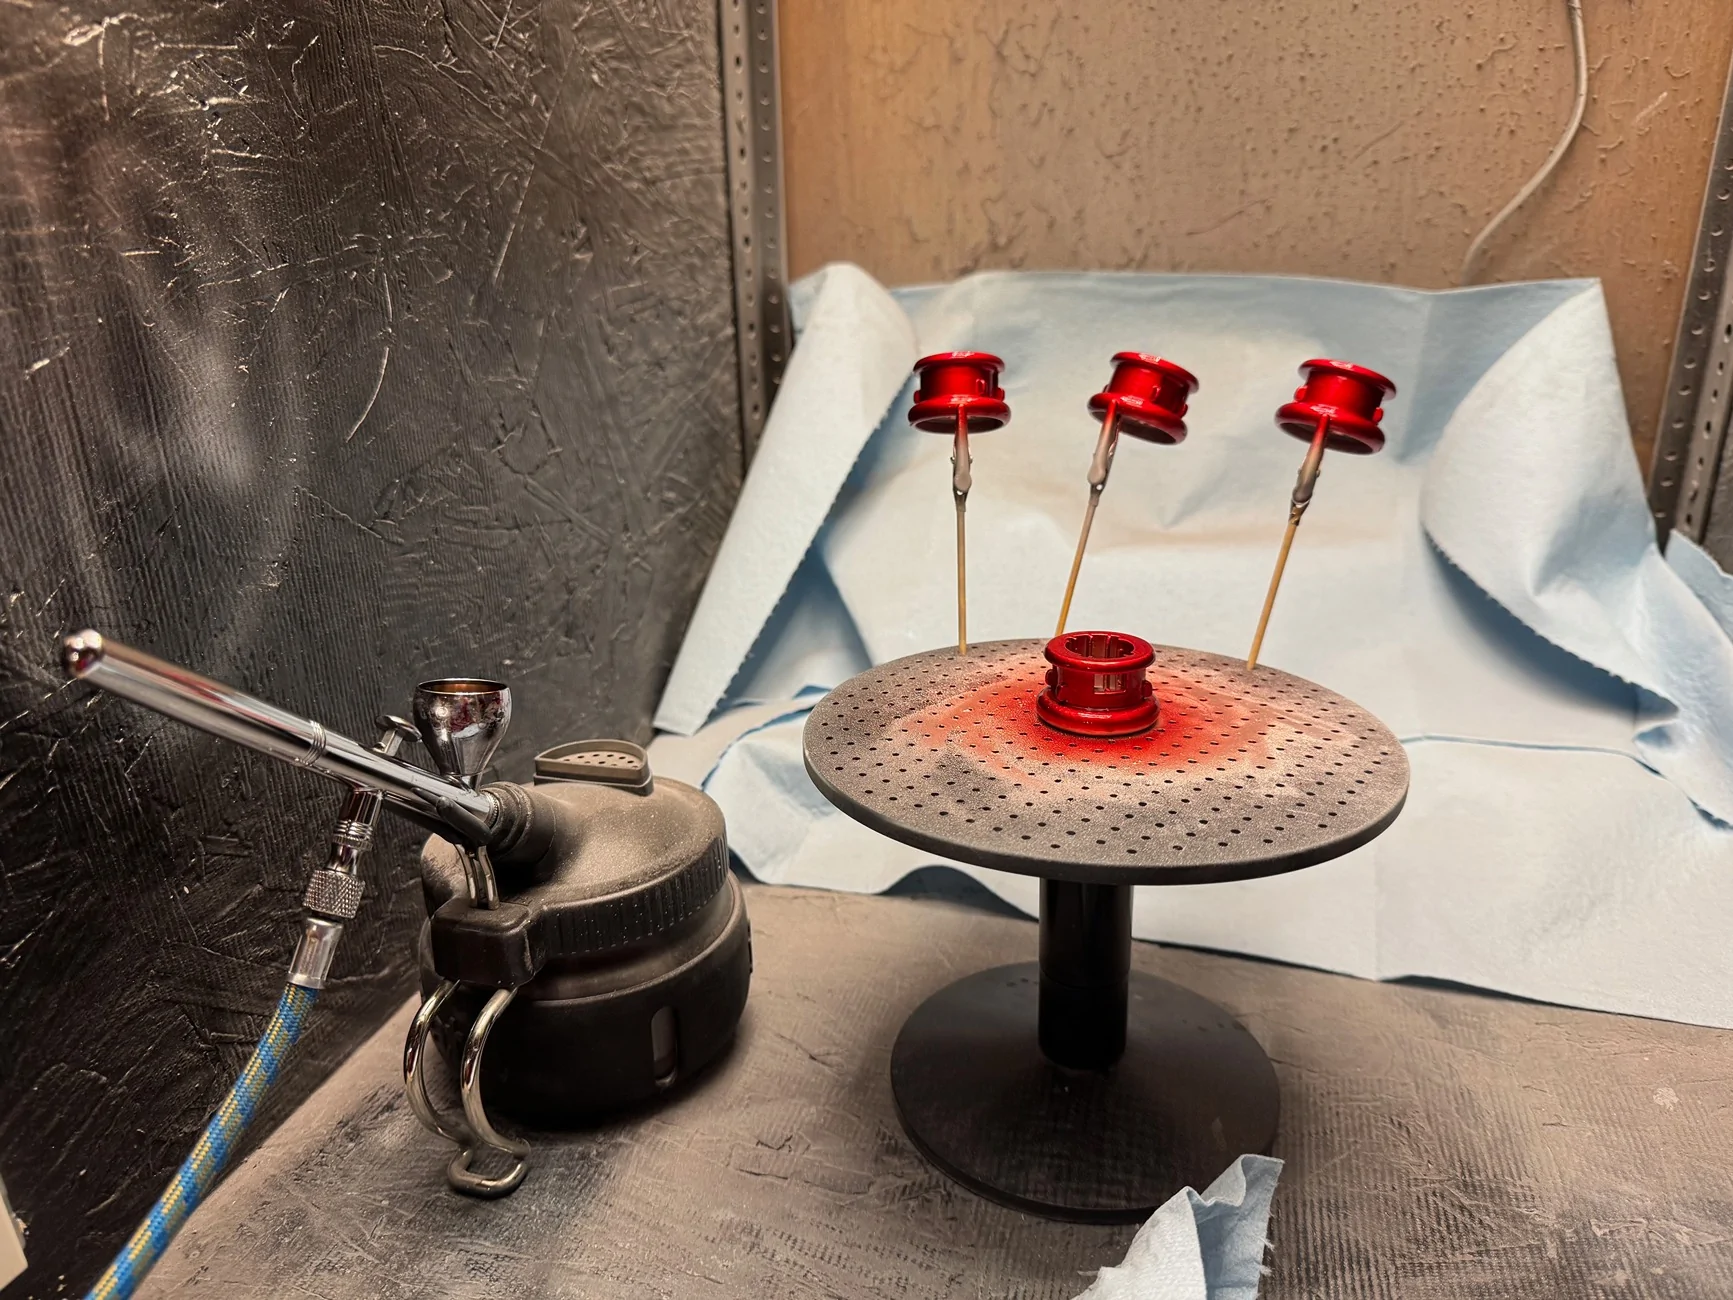
Supports were removed, then each print was wet sanded to clean up as many support pock marks as possible. I didn't bother with most of them because they wouldn't be visible or affect functionality when the collar is installed. After one more IPA bath they were put into the cure station for final cure. After that I sprayed them with primer and I was finally ready to paint. It actually took me about 3 weeks to dial in my paint stack and get the finish I wanted. I was going for a metallic candy red that would look like a plain deep red normally but turn into a bright shiny metallic red when light hits it.
This is what I ended up with. All paints were airbrushed with a 0.3 mm nozzle except the clear which I did with a 0.5 mm nozzle, and the primer which was a rattle can.
The 2 prints in the above image were test parts to see how my paint stack looked on the actual part. The ones shown below were the real parts. I made 3 in case I screwed up painting one/broke it/needed spares later.
Painting is finished!
.
.
I'm very happy with the result. I think it blends really well with the red accented stitching on the boot and carbon fiber surround. In total this project probably took me about 2 months. Most of that time was spent rebuilding the OEM part in CAD and experimenting with paints to get something I liked; though the multi-day cure times between layers didn't help. Anyway I hope some of you guys find the model useful.
I highly recommend using a resin printer because it's a small part with a lot of detail. It's possible to print it with FDM, but support placement and removal is a massive pain and it'll probably need a lot of sanding to get the layer lines out. Make sure that whatever material you use is engineering-grade with a high elongation at break (>25%, >35% ideal) to make sure the locking tabs don't crack or deform when you're snapping the collar onto the nut. I used Sirayatech Blu Nylon Black for my prints. For FDM, something like eSun PETG should work.
Scanning was done with a 3dmakerpro Seal Lite. I ended up doing a total of 7 scans, then using CloudCompare to align them and create a mesh which I cleaned up in MeshLab. Finally, I could import it into Solidworks and begin the long and painful process of turning it into a proper CAD model.
The CAD model was sliced in Lychee and printed on my Mars 3 Pro using Sirayatech Blu Nylon Black resin like I mentioned earlier. Supports were placed such that none touched any surface that would be visible when installed in the car. I included this pre-supported model in my Printables link at the top of this post. When printing, I did have to keep the chamber heated to 30C because Blu is a pretty viscous resin.
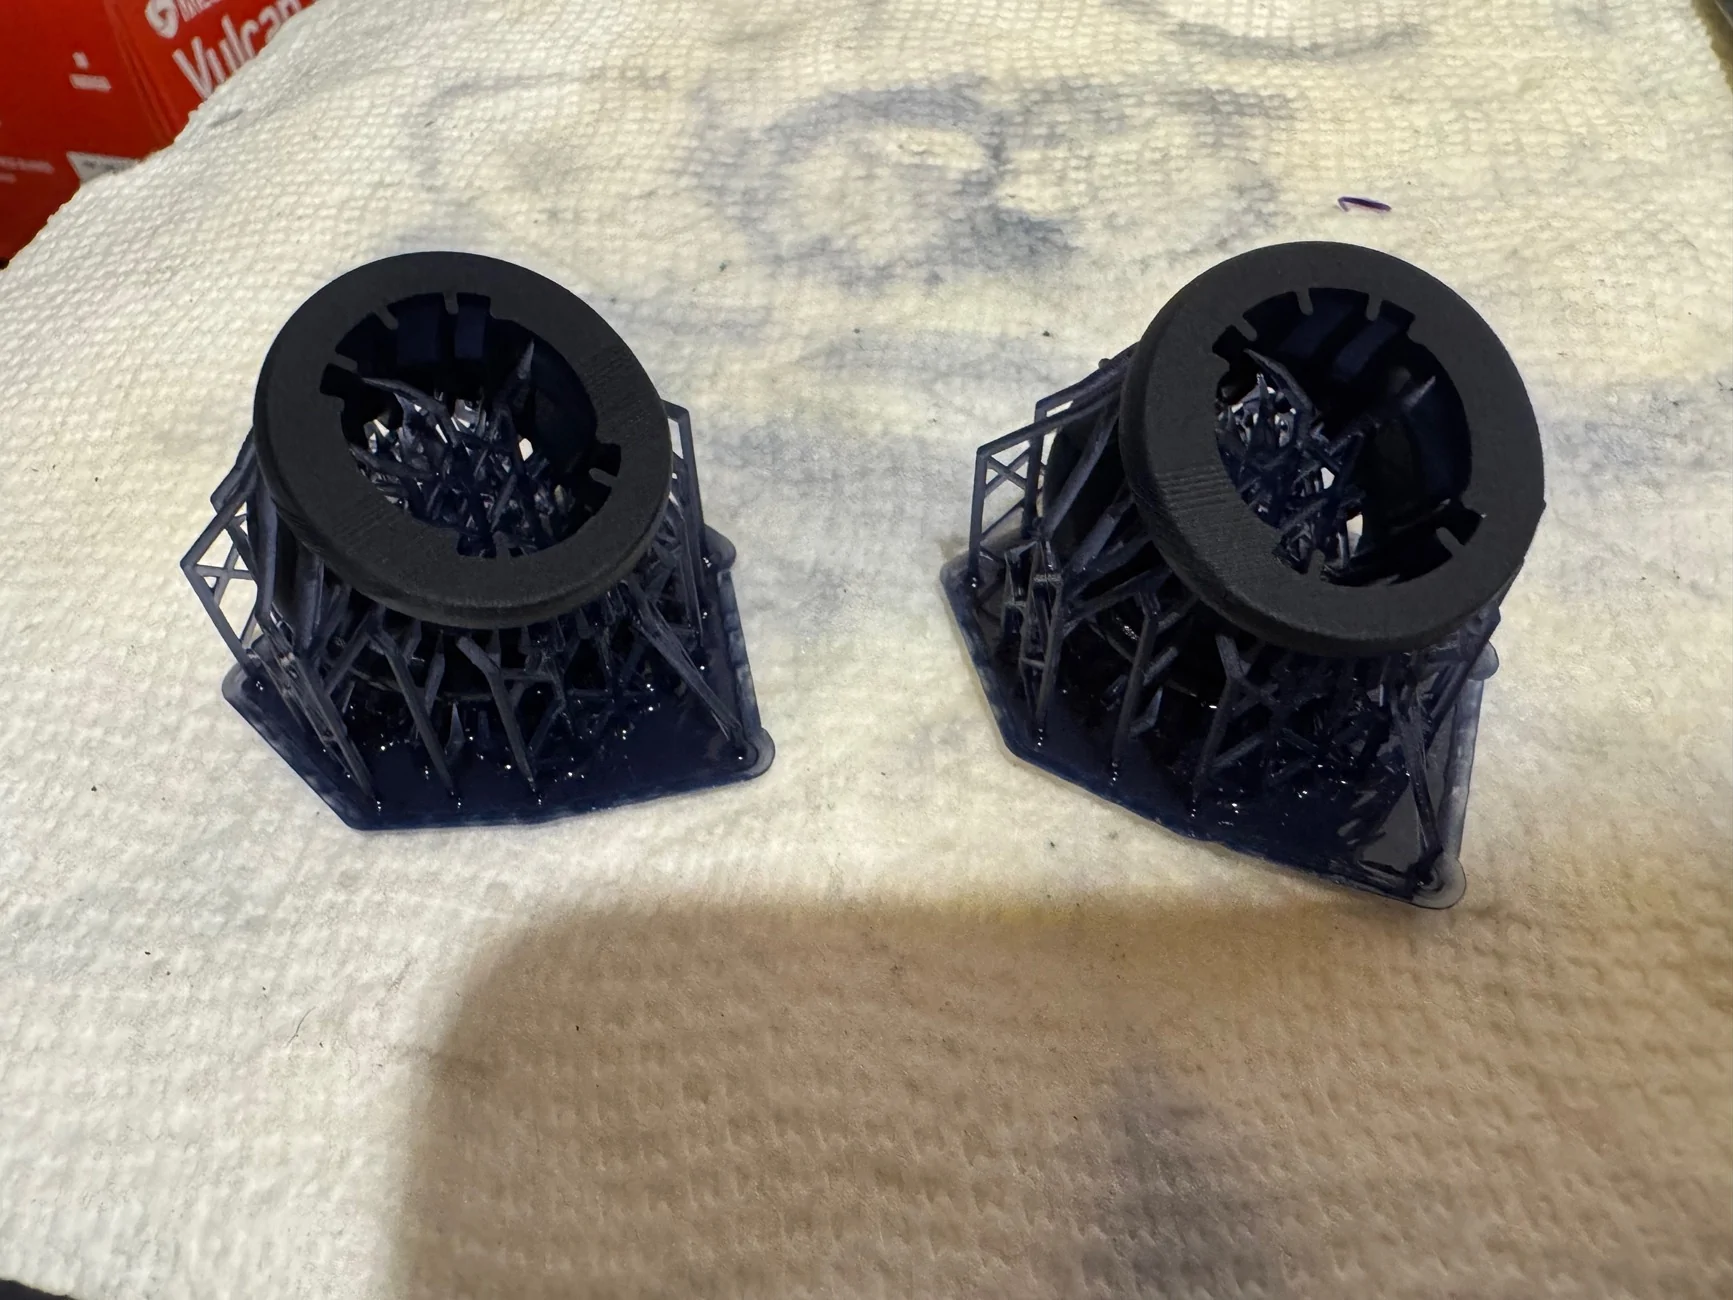
Supports were removed, then each print was wet sanded to clean up as many support pock marks as possible. I didn't bother with most of them because they wouldn't be visible or affect functionality when the collar is installed. After one more IPA bath they were put into the cure station for final cure. After that I sprayed them with primer and I was finally ready to paint. It actually took me about 3 weeks to dial in my paint stack and get the finish I wanted. I was going for a metallic candy red that would look like a plain deep red normally but turn into a bright shiny metallic red when light hits it.
This is what I ended up with. All paints were airbrushed with a 0.3 mm nozzle except the clear which I did with a 0.5 mm nozzle, and the primer which was a rattle can.
- Tamiya Fine Surface Primer (Grey)
- Tamiya X-11 (metallic base, 3 coats)
- Tamiya LP-52 (clear red, 6-7 coats until I got the color depth I wanted)
- Clear coat from the Honda OEM touch-up pen, thinned with Tamiya lacquer thinner & mixed with Mr. Retarder Mild (durability, UV protection & gloss, 3 coats)
The 2 prints in the above image were test parts to see how my paint stack looked on the actual part. The ones shown below were the real parts. I made 3 in case I screwed up painting one/broke it/needed spares later.
Painting is finished!
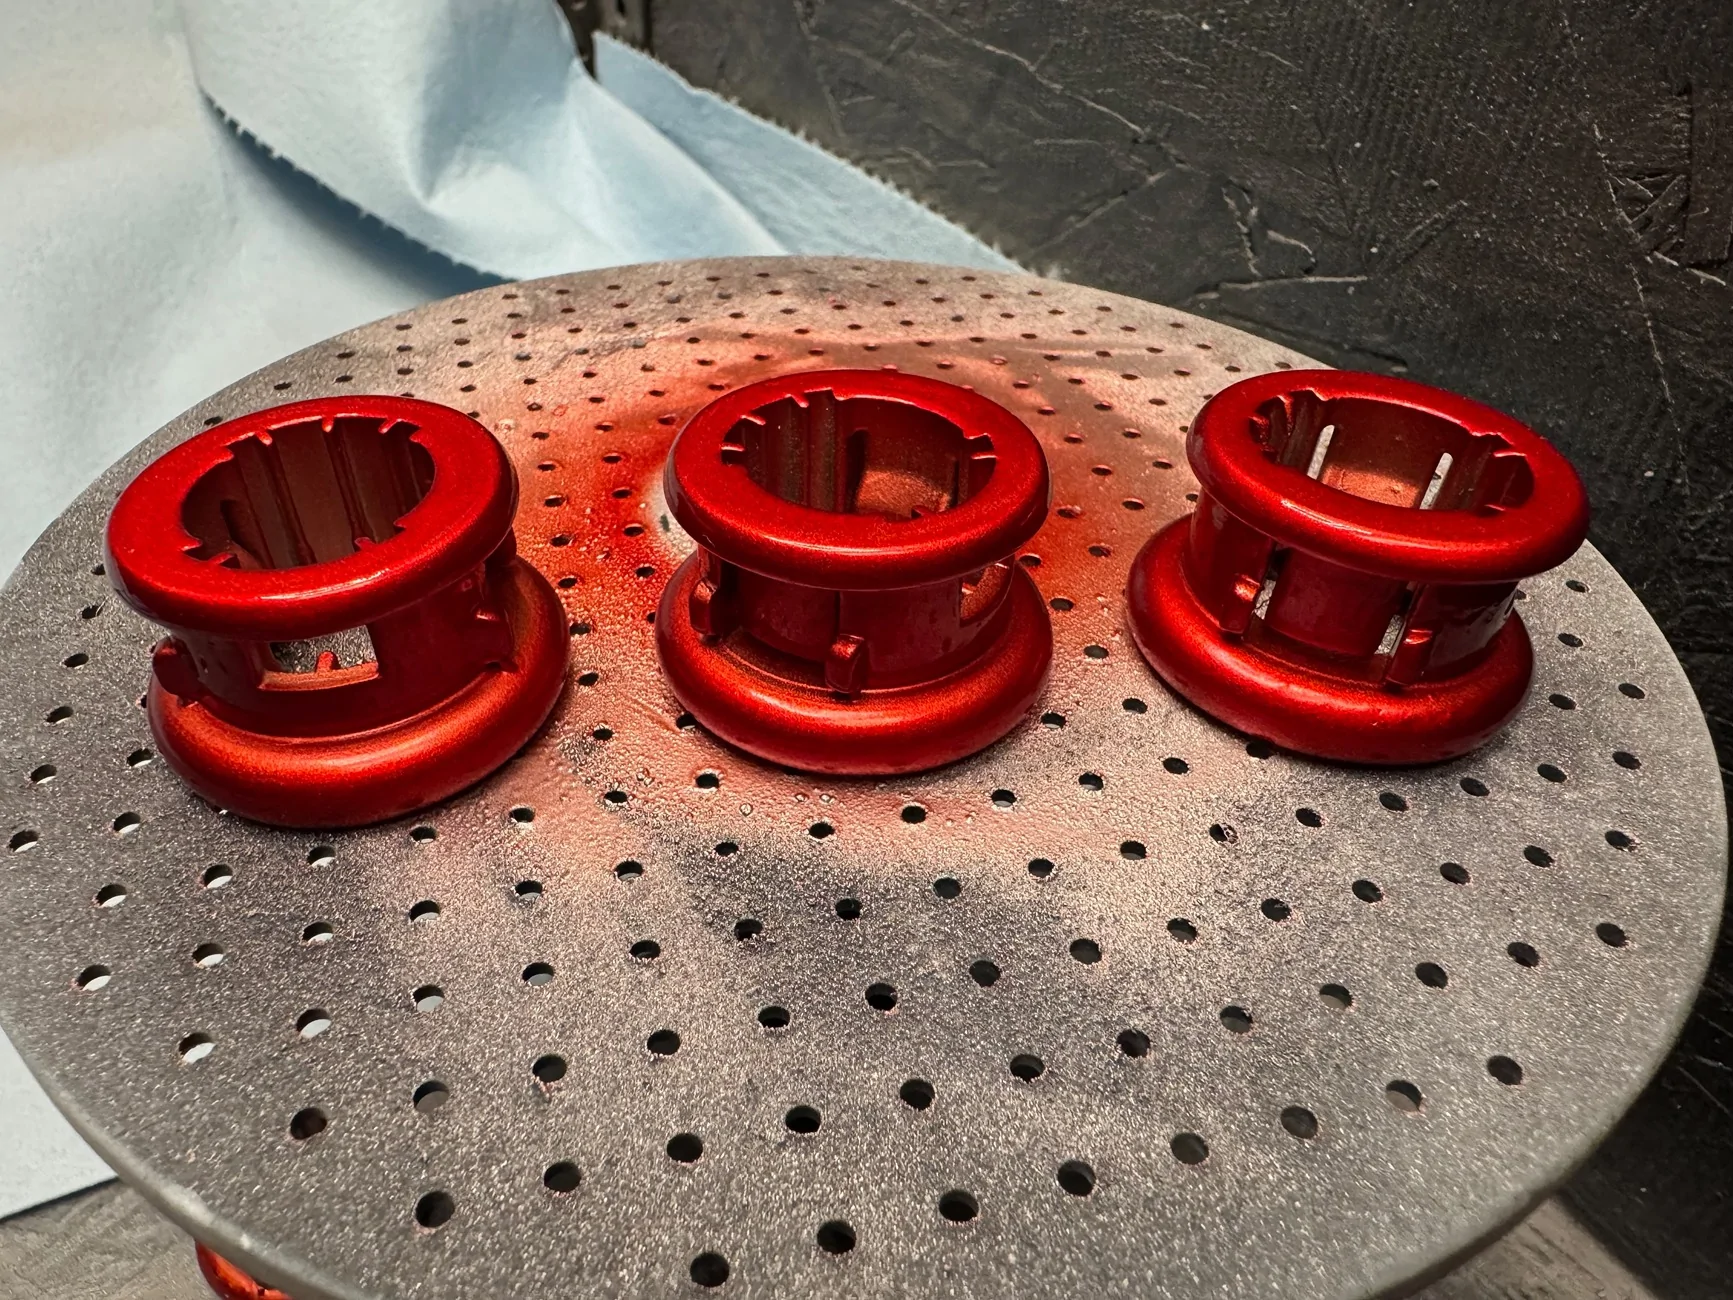
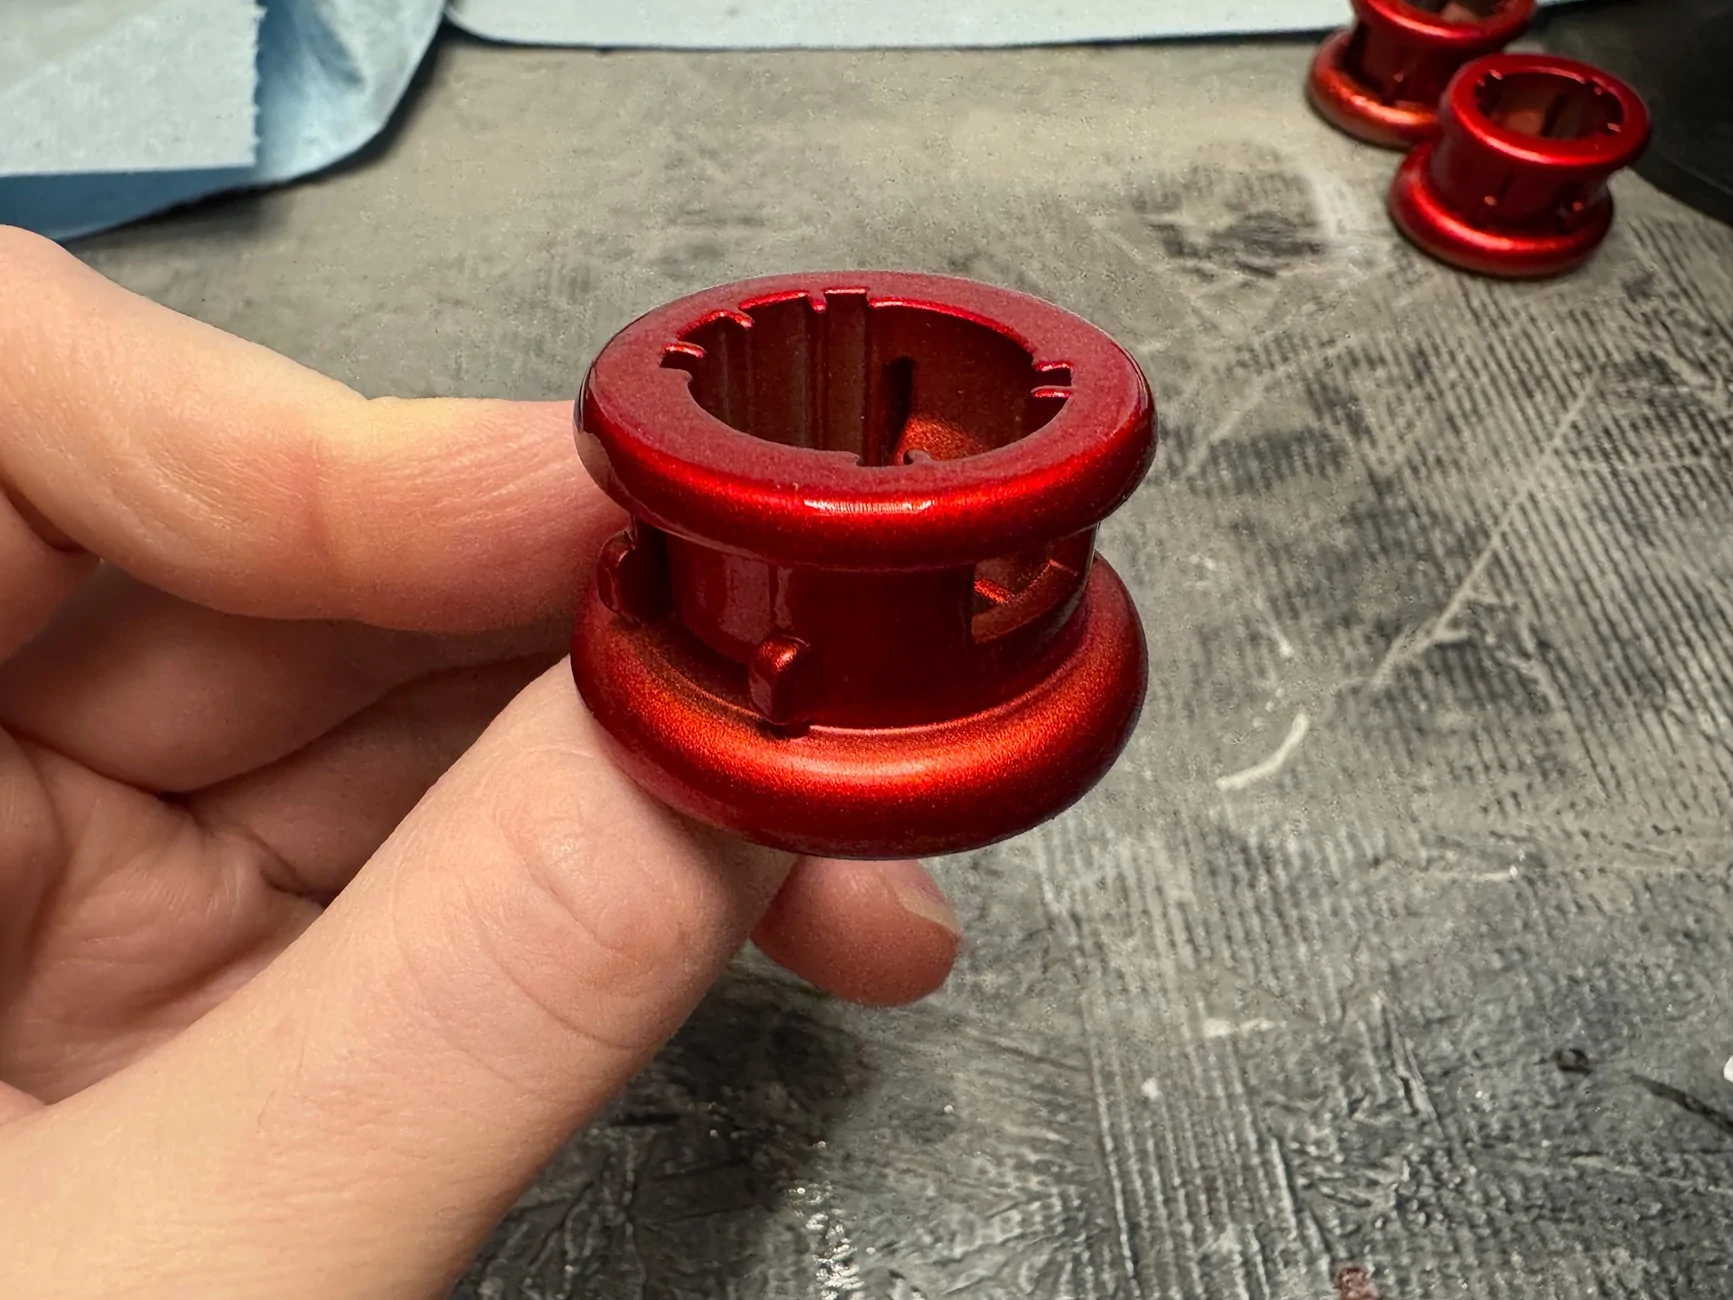
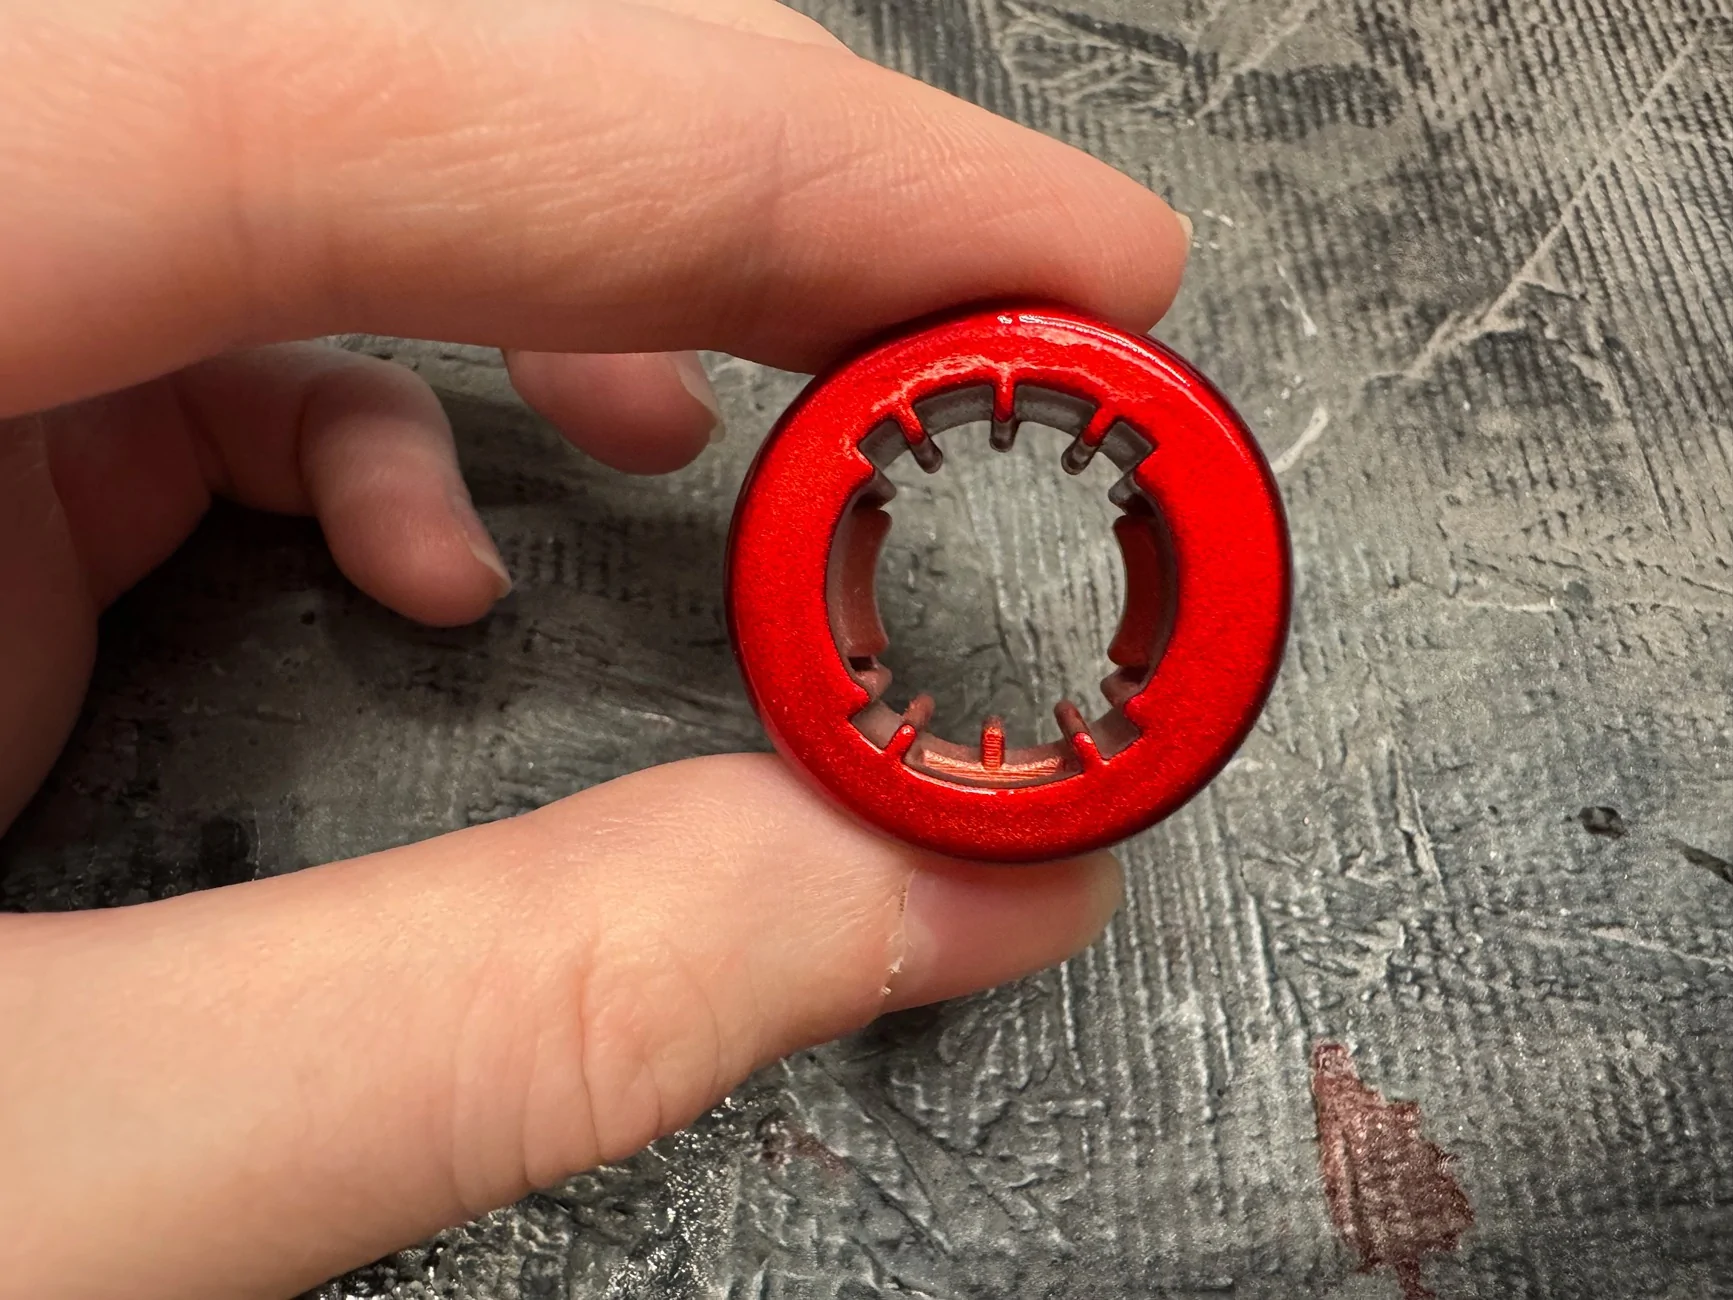
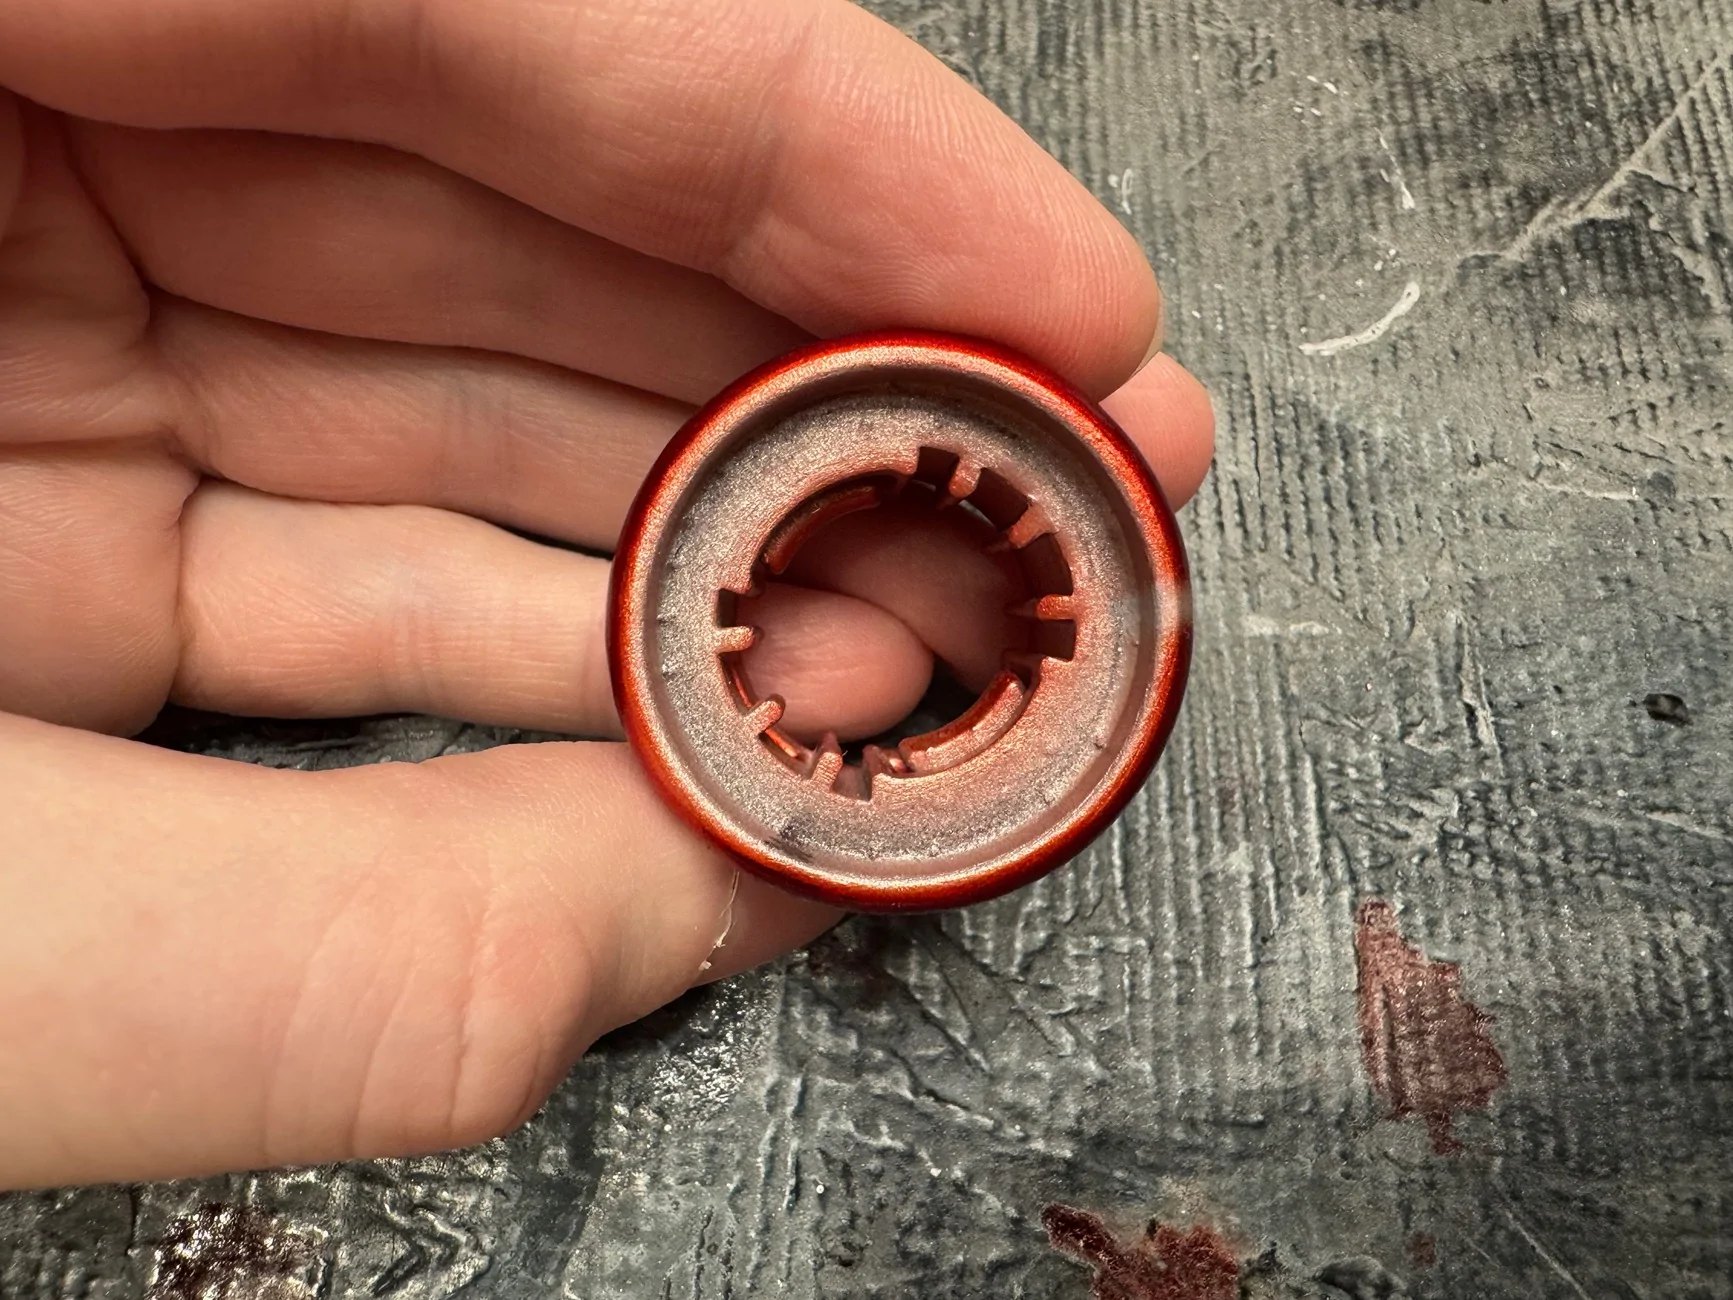
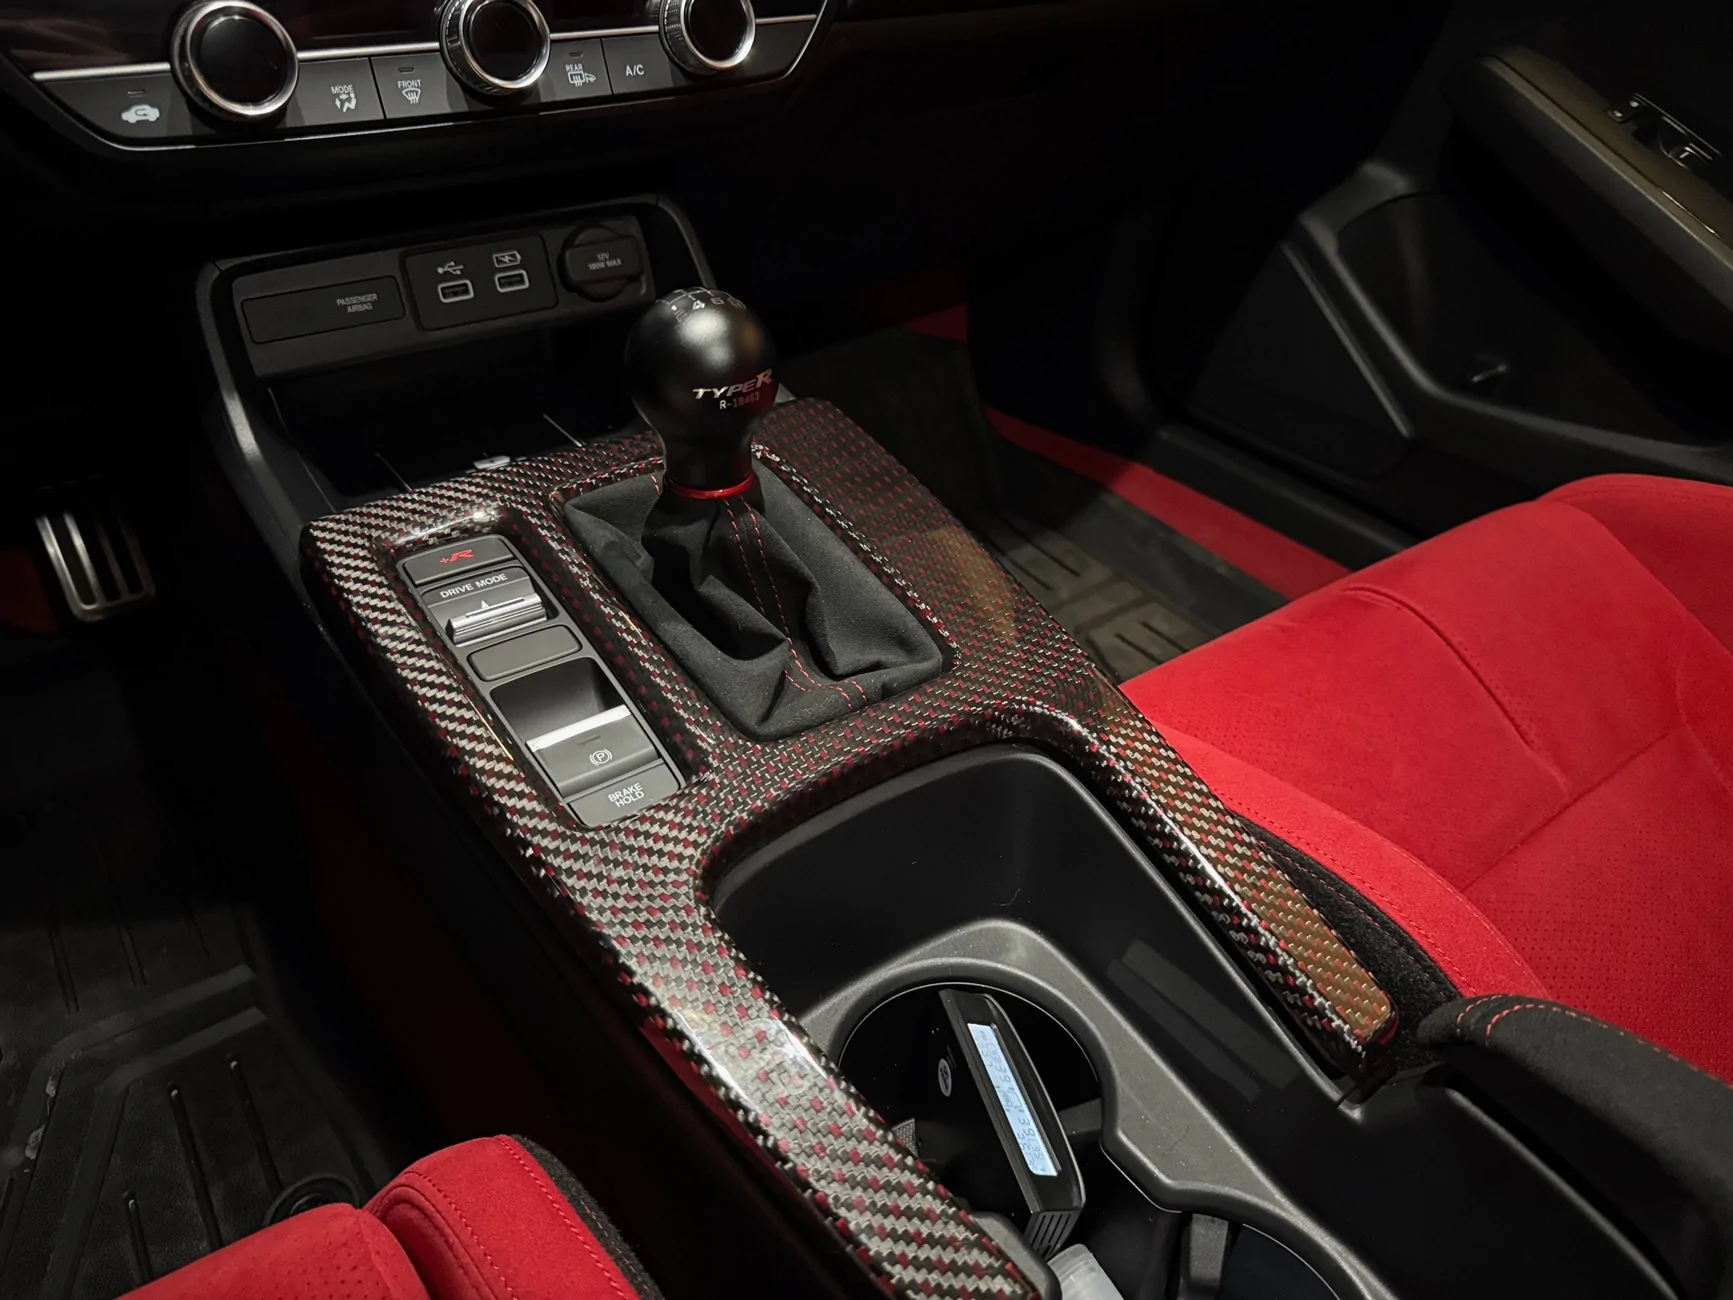
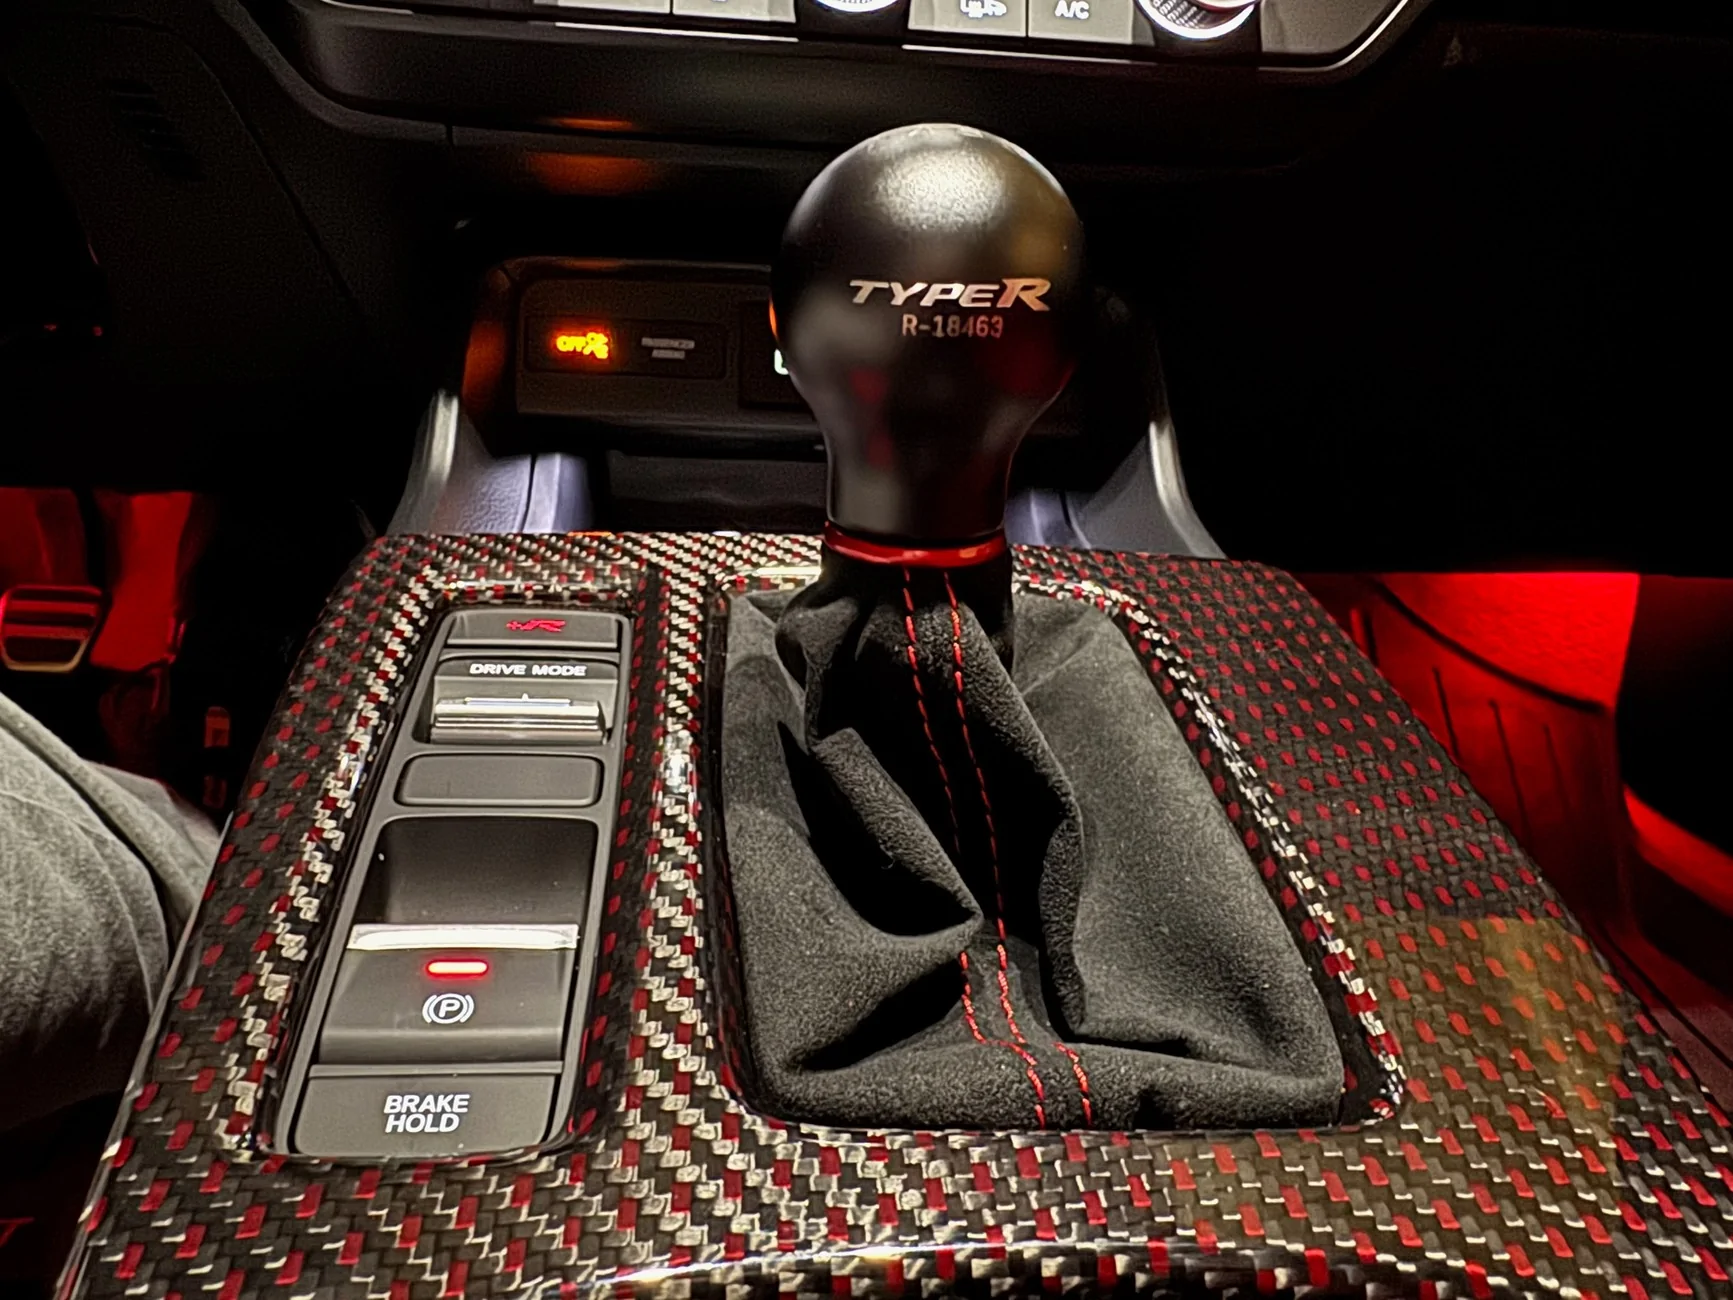
I'm very happy with the result. I think it blends really well with the red accented stitching on the boot and carbon fiber surround. In total this project probably took me about 2 months. Most of that time was spent rebuilding the OEM part in CAD and experimenting with paints to get something I liked; though the multi-day cure times between layers didn't help. Anyway I hope some of you guys find the model useful.
Last edited: