OP
OP
TunerR1
Member
- First Name
- Ge
- Joined
- Sep 20, 2023
- Threads
- 1
- Messages
- 39
- Reaction score
- 82
- Location
- Wisconsin, USA
- Vehicle(s)
- 2015 Toyota Tacoma, 2023 Civic Type R
- Thread starter
- #46
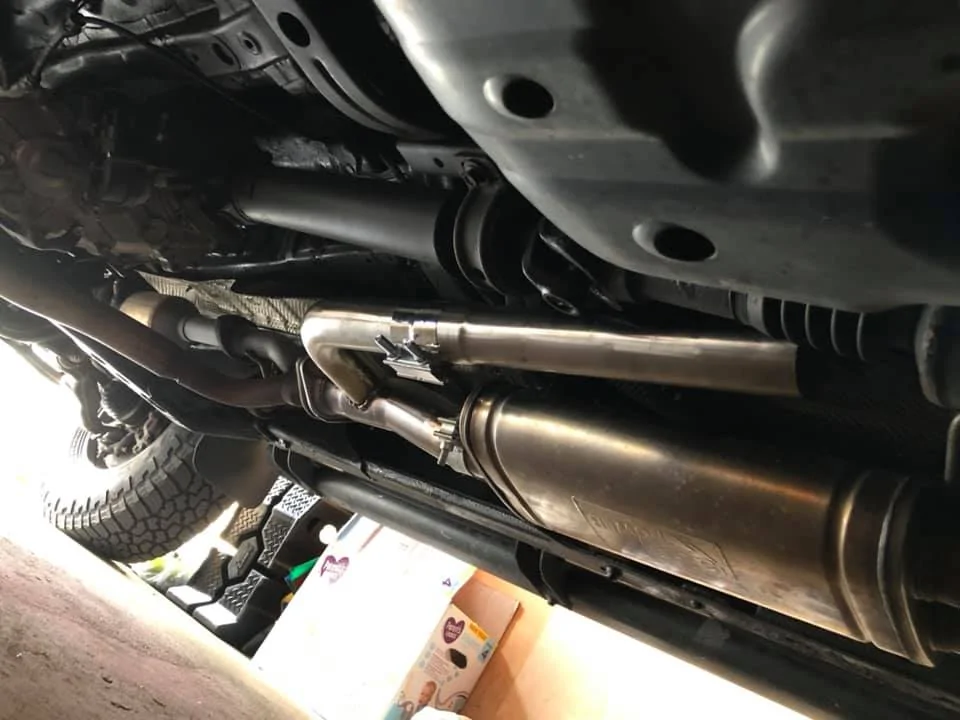
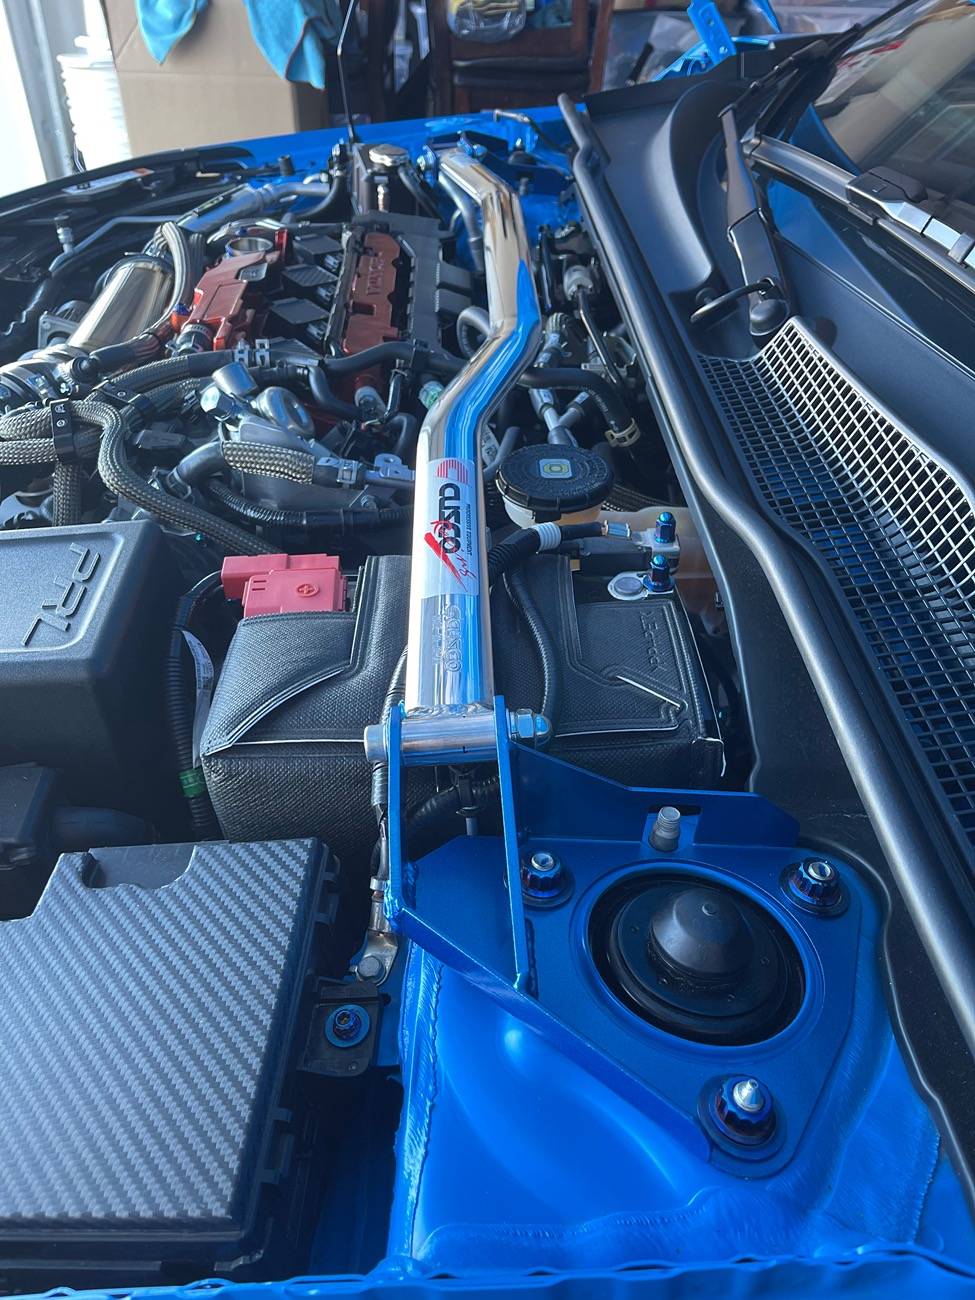
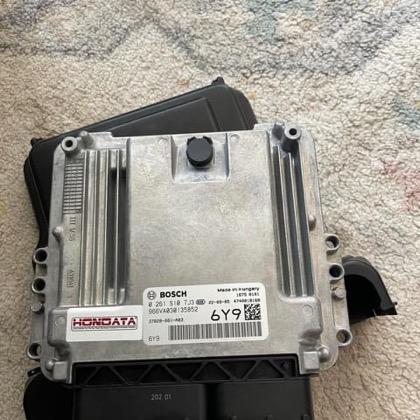
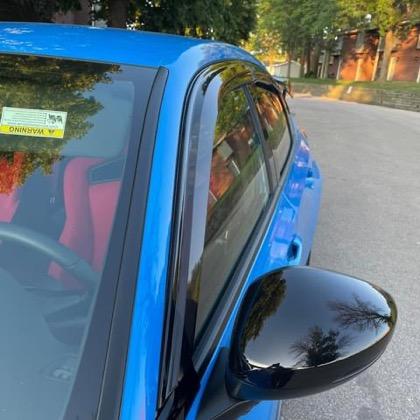
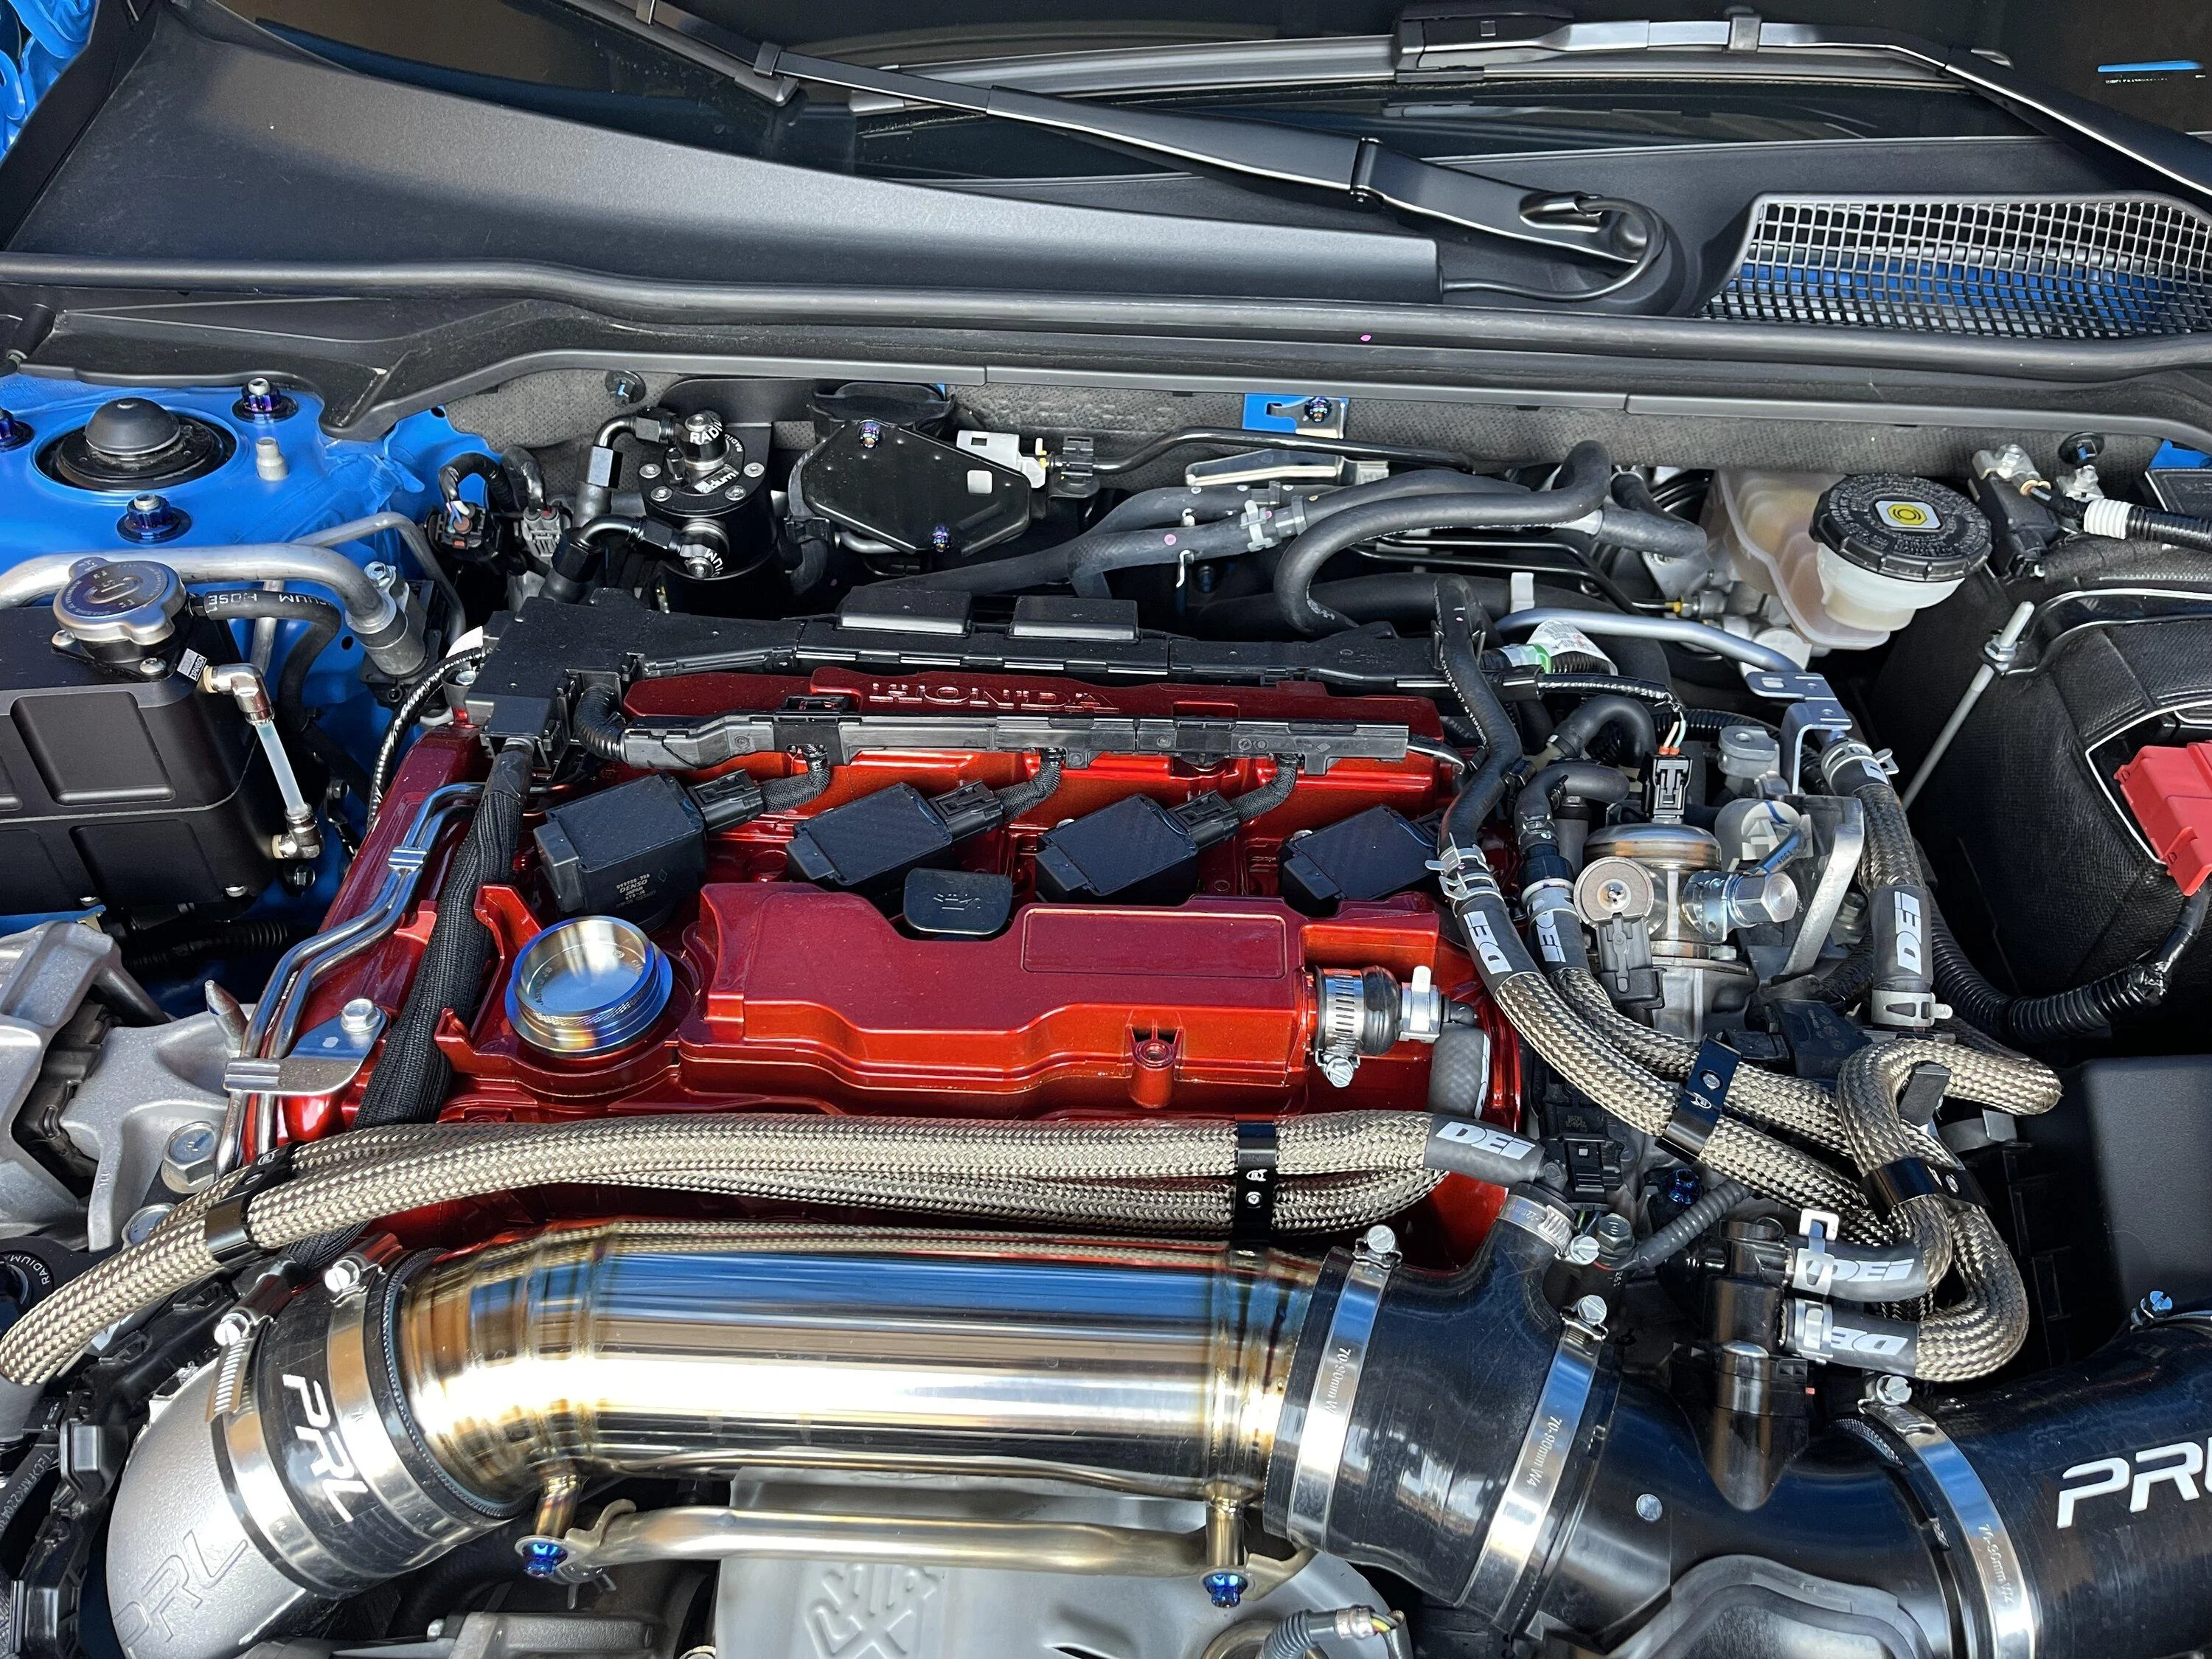
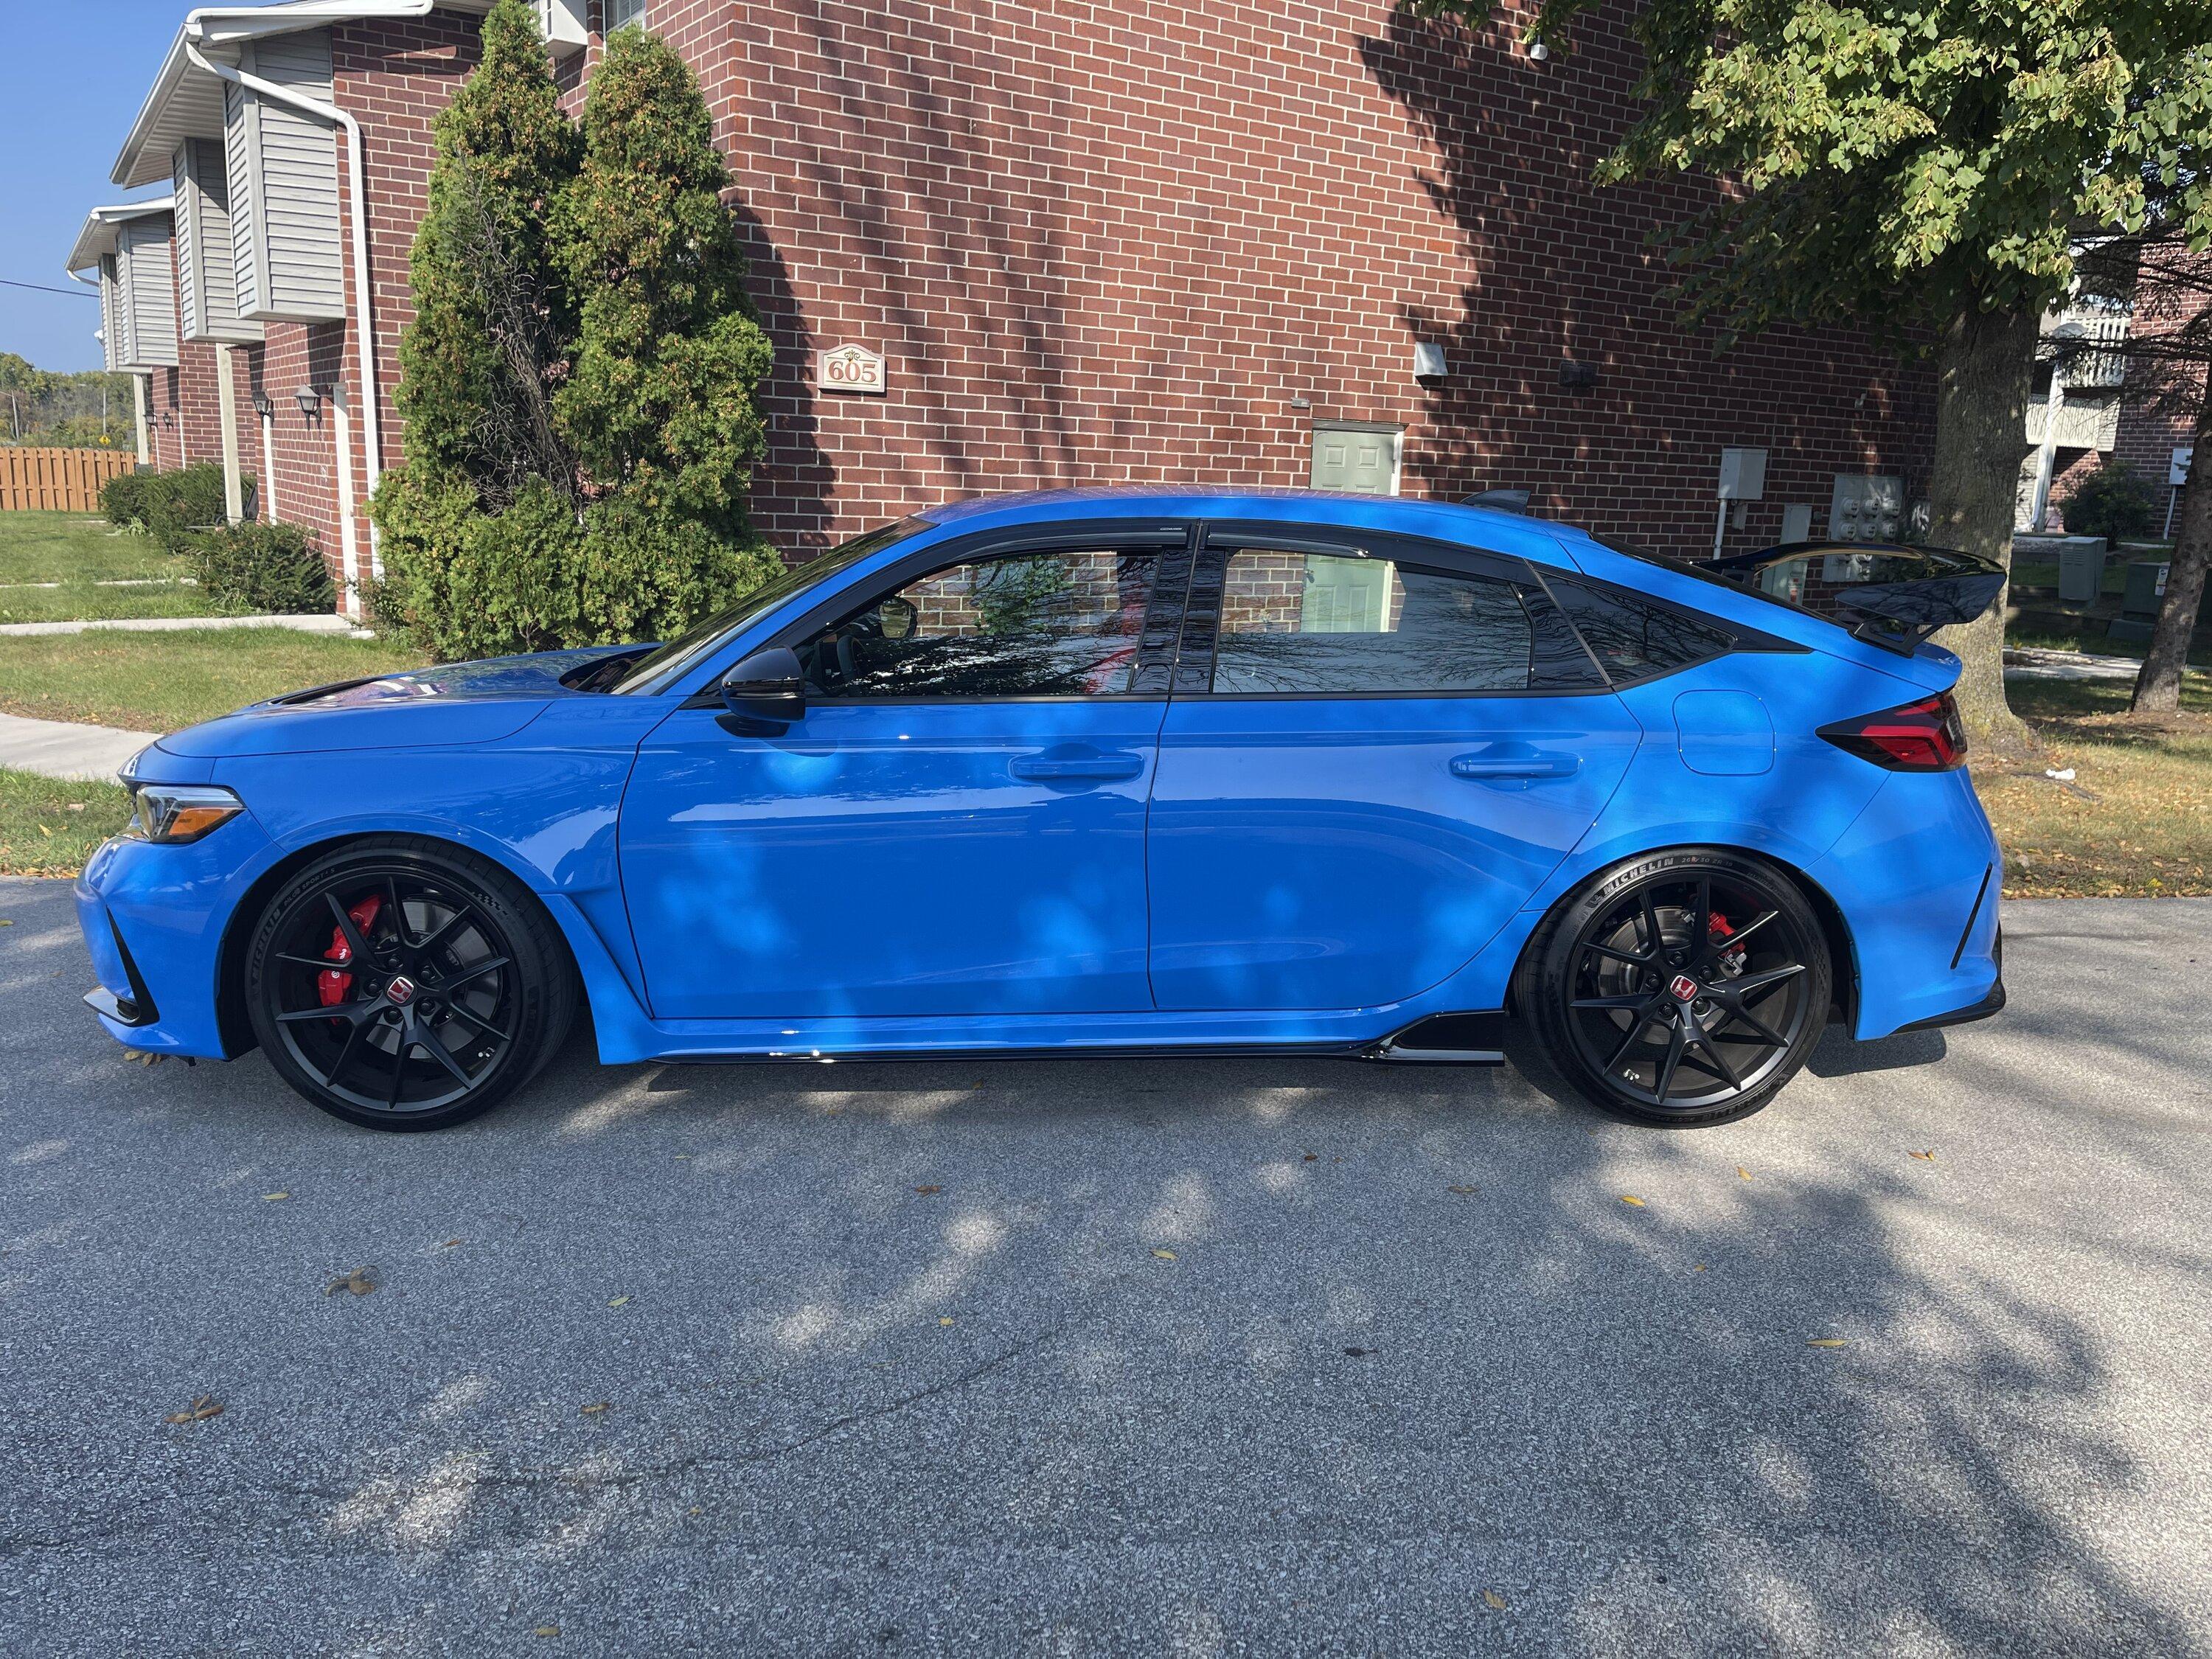
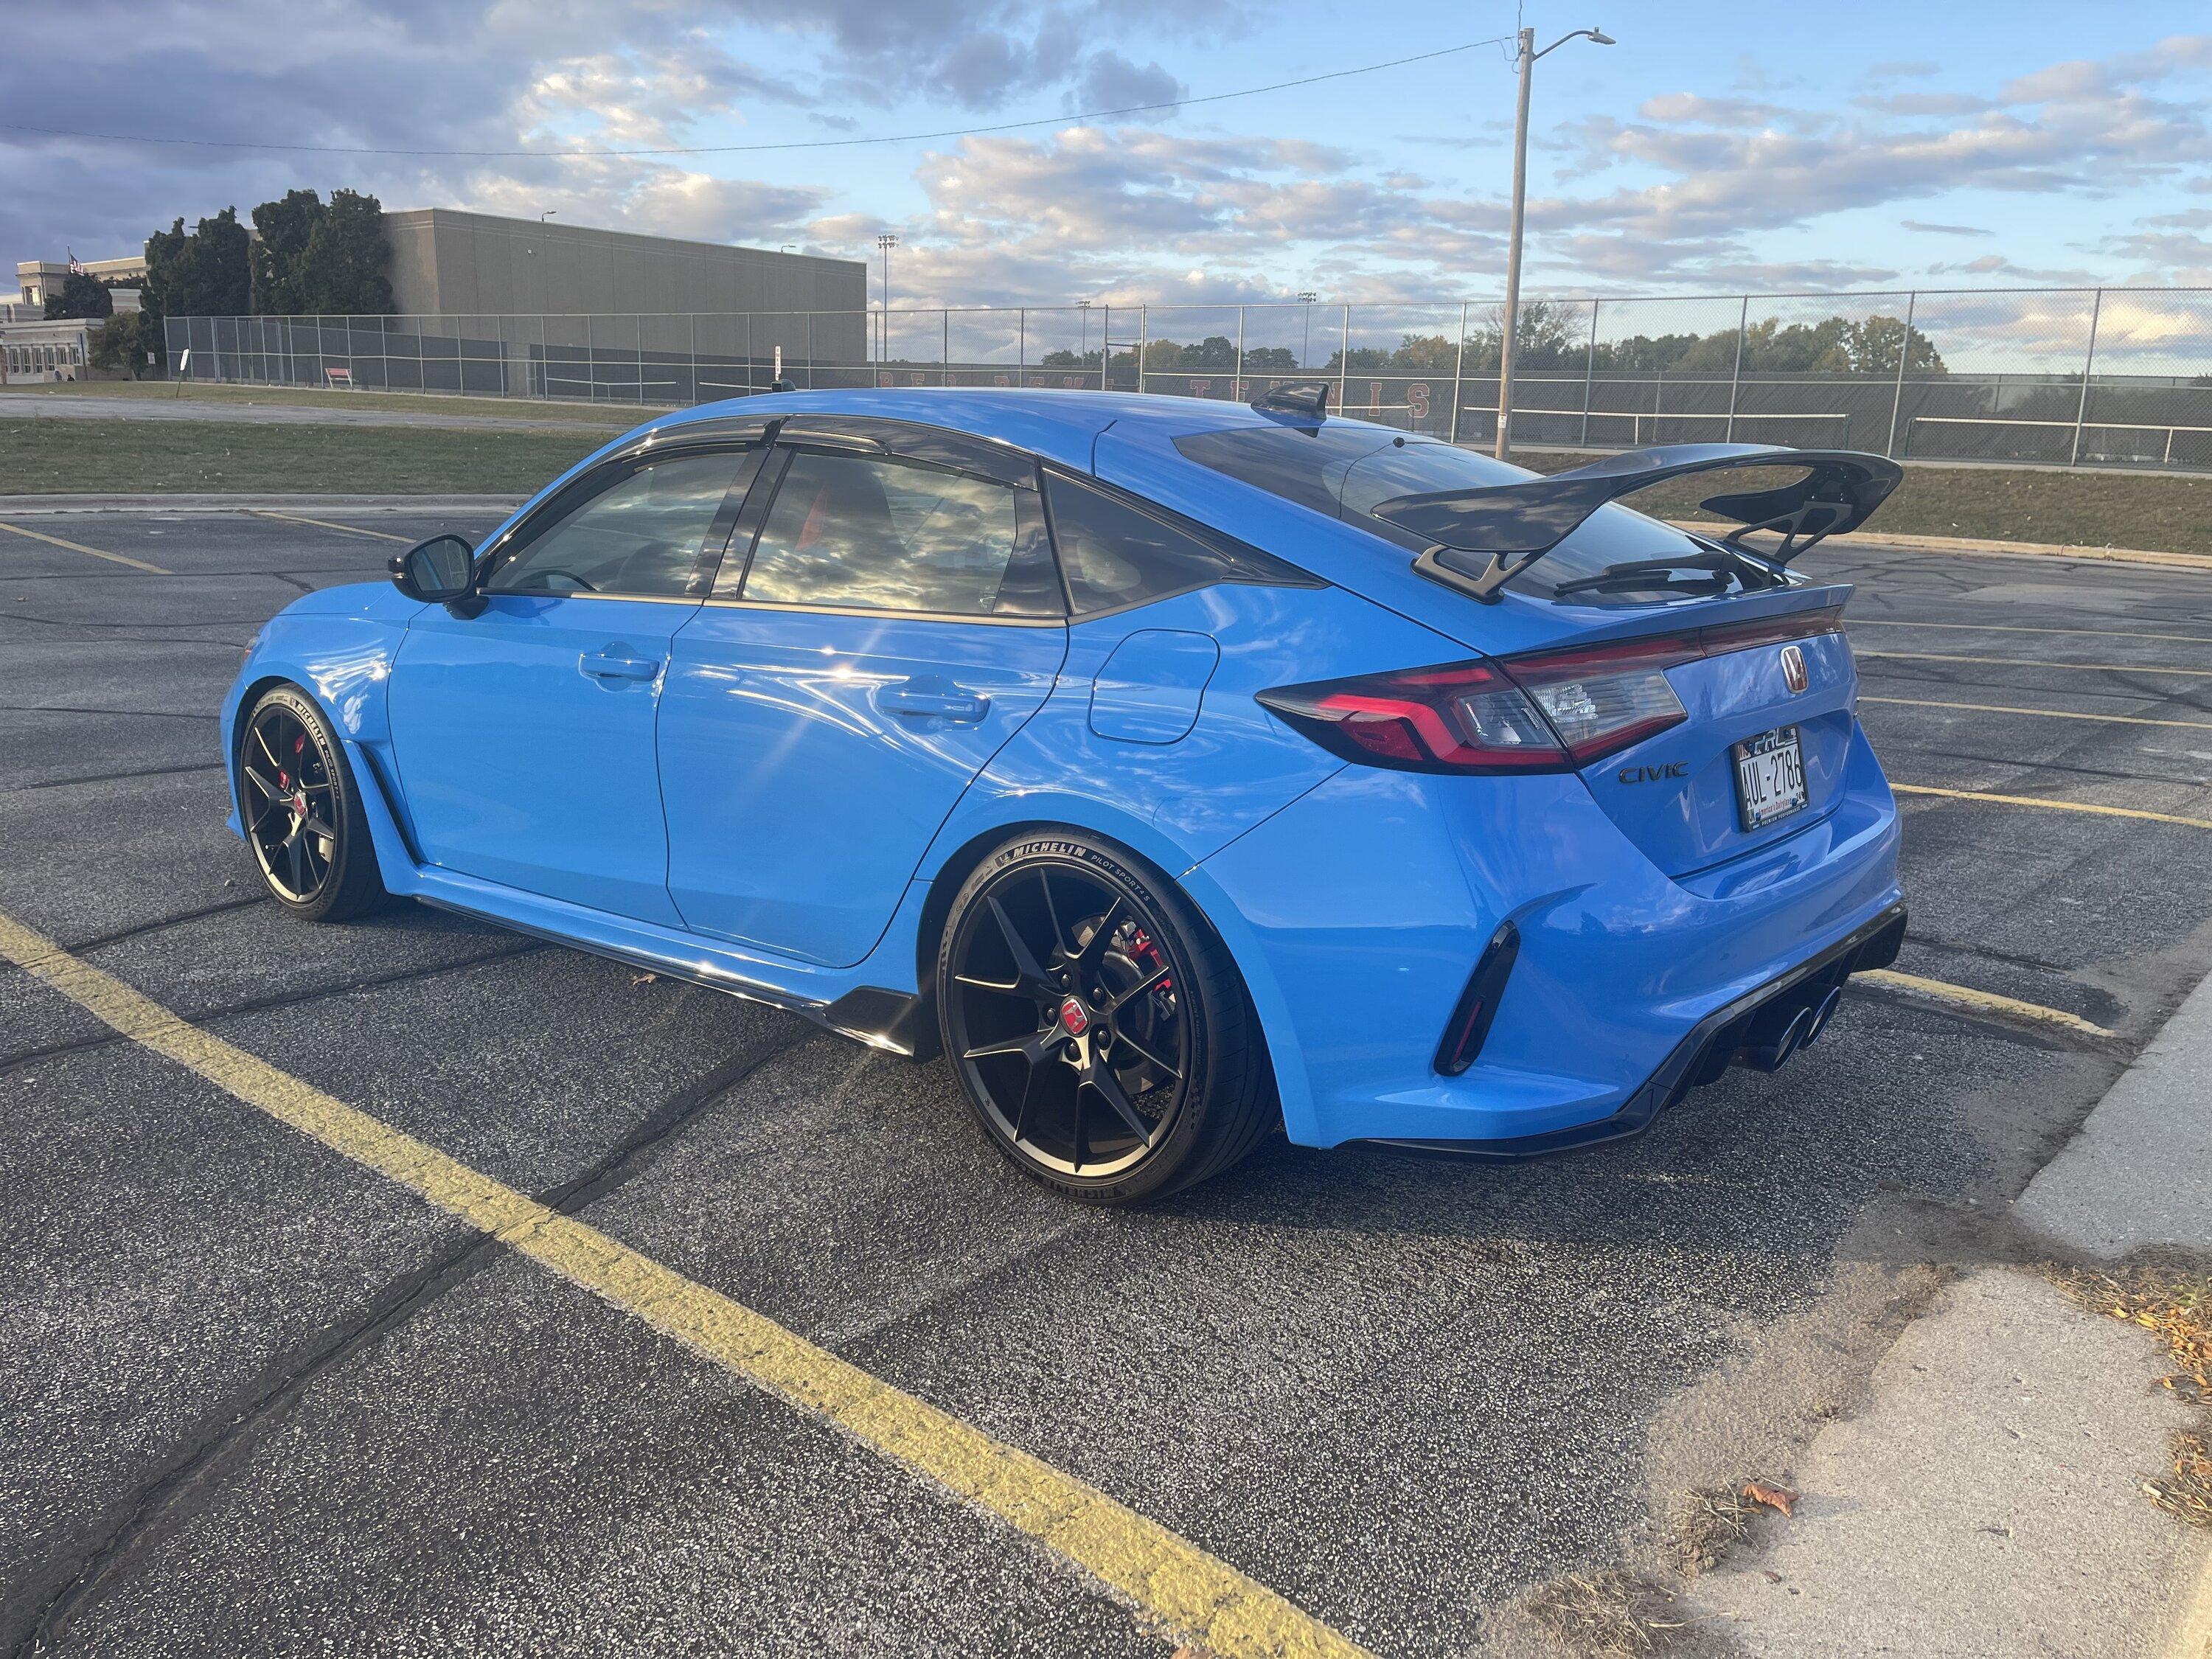
Exhaust really makes it fun, you’d want to drive it more. I've been contemplating tint also; may go with 50 percent all around as I'm not a big fan of dark tints. My night vision isn't as great as it use to be lol.I've had mine three months and had the tint done all the way around so far. That was $1050. I understand the money part. I'm getting the ecu chipped and tuner / tune this check. I can't wait for the exhaust myself. Looks good man!
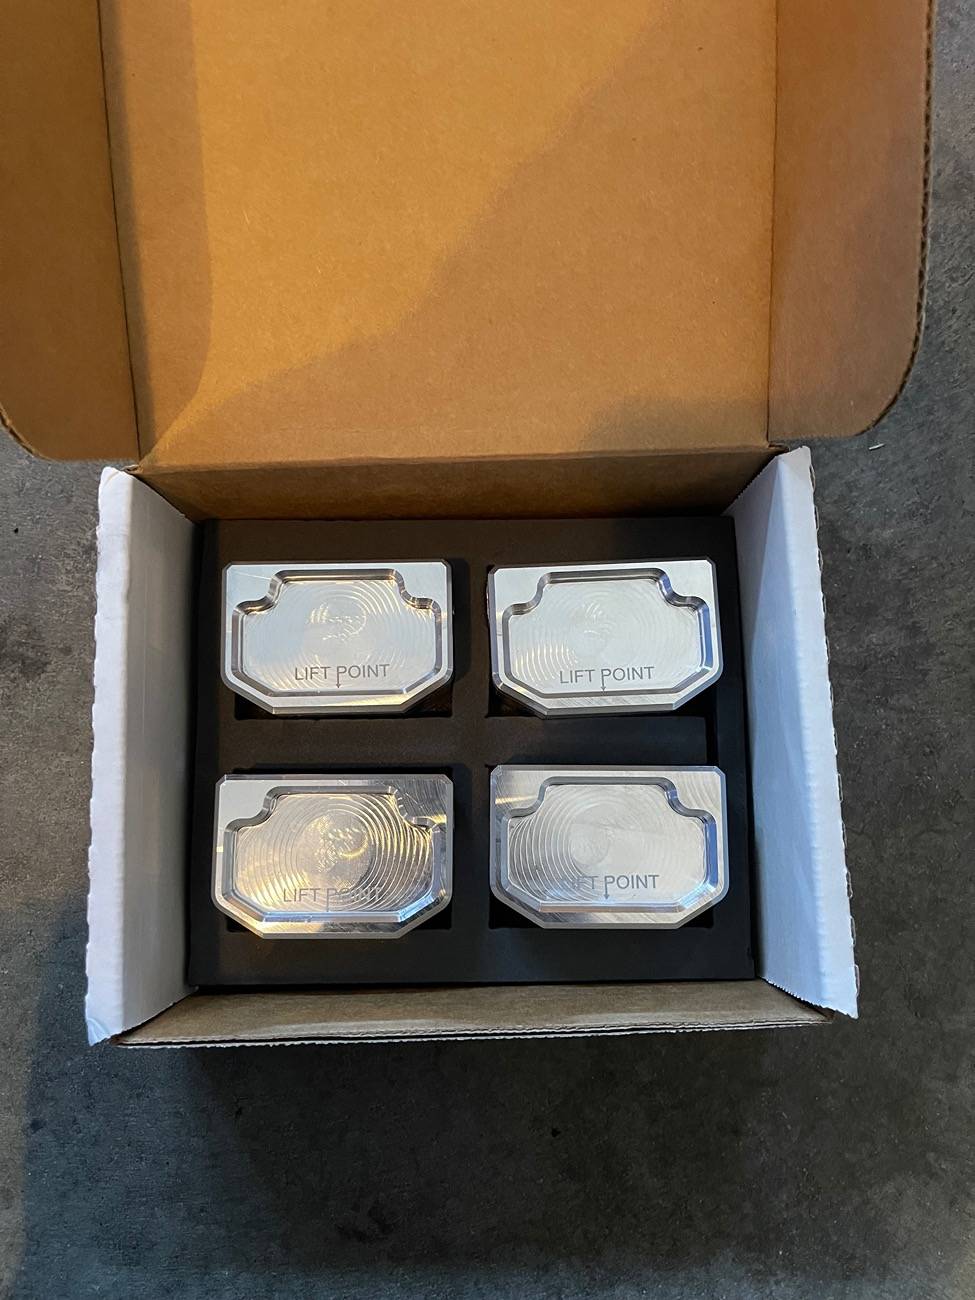
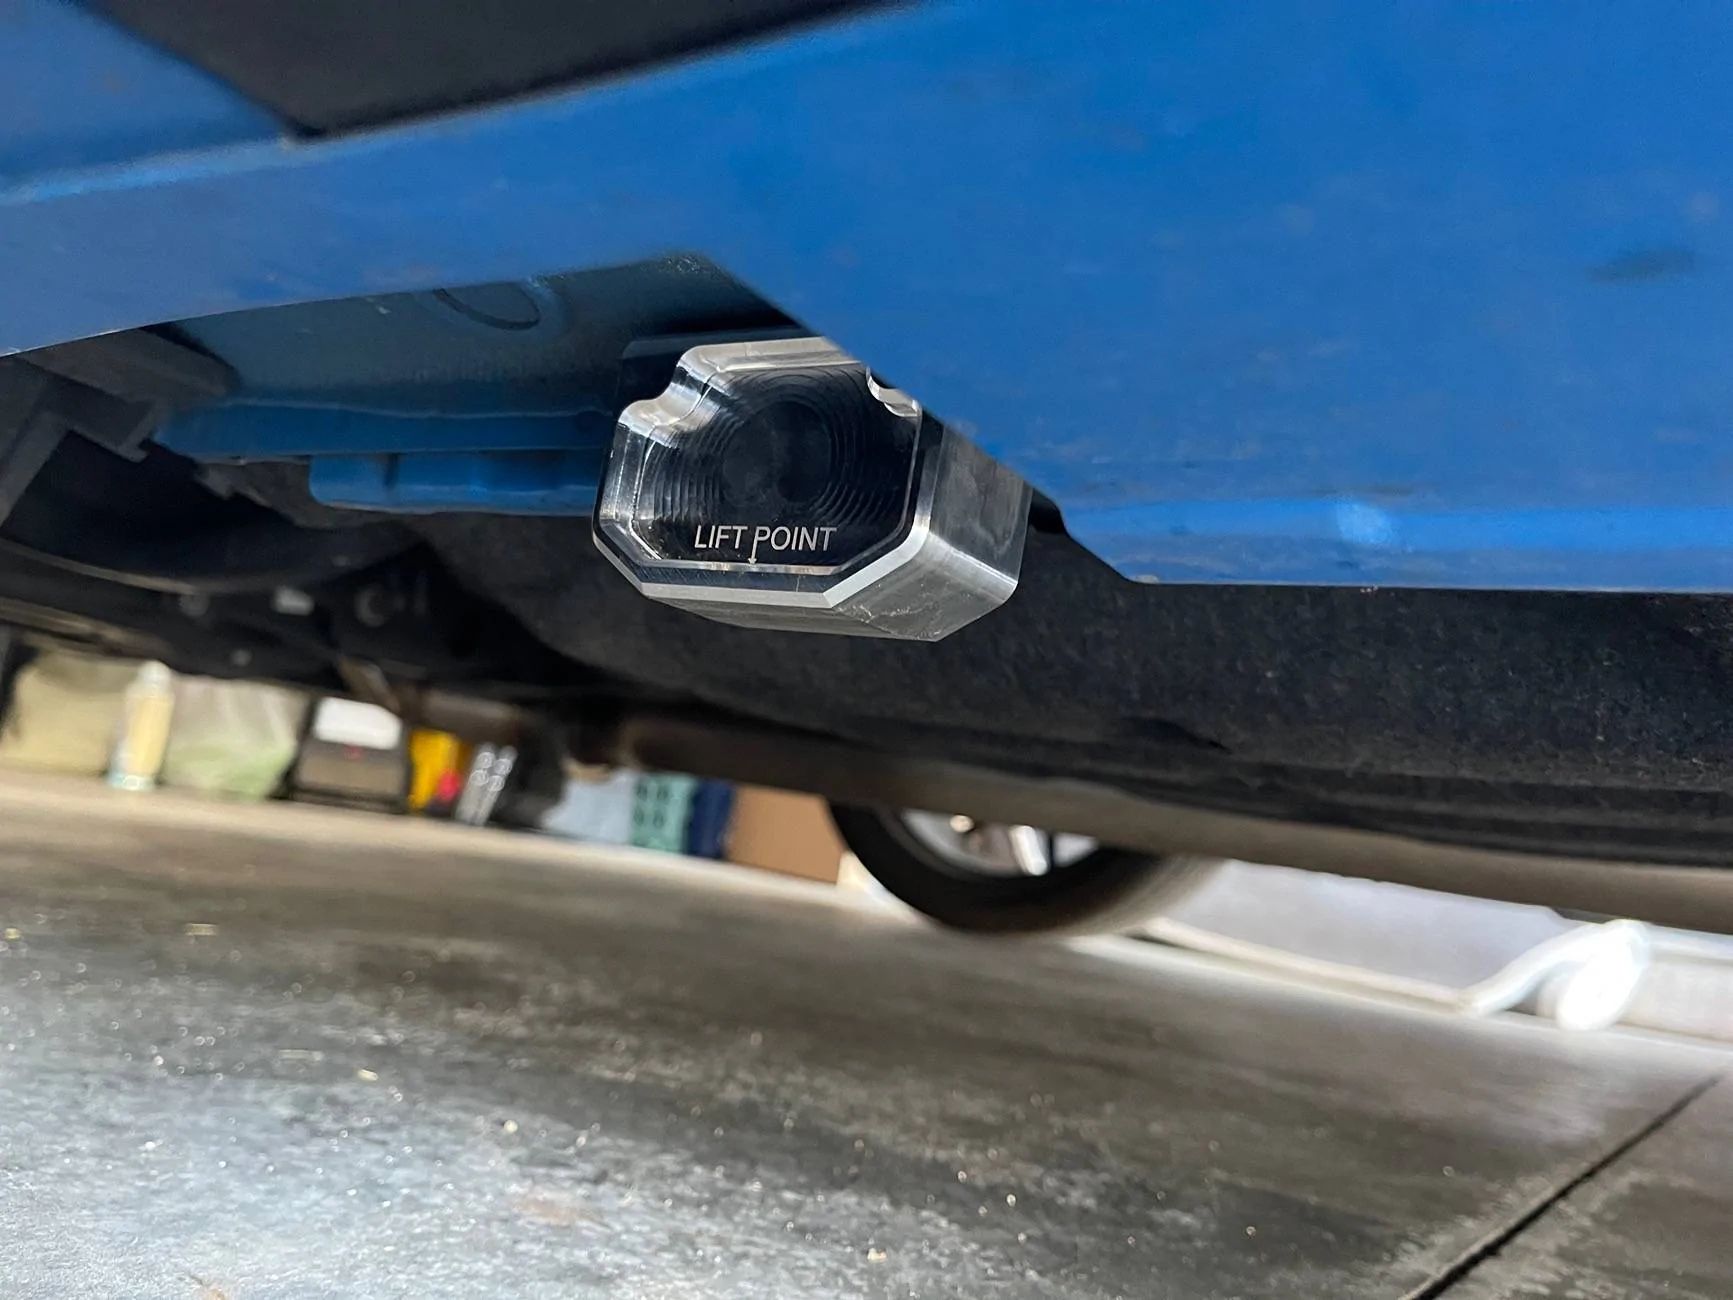
On a side note! -
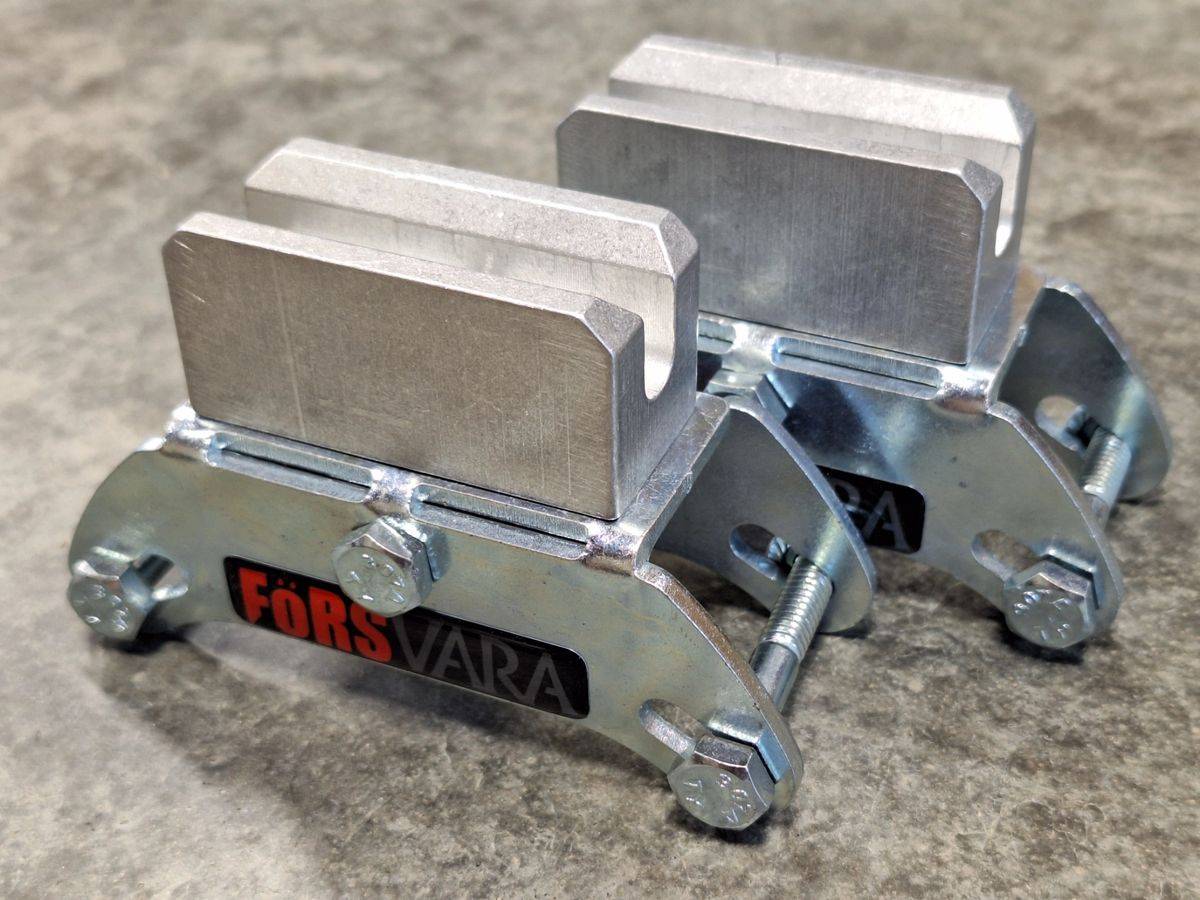
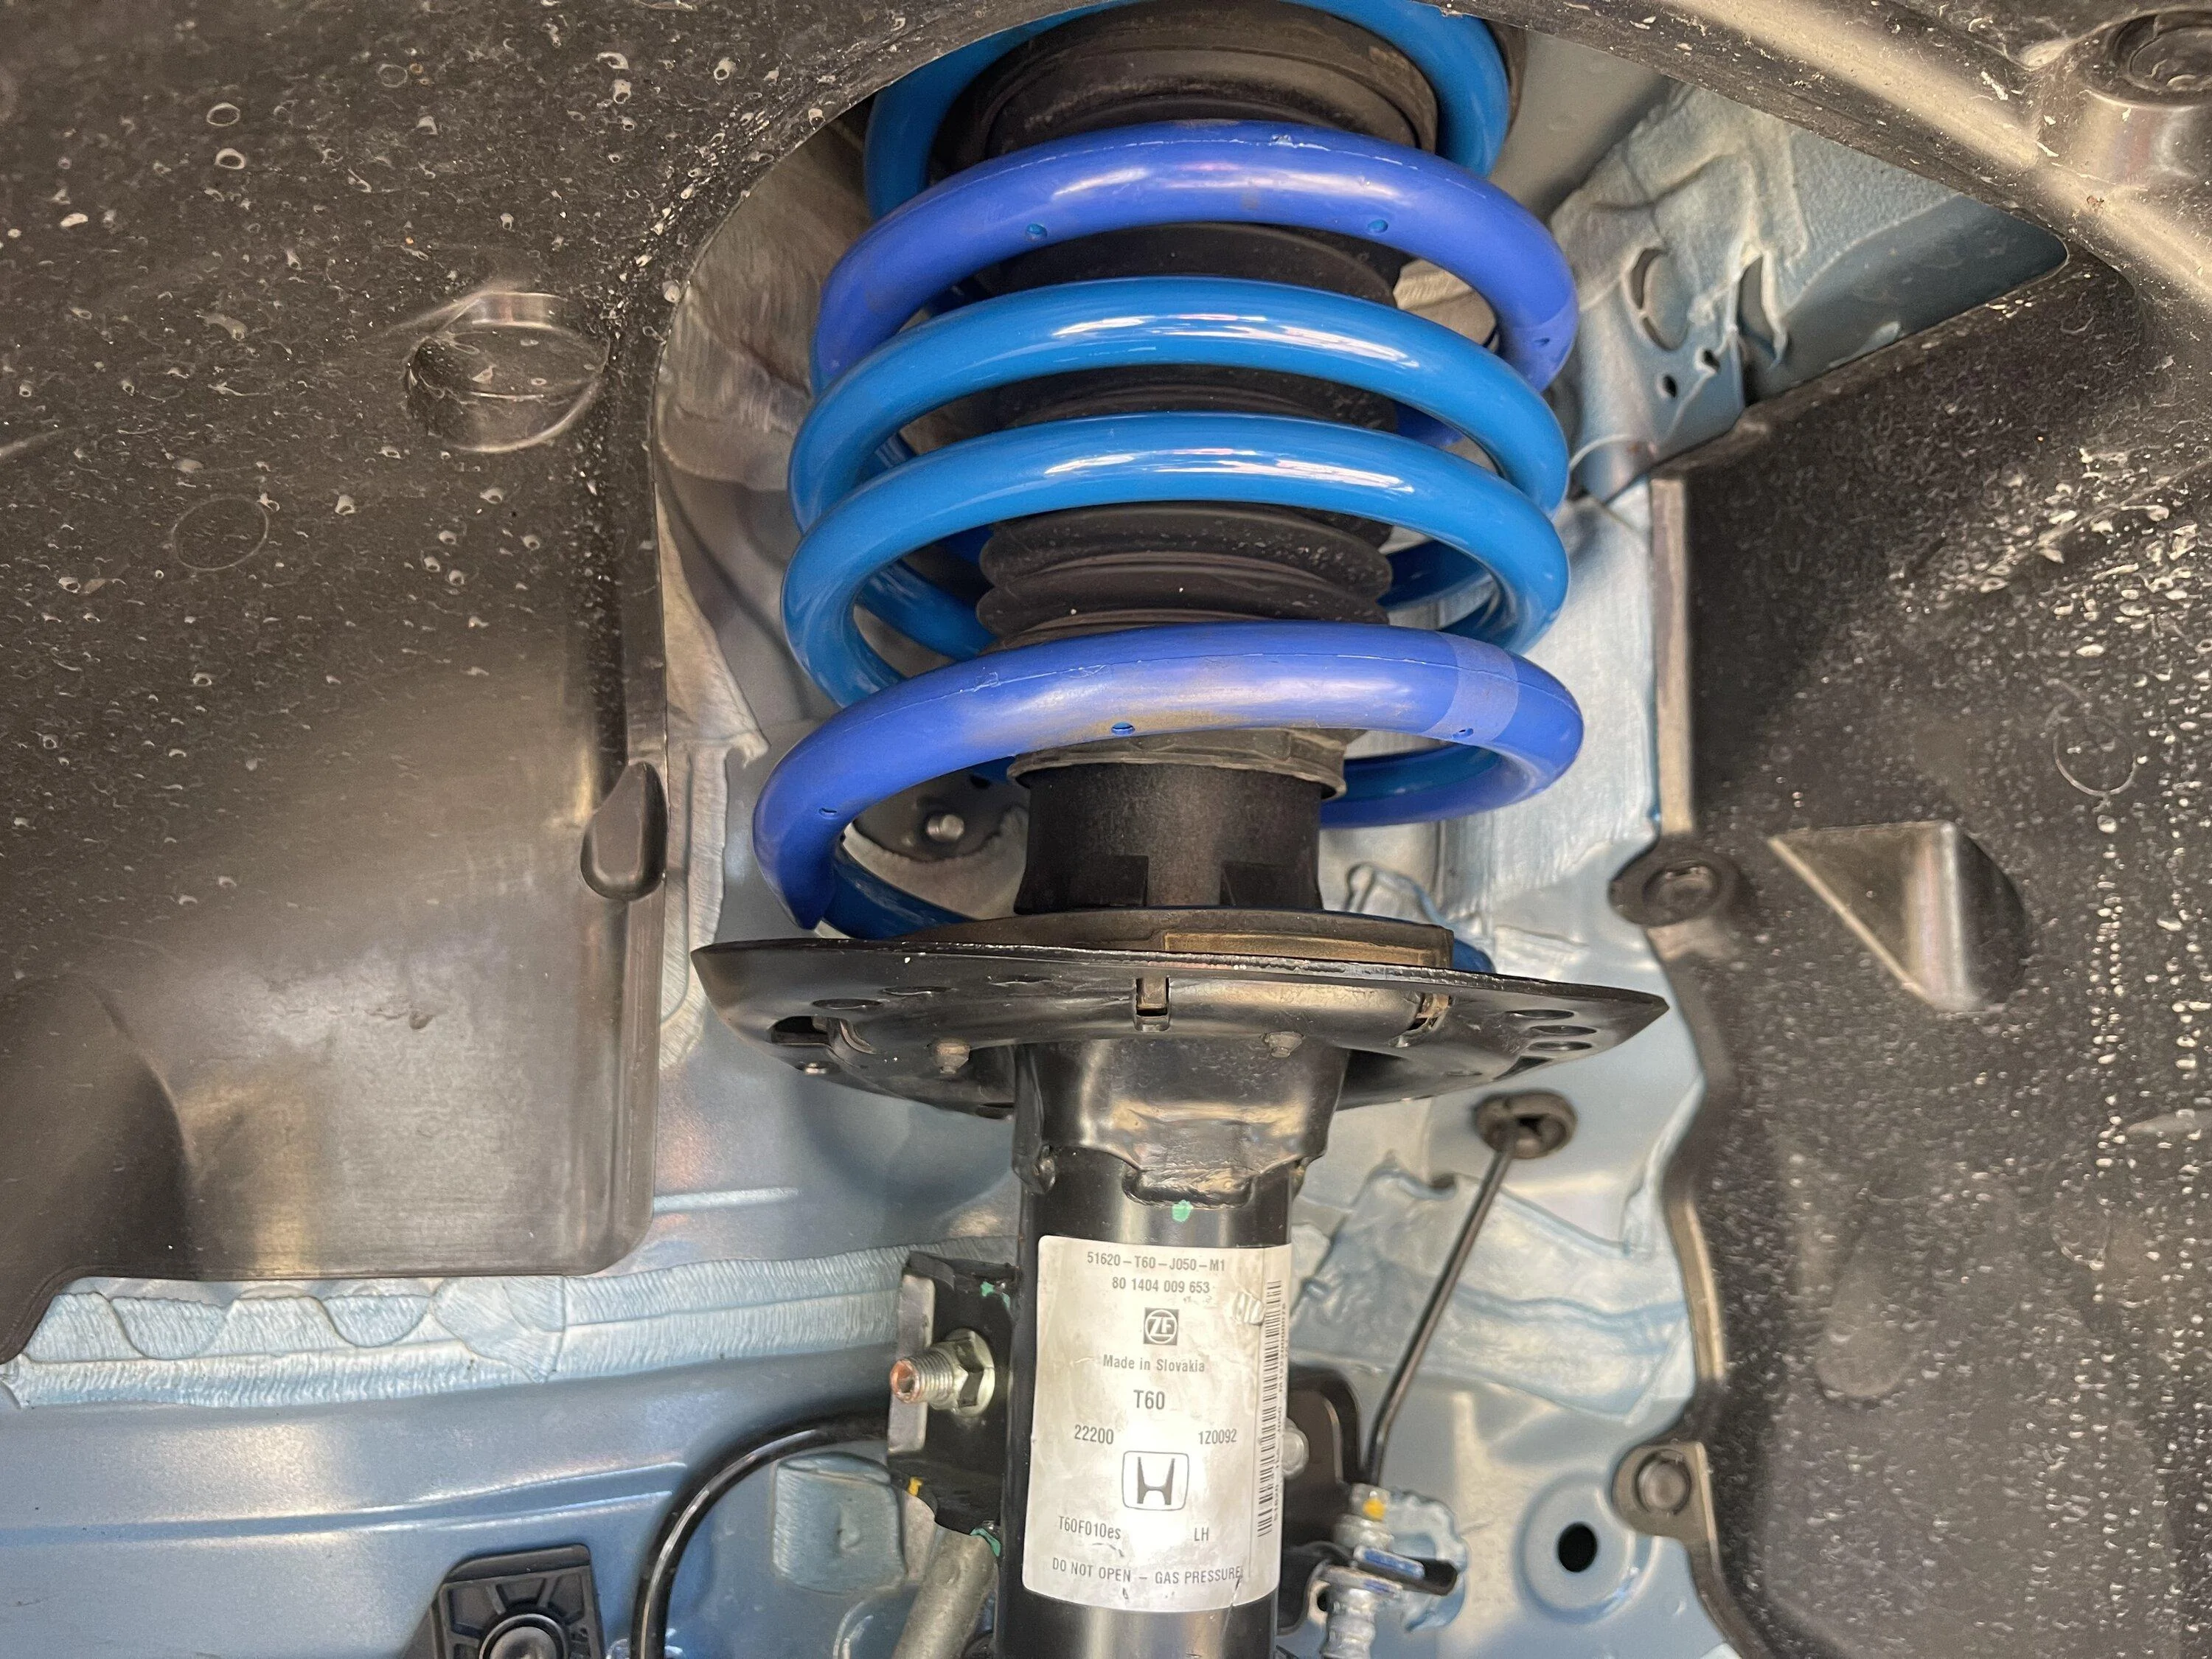
ZL1addons just released a nice set of Pinch weld lift pads that you install to prevent bending and damaging the OEM lift points so I just ordered those today! I do all my own work so I know how easy it is to damage the pinch welds.
Sponsored