Jchartman96
Member
I’m stuck on the jacknuts installed can’t for the life of my figure out the fucking rivet tool. Also just tried to see if the sealers would fit good and they are ENORMOUS! Are they suppose to be bigger than the hole?
Sponsored
I’m stuck on the jacknuts installed can’t for the life of my figure out the fucking rivet tool. Also just tried to see if the sealers would fit good and they are ENORMOUS! Are they suppose to be bigger than the hole?
 . The only thing I can suggest is to remove the hatch interior plastic. Then close the hatch and drill straight down at each hole. Then open the hatch and drill out the plastic enough to get a socket in there. Then silicone adhesive the holes before you bolt it all together. Uss washers and locknuts.. toplocks or nylock
I tried using different tools to get the rubber/sponge seals.. It’s not happening. I just went out and bought some special silicone to use. That should work as good.Yes, exactly. But the provided washer rubber seals were a joke. The gap was sooo tight they just wouldn't fit. Also with the right hole saw the hole is cut so clean. You don't need to try to clean up burs. Their were none.
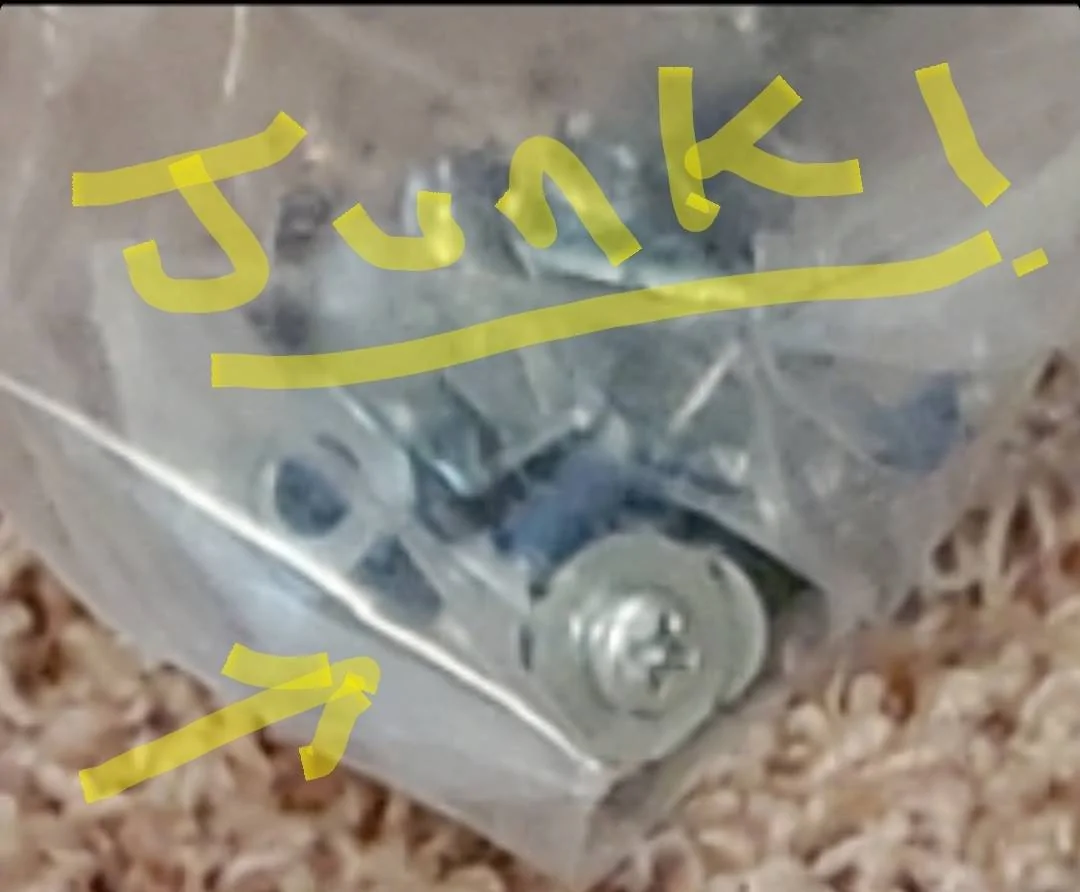
Ways Honda could improve the install would be to include clean new Hex bolts with separate locktite. Better quality Rivet nuts that wouldn't bend so easy. The Philips head bolts supplied requires down force that pushes / bending the rivnuts causing the back side to slip. But if you use clean hex bolts and add dabs of locktite it would require "No" down force just turning force drawing it up tight. ?

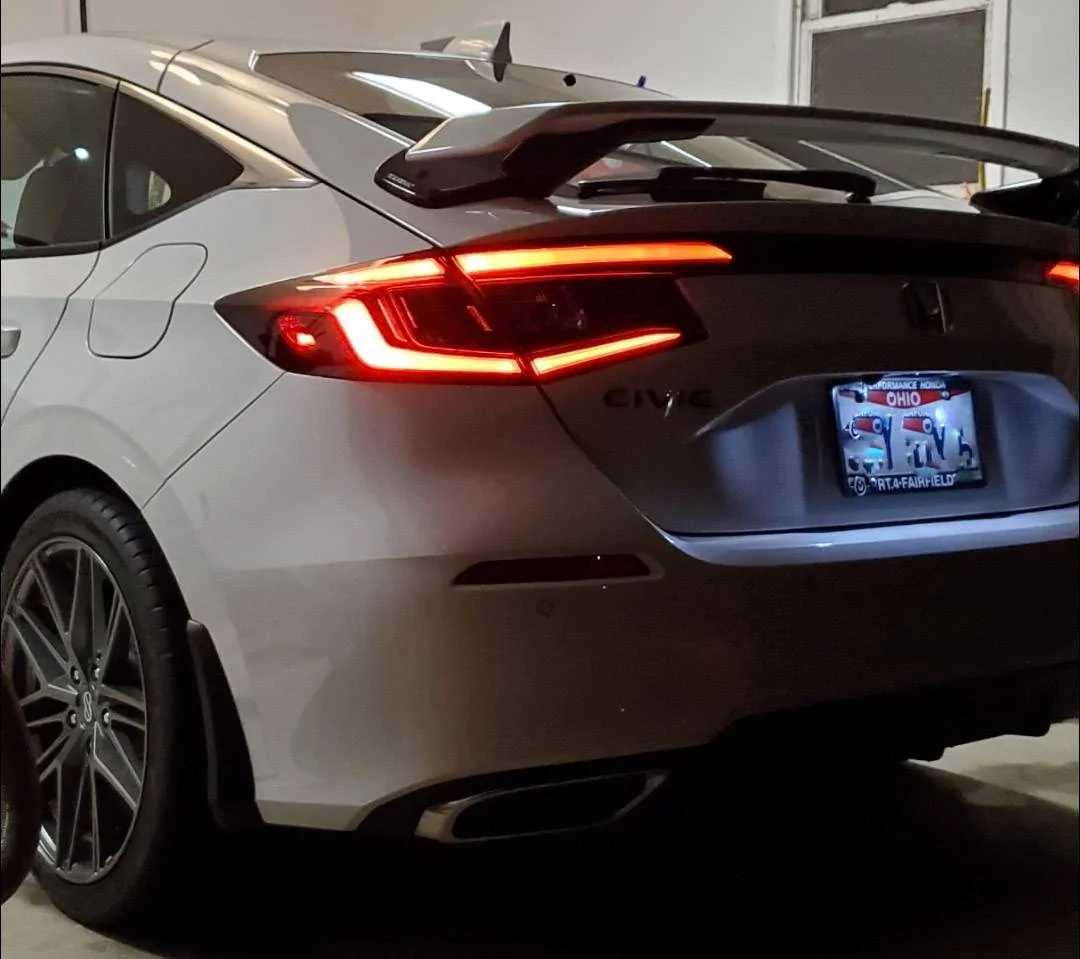
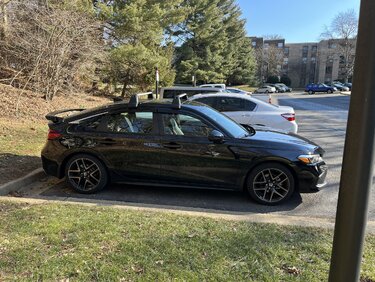
Looks fantastic. BTW, what are your wheels????Well I did leave out a few things. Like the hatch shocks install upgrade that was included with the spoiler. Removing and reinstalling the hatch interior trim piece held with 2 screws in the handles. Kinds hidden. And I scrapped the rubber seals and put silicone adhesive because the space was very tight to work them in between the metals.

Is there a way I can ditch the jacknuts and do something else? Thanks for your response!Ohhh nooo... ???
Im going to do that.Yes, upgrading to a higher quantity steel Rivet nut sounds like a good idea. ?
I made a massive mistake and ended up taking my car to pepboys to get it installed. Long story short, Jack nuts were installed. Got loose while trying to installed the left foot. And one got stripped. Never go to pepboys to install a spoiler. I went to honda and ended up paying over $600. Talk about an expensive lesson.. I could only imagine the talk behind close door's there about this situation. But can't say I blame them though. Just happy it's done, and done right.Yes, upgrading to a higher quantity steel Rivet nut sounds like a good idea. ?
Hence why I'll be using actual 6mm Riv-nuts instead of those cheapo "Jack-nuts" they provide.Yes, a screw driven rivet nut requires downforce stretching/ loosening. It's a flaw in the hardware that needs corrections. ?
Yes, a screw driven rivet nut requires downforce stretching/ loosening. It's a flaw in the hardware that needs corrections. ?
The real reason why you could not insert the included washer rubber seals was that in the process of drill the plastic shell you were also creating "burr" on the bottom side and that burr took up the space you need to insert the washer. While working on my spoiler I also ran into this problem and I was like there is not enough space for the washer but then I knew there should be enough space since I saw it in the dealer installation video. And then I carefully inspect the spot to see what is going on and I saw burr. I used a box cutting knife with a fresh new blade and pointy tip, carefully and easily cut out the burr.Yes, exactly. But the provided washer rubber seals were a joke. The gap was sooo tight they just wouldn't fit. Also with the right hole saw the hole is cut so clean. You don't need to try to clean up burs. Their were none.
Ways Honda could improve the install would be to include clean new Hex bolts with separate locktite. Better quality Rivet nuts that wouldn't bend so easy. The Philips head bolts supplied requires down force that pushes / bending the rivnuts causing the back side to slip. But if you use clean hex bolts and add dabs of locktite it would require "No" down force just turning force drawing it up tight. ?