keller
Senior Member
- Joined
- Sep 28, 2021
- Threads
- 0
- Messages
- 223
- Reaction score
- 288
- Location
- Somewhere south
- Vehicle(s)
- 2019 fc3, 2021 fk8
What's your hot tire pressure on the fronts and rears? You can alleviate the excessive shoulder wear on the fronts by overinflating your rears a bit.plus close attention to tire temps, i am disappointed with shoulder wear. i expected better!
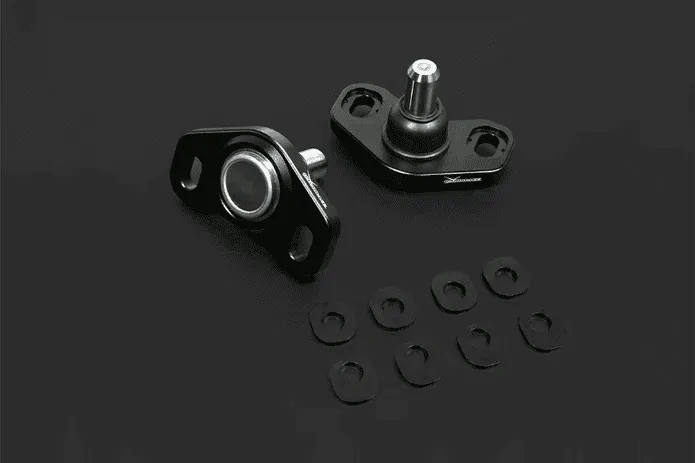
Yes, hardrace is a good choice. I personally use whiteline on my FK8. I would say they are a perfect upgrade to the stock suspension. Cons of a higher static camber is a slightly worse traction/braking and a lighter steering wheel feel.
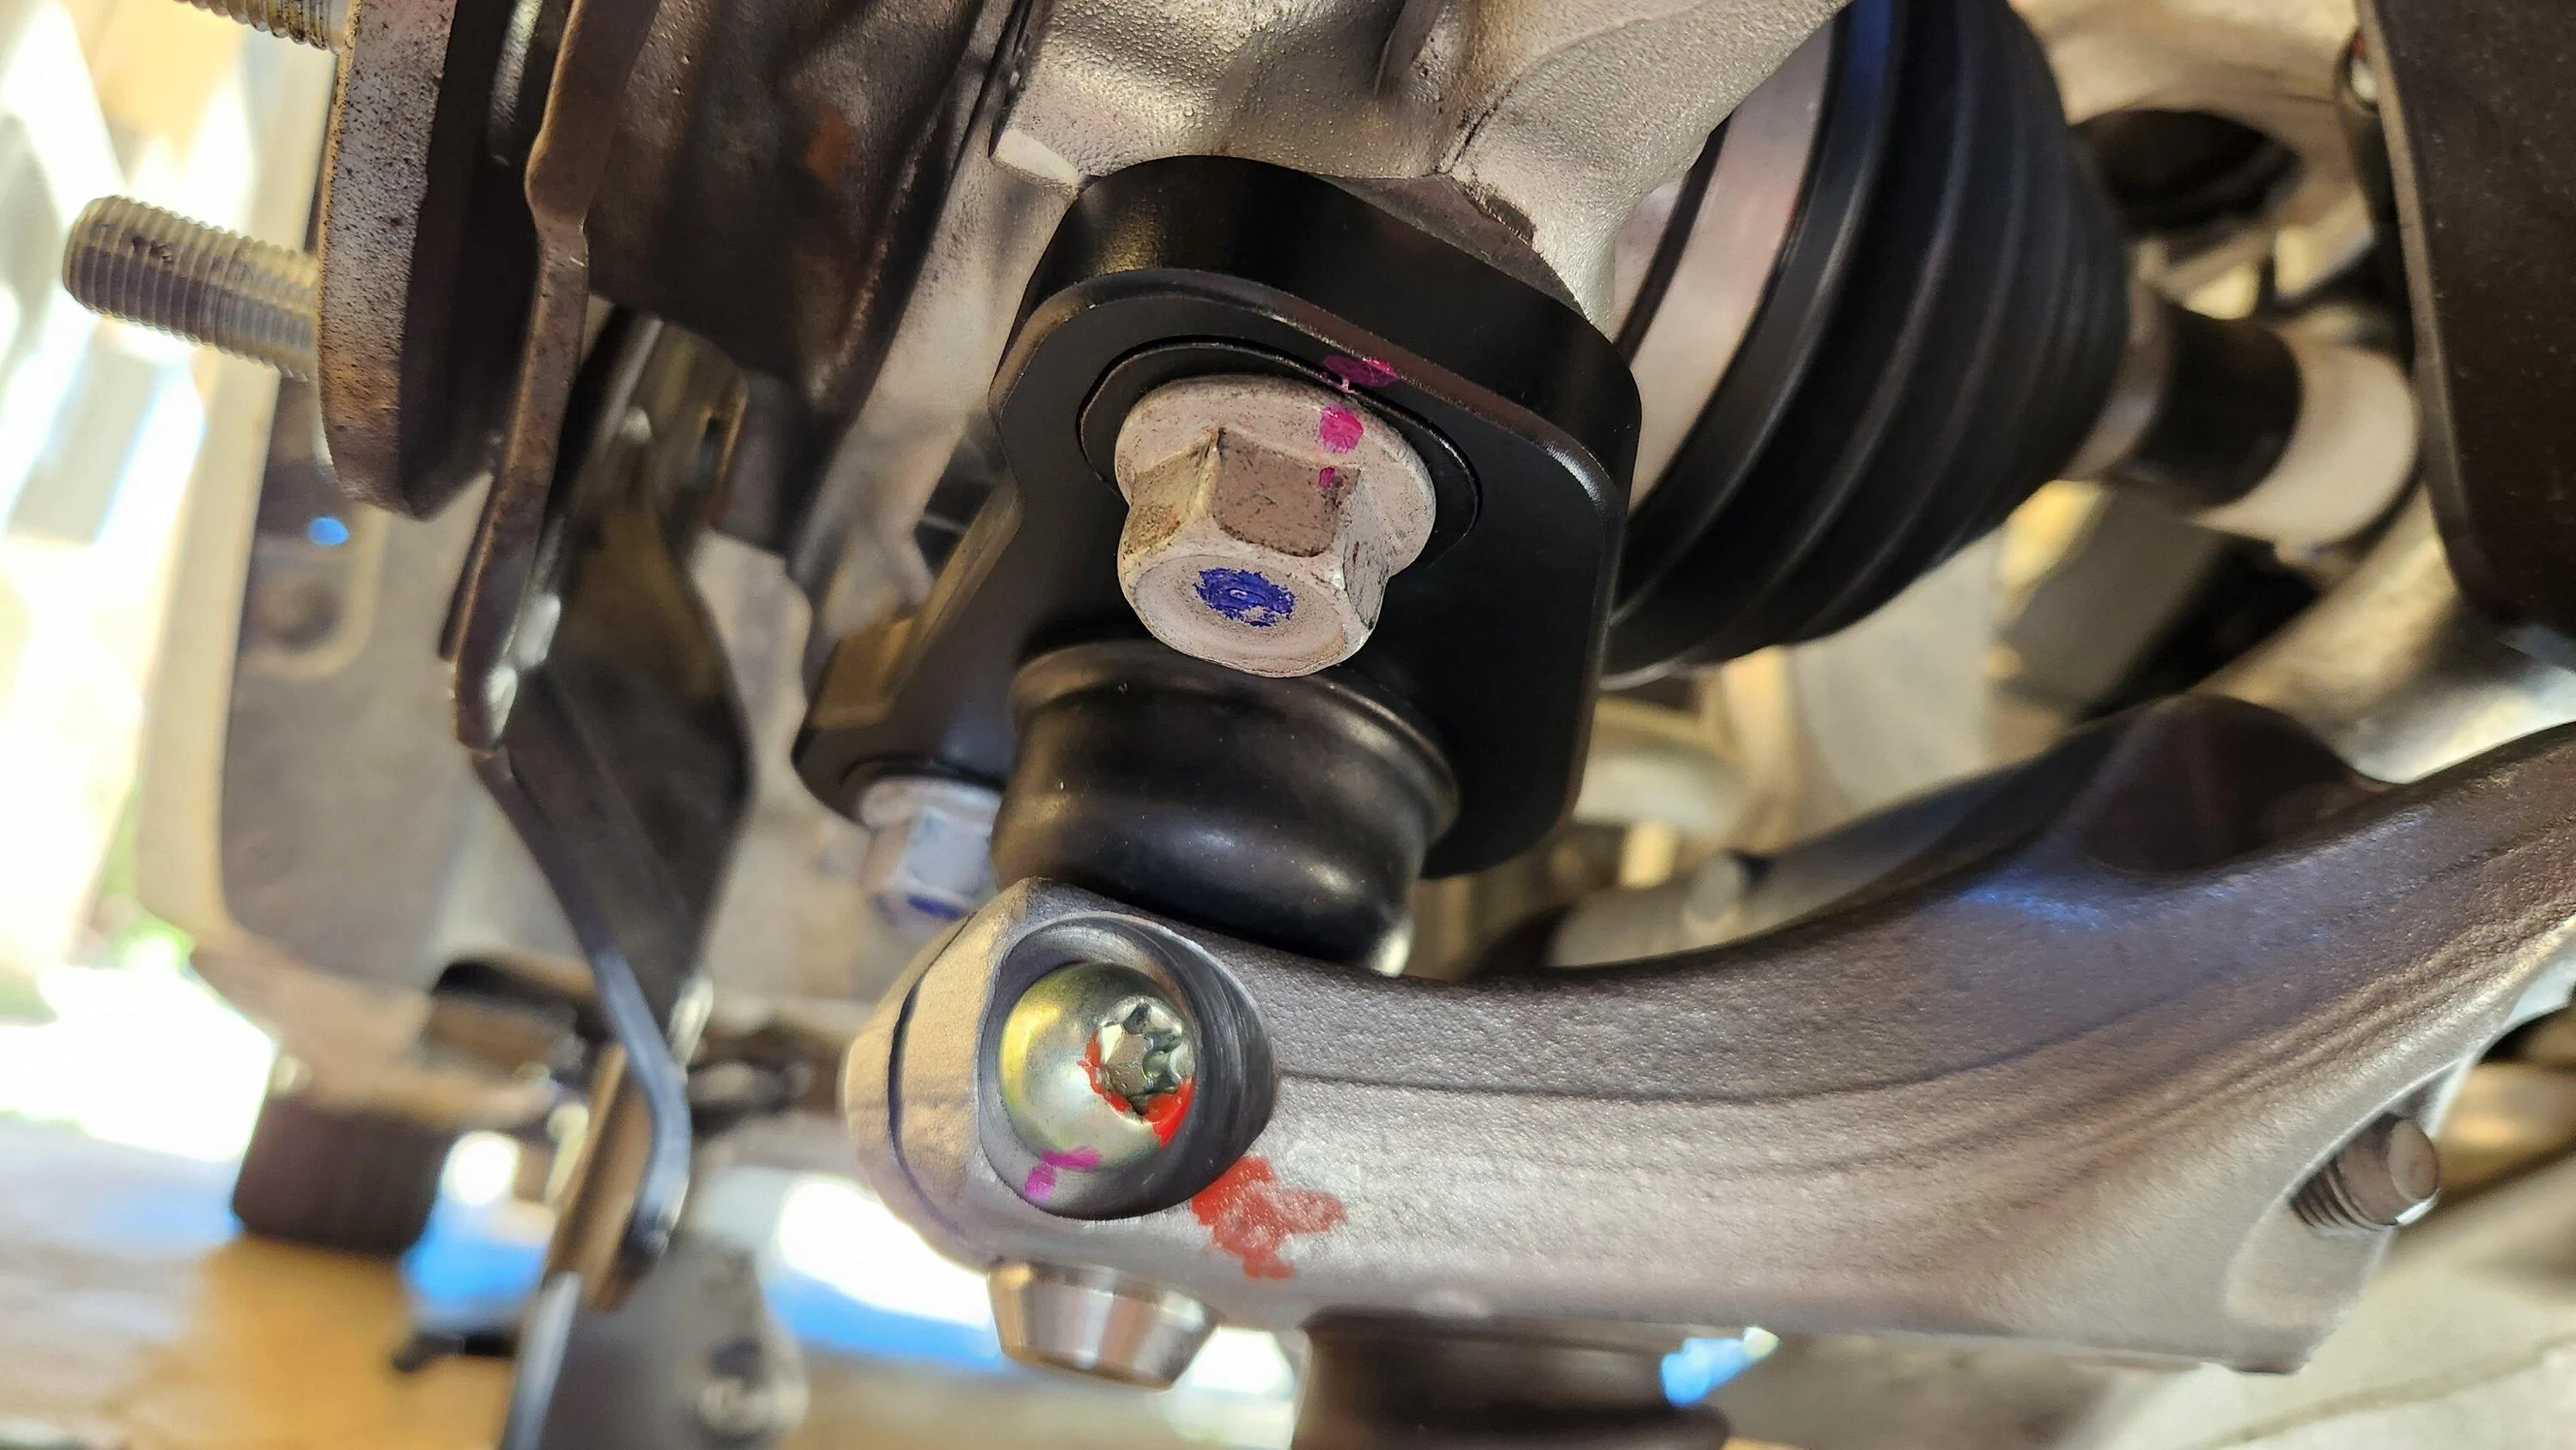
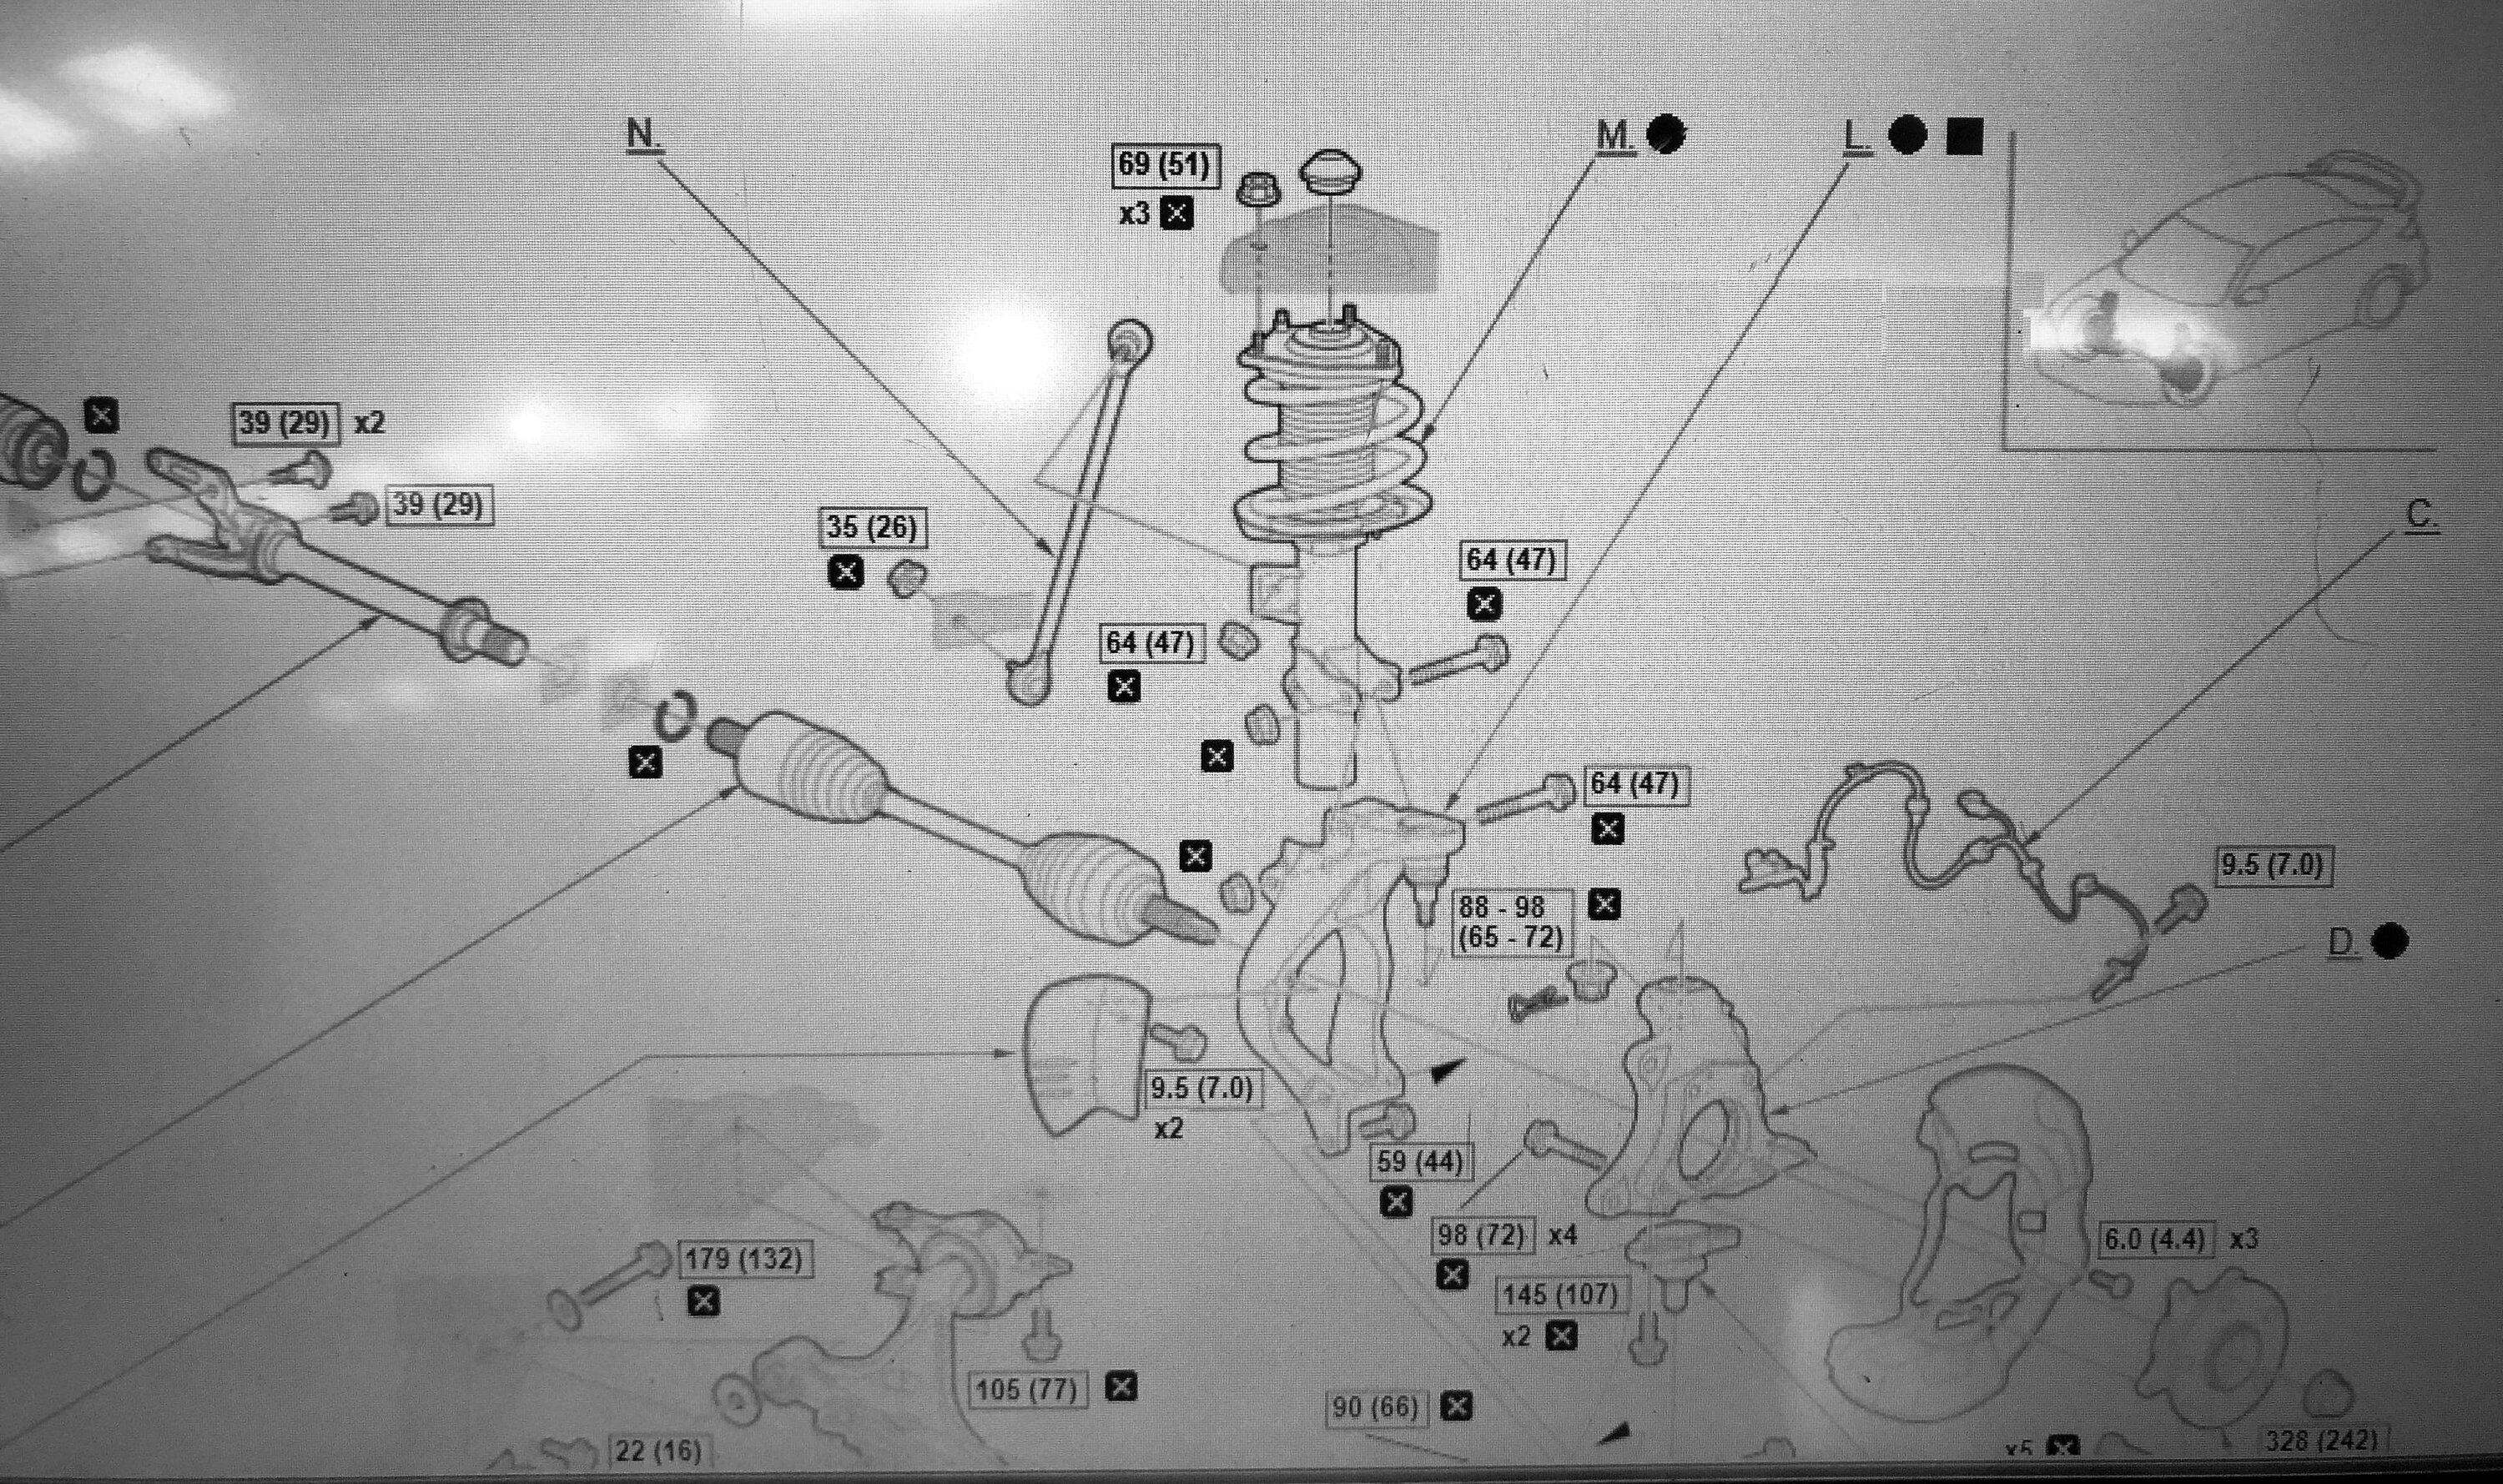
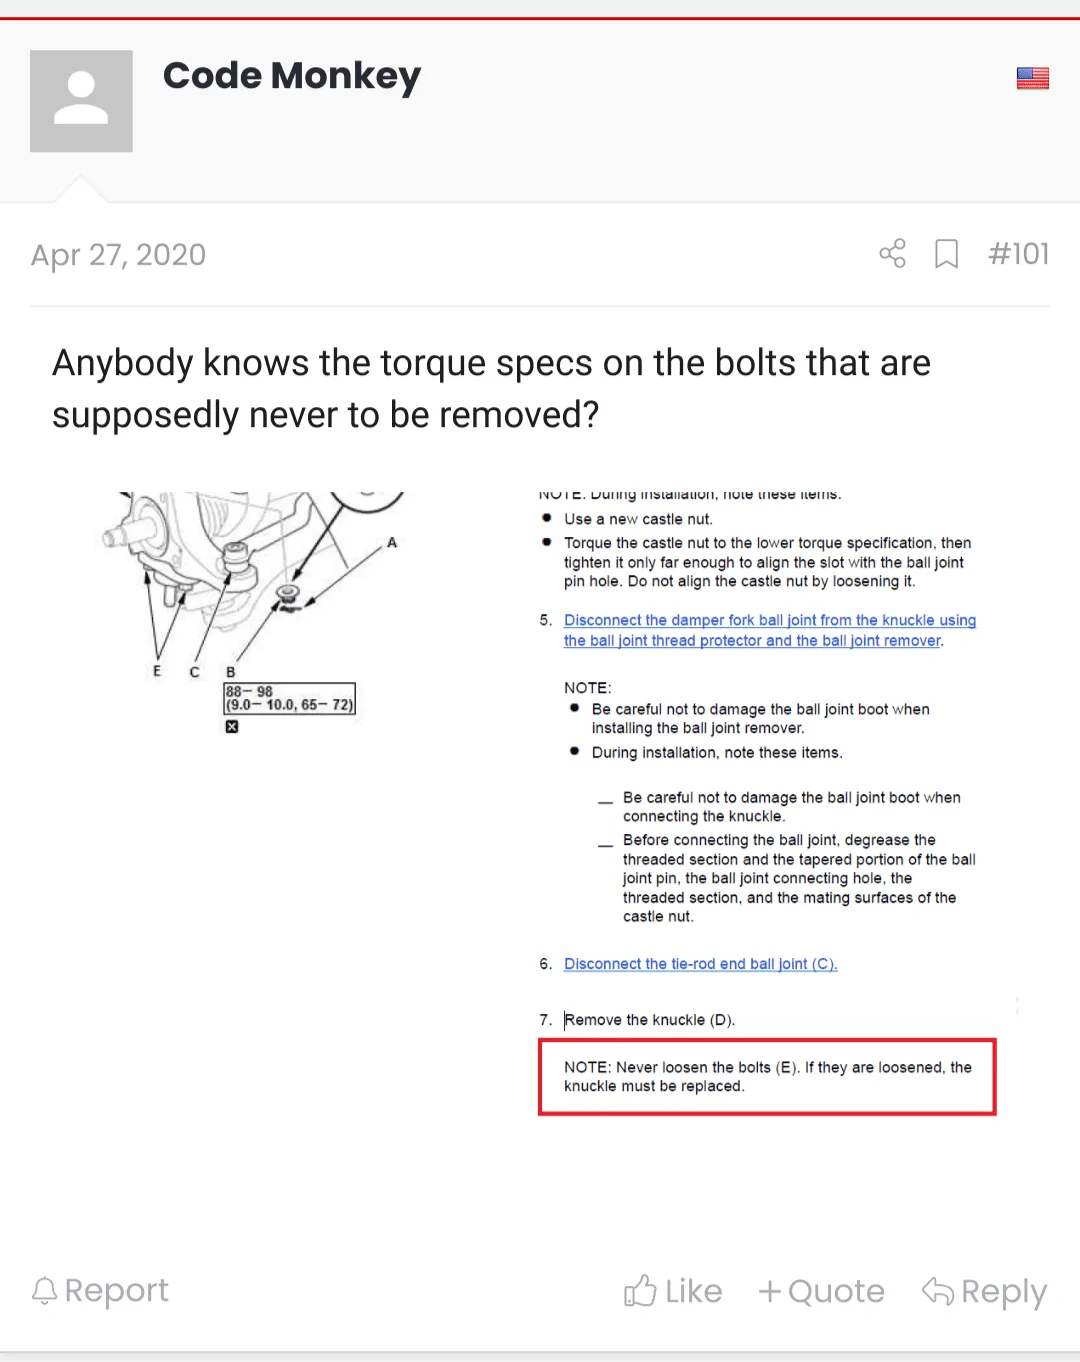
Not sure why he told you that. It is a lot of work and of moderate difficulty, but I can't see how you could damage anything. The FK2, FK8 and FL5 front suspension is basically the same.a seriously modded fk8 owner told me "don't change the ball joints because they are not easy to remove without damage." that scares me, but i think this group has better fl5 evidence.
Maybe he mentioned the other lower ball joint (the one that connects to the LCA), which indeed seems like a pain to remove? People replace that one to adjust the roll center, not to increase front camber.
Sponsored