Sponsored

SpoolinFK8

Senior Member
First Name
Gogi
Joined
Feb 13, 2020
Threads
1
Messages
265
Reaction score
562
Location
NY, NY
Vehicle(s)
2024 Honda Civic Type R FL5
I kinda want one but worried it 'sjust a novelty that'll wear off after a few weeks...still want one though
Nah you wont get tired of it. They have so may varieties of these Mochi
Sponsored


SpoolinFK8

Senior Member
First Name
Gogi
Joined
Feb 13, 2020
Threads
1
Messages
265
Reaction score
562
Location
NY, NY
Vehicle(s)
2024 Honda Civic Type R FL5
Alright guys, as promised resolved the issue with the Mic. ENJOY!! I know I am.


SP R KiD

Senior Member
First Name
Matthew
Joined
Sep 5, 2022
Threads
3
Messages
313
Reaction score
445
Location
Ohio
Vehicle(s)
2023 BB CTR, 2021 Toyota Highlander, 2001 F150
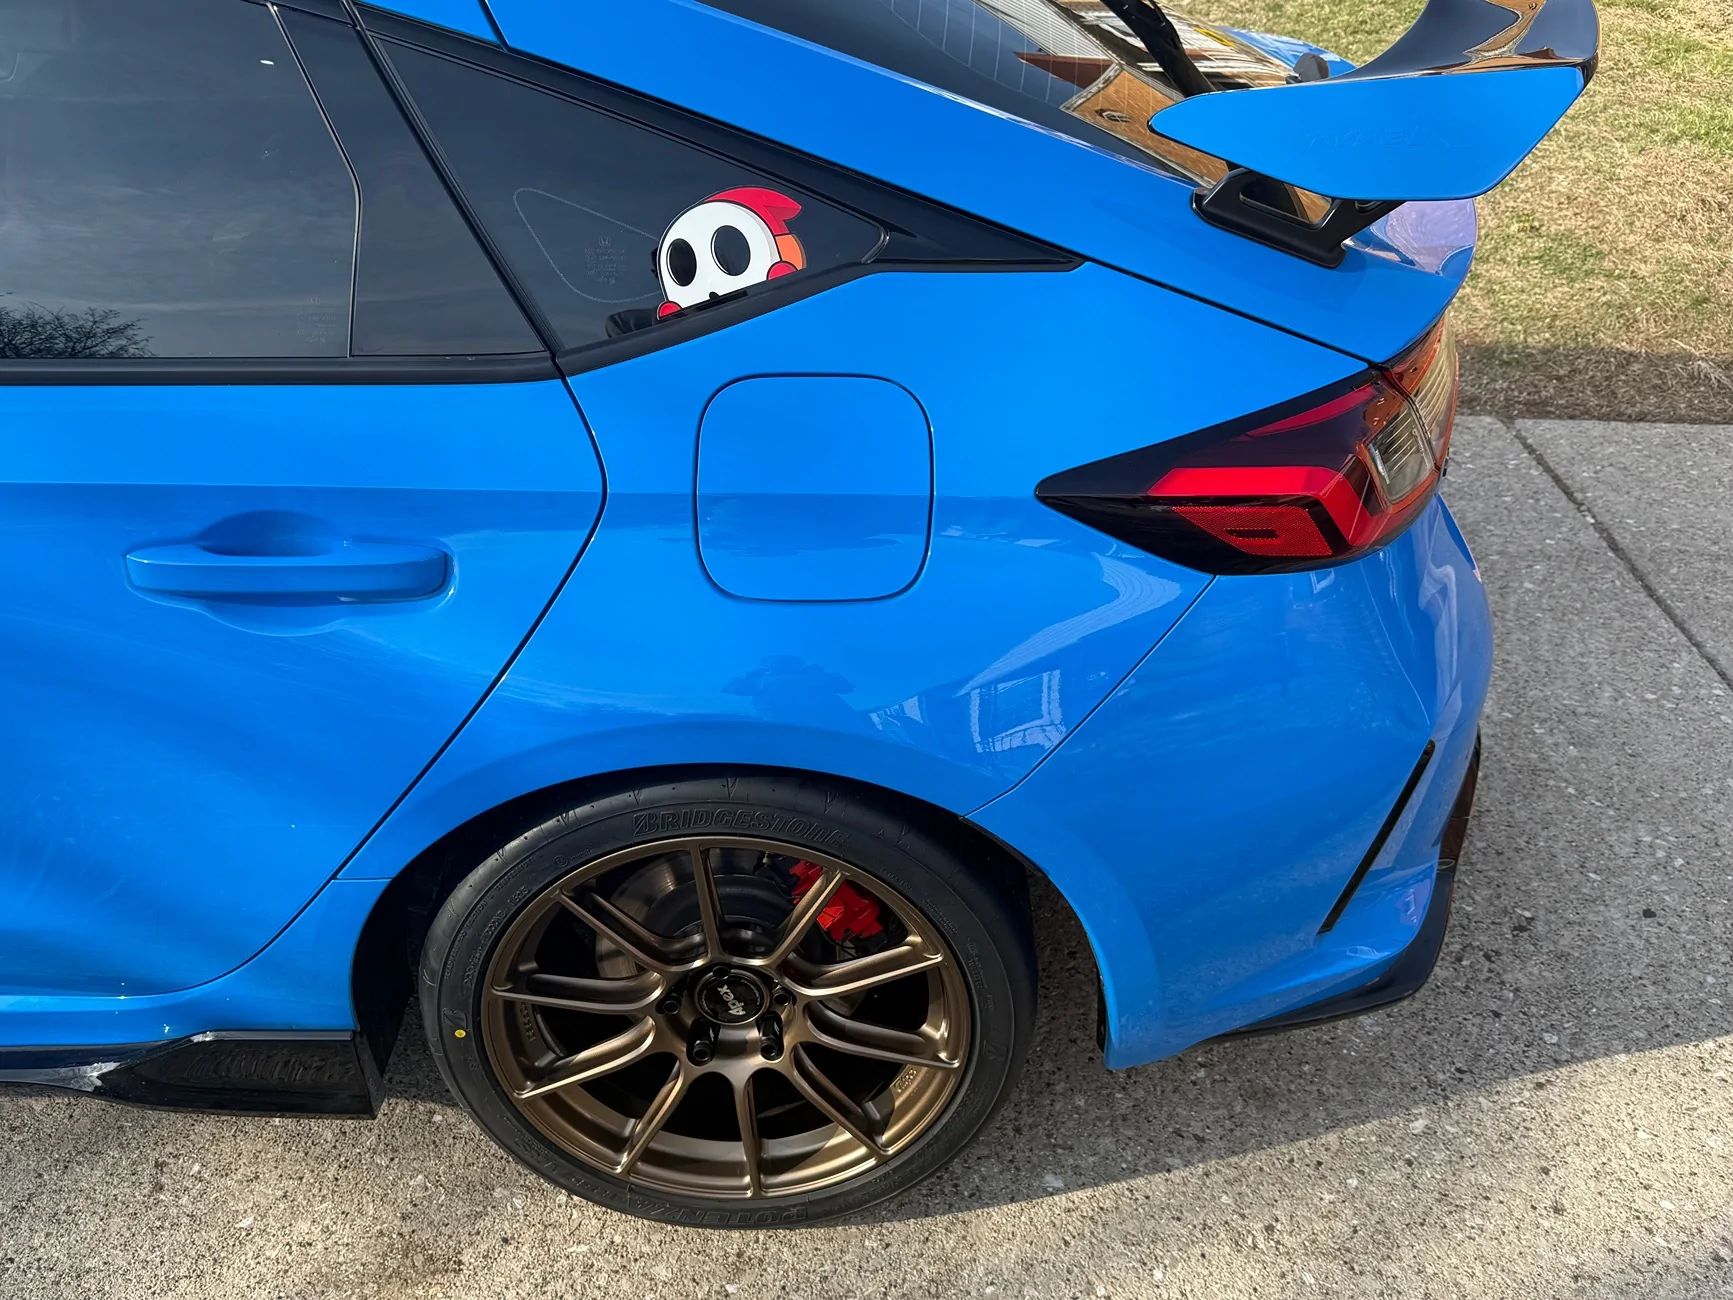
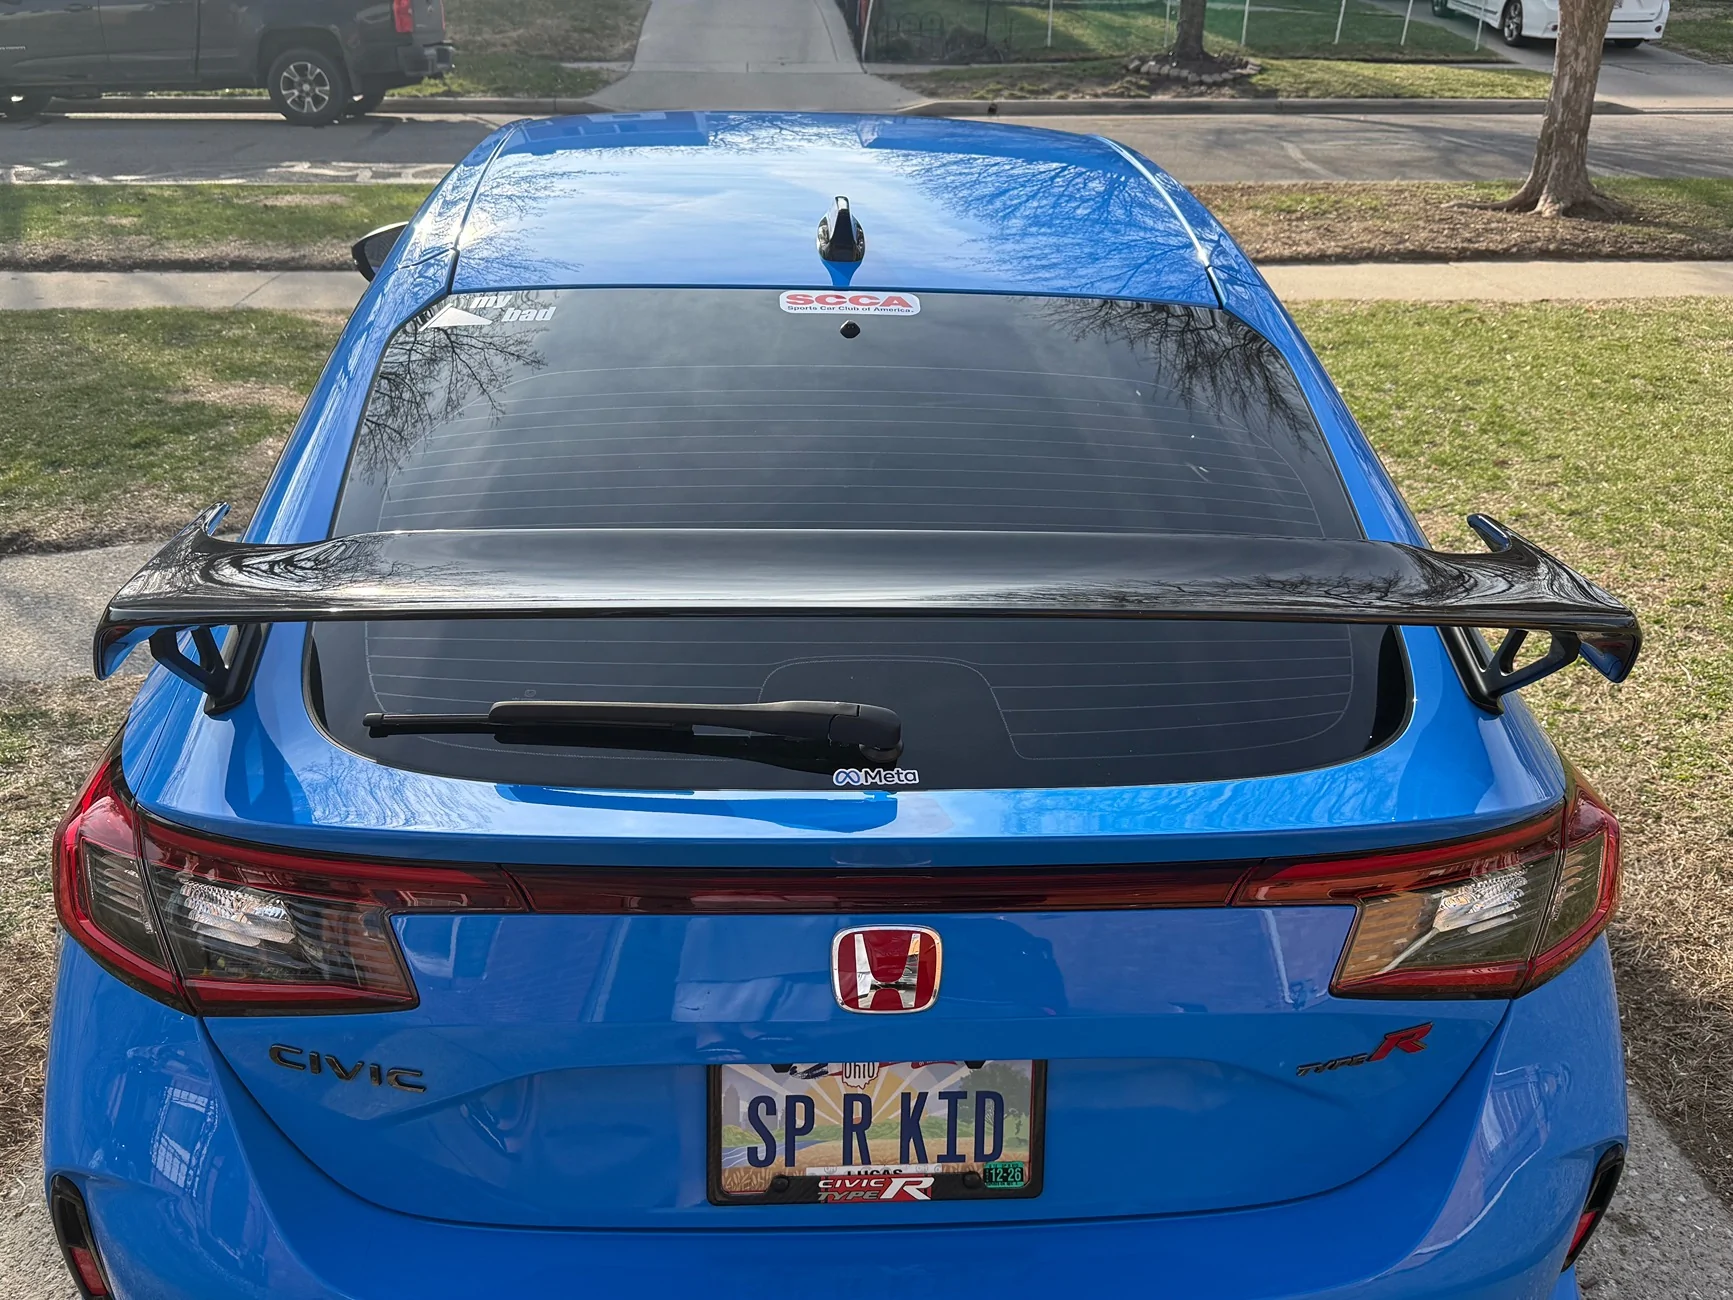
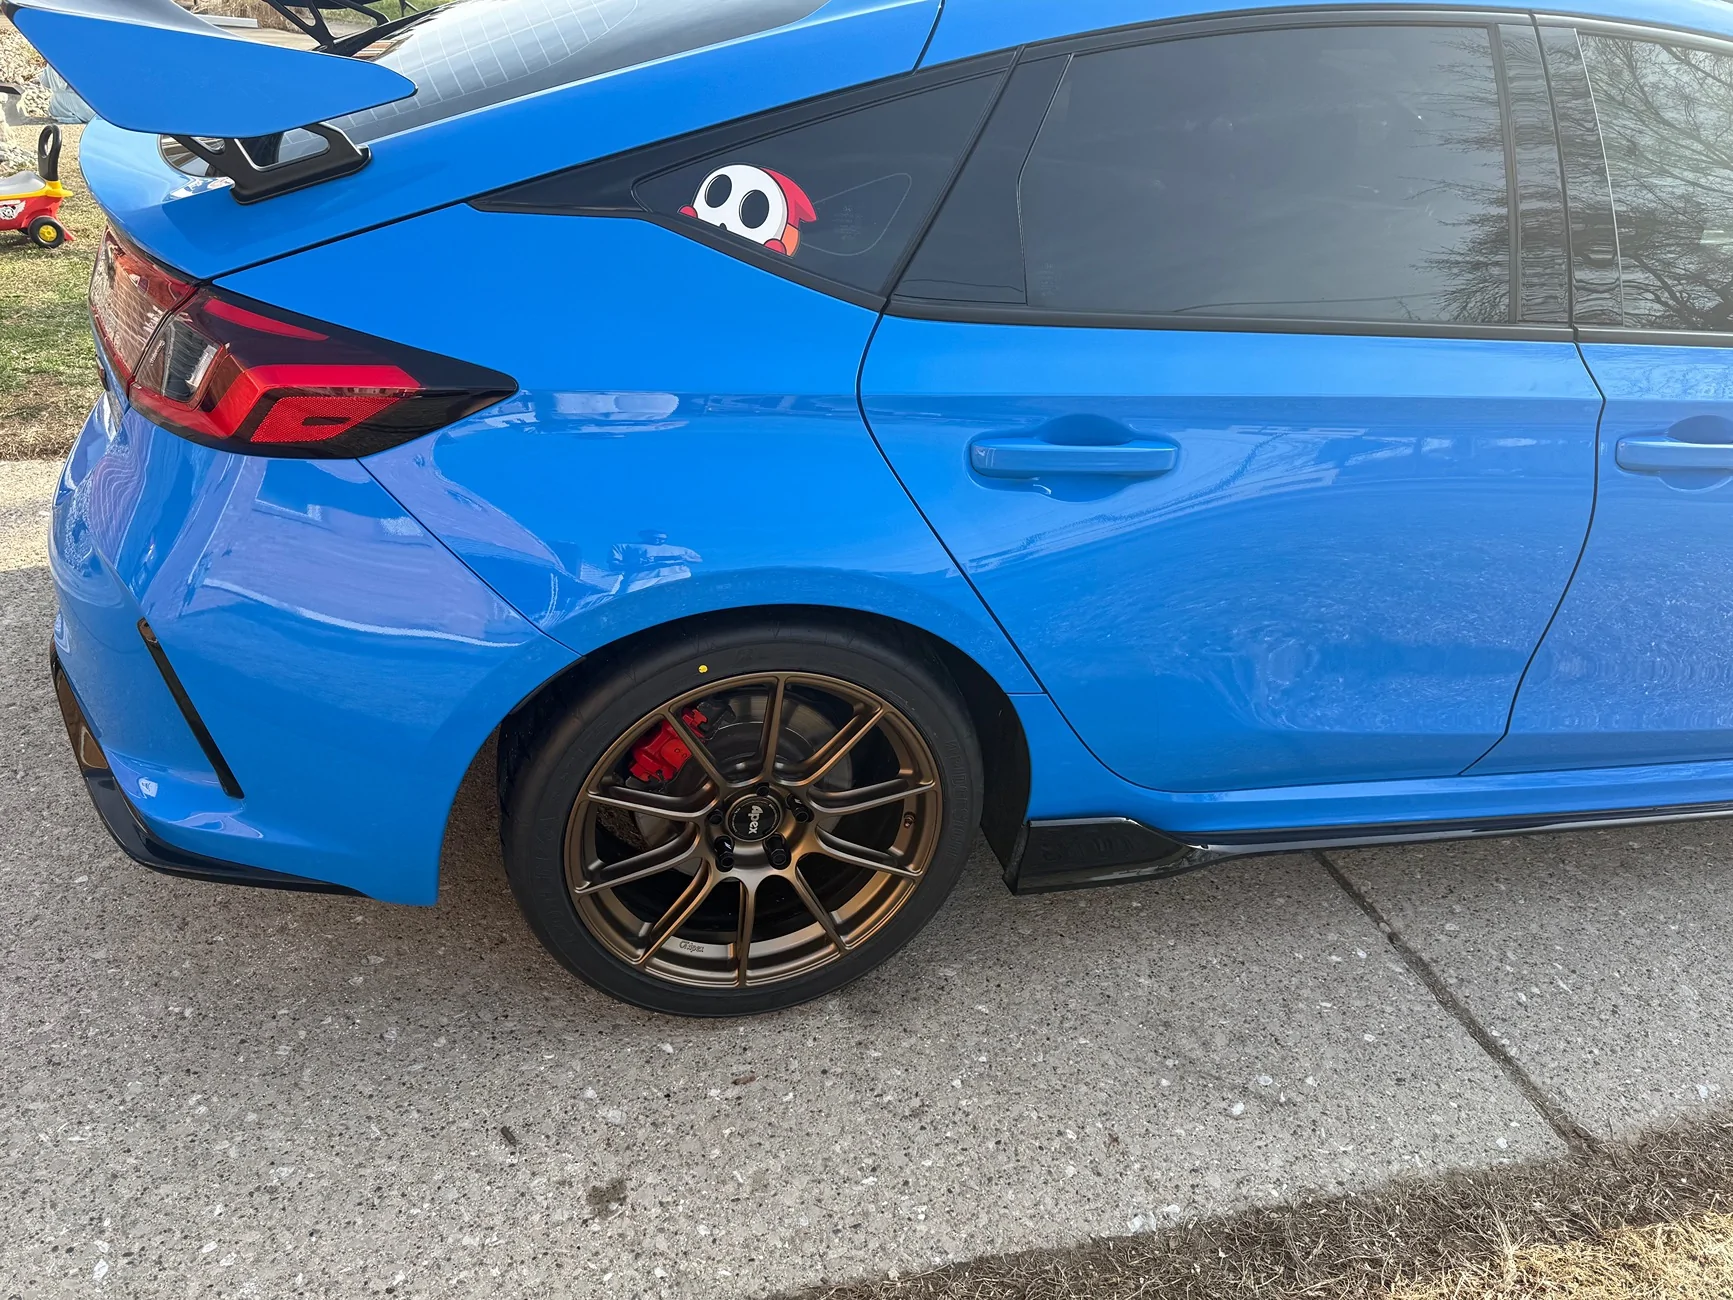
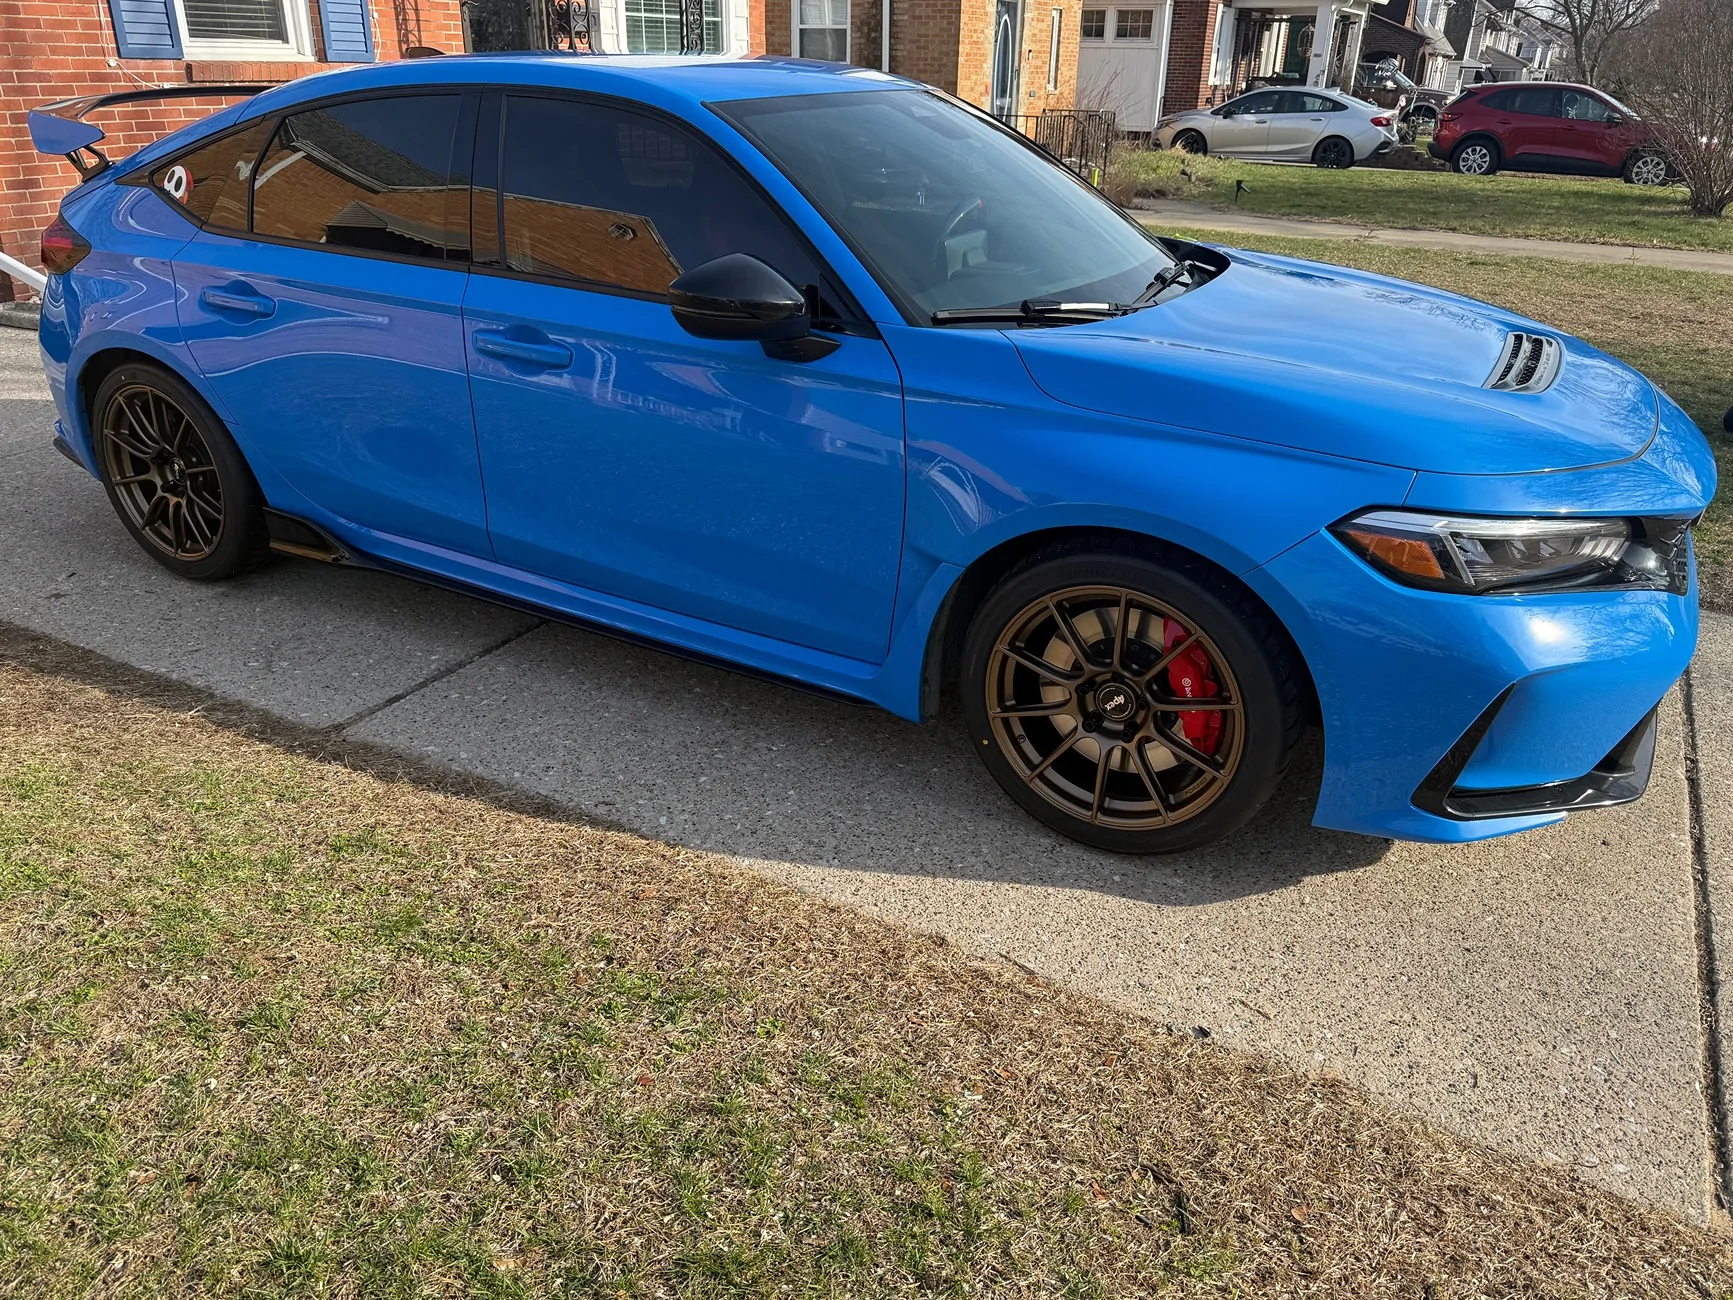
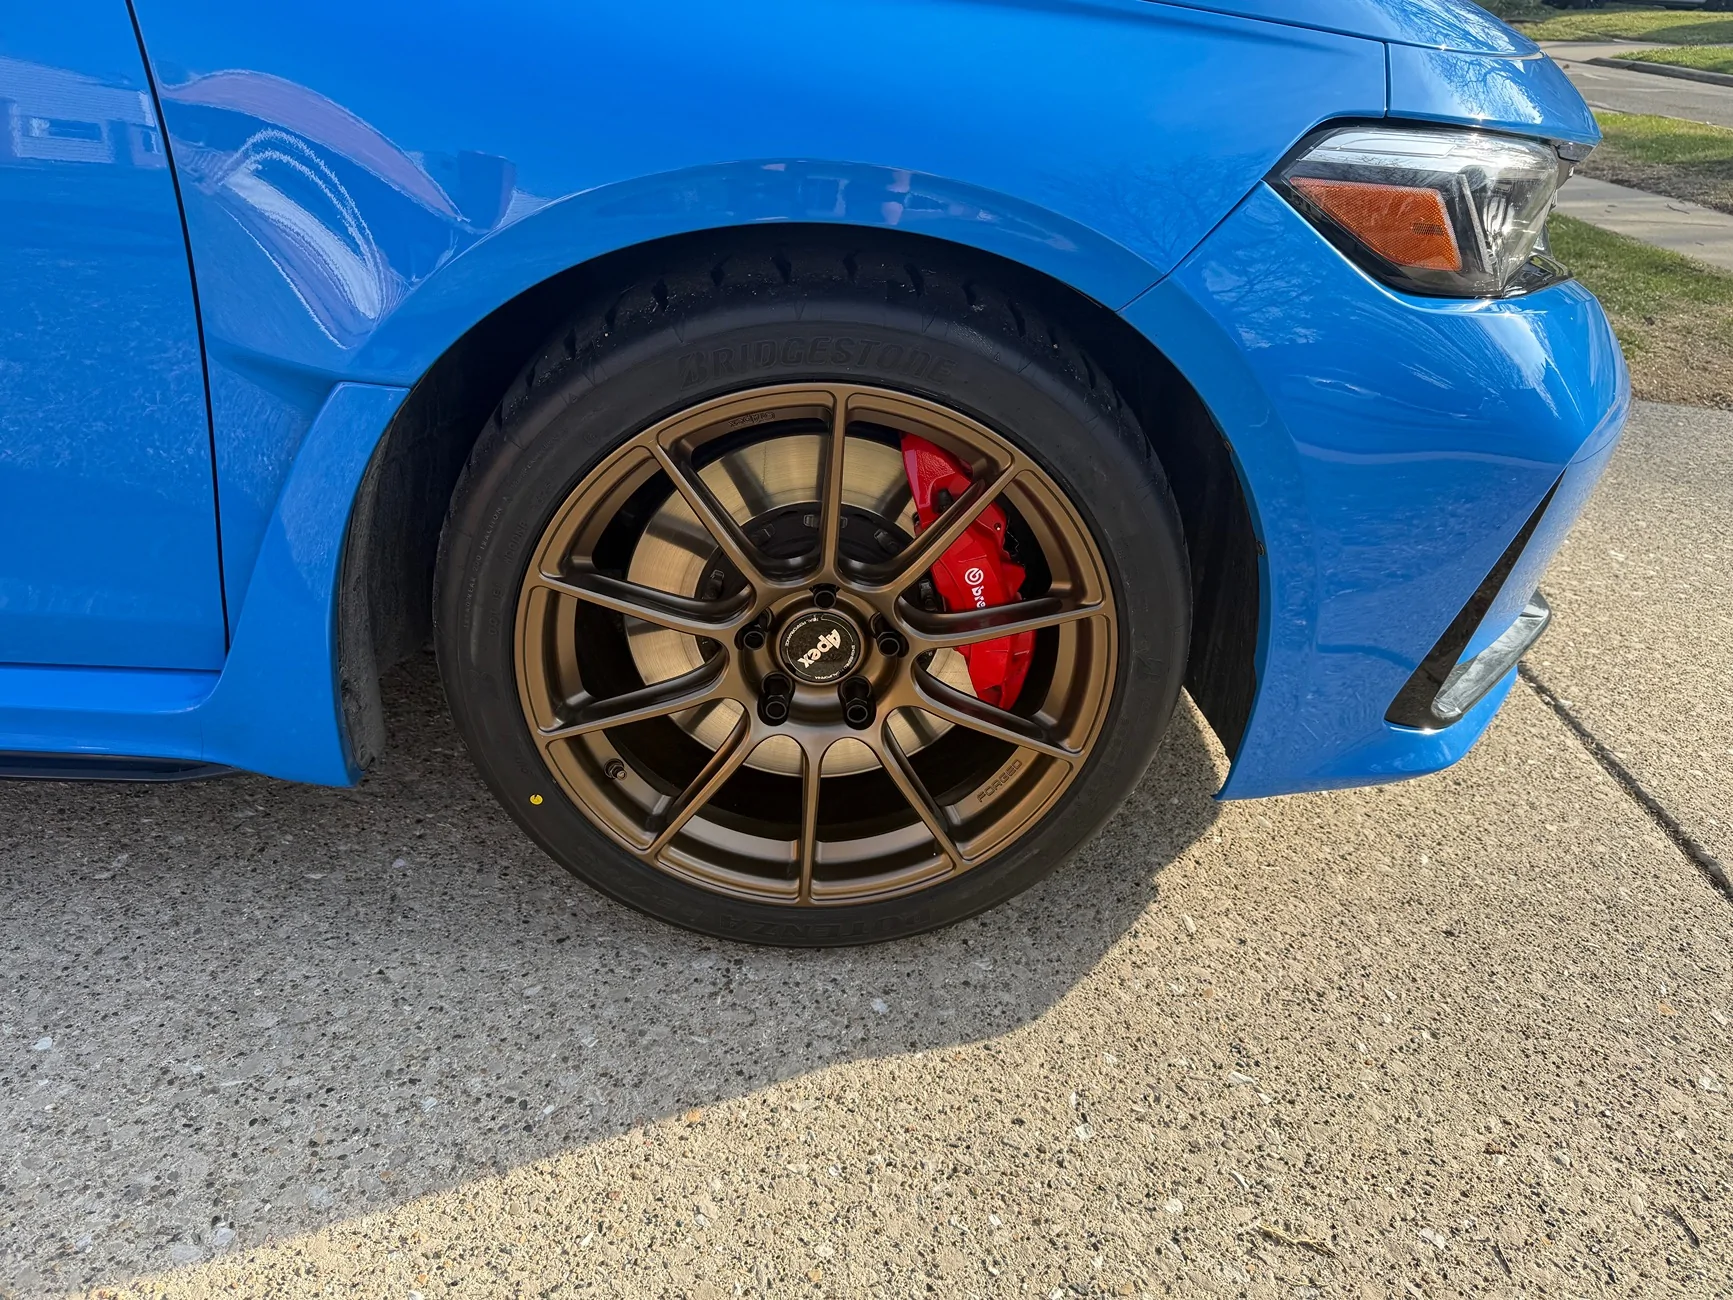
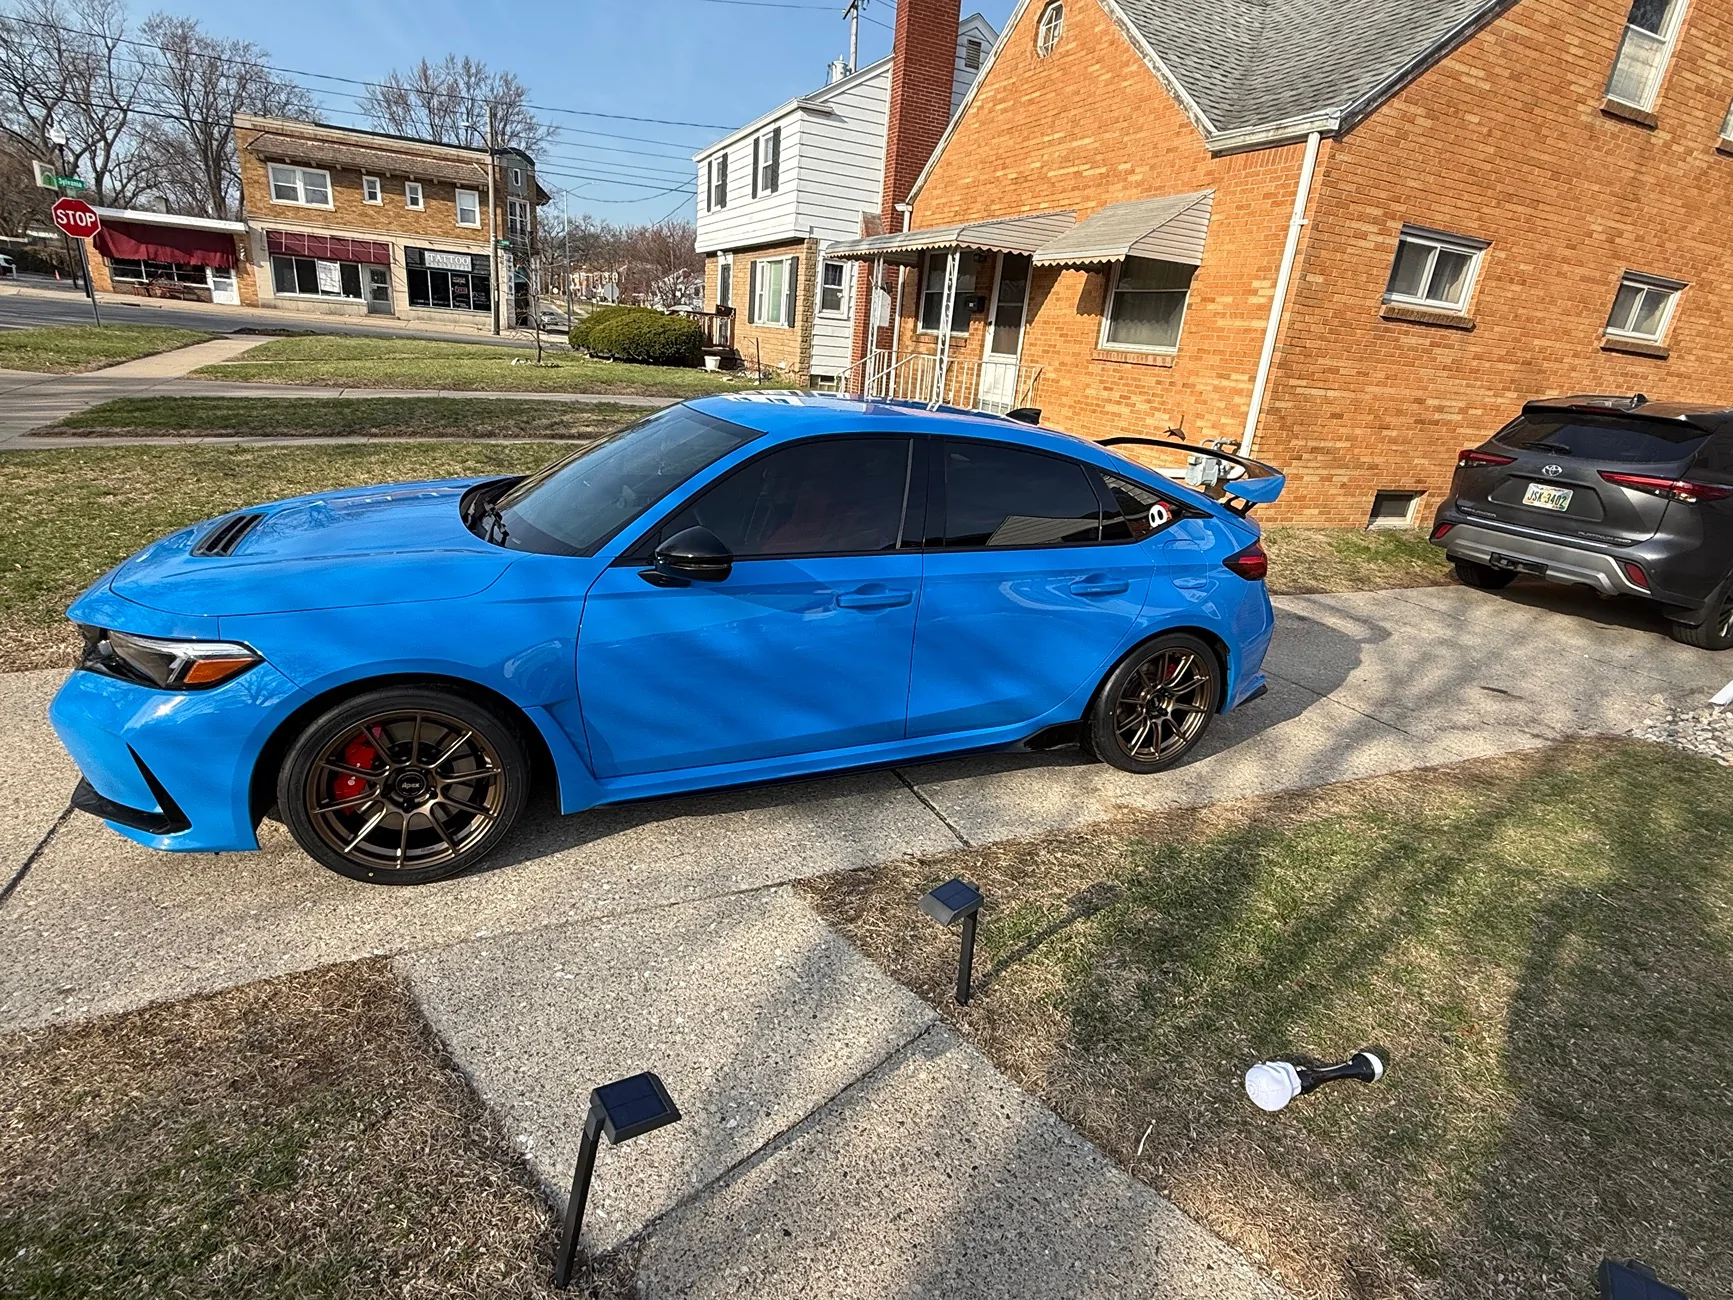
Finally got the wheels on! Got some decent mid west weather and it’s looking optimistic going forward.

Apex wheels
Bridgestone Tires
P3 Paragon Pads all around
Castrol SRF racing Brake Fluid
RV6 Rear Sway Bar
Stickers the wife got me!

Stoked for the summer!

11th Gen Honda Civic What did you do to your FL5 today? IMG_4536
11th Gen Honda Civic What did you do to your FL5 today? IMG_4537
11th Gen Honda Civic What did you do to your FL5 today? IMG_4538
11th Gen Honda Civic What did you do to your FL5 today? IMG_4539
11th Gen Honda Civic What did you do to your FL5 today? IMG_4540


11th Gen Honda Civic What did you do to your FL5 today? IMG_4534
 

MooMoo

Senior Member
Joined
Apr 6, 2024
Threads
24
Messages
1,467
Reaction score
1,531
Location
NY
Vehicle(s)
2024 CW FL5 Type R, 2000 S2000, 2002 Range Rover P38
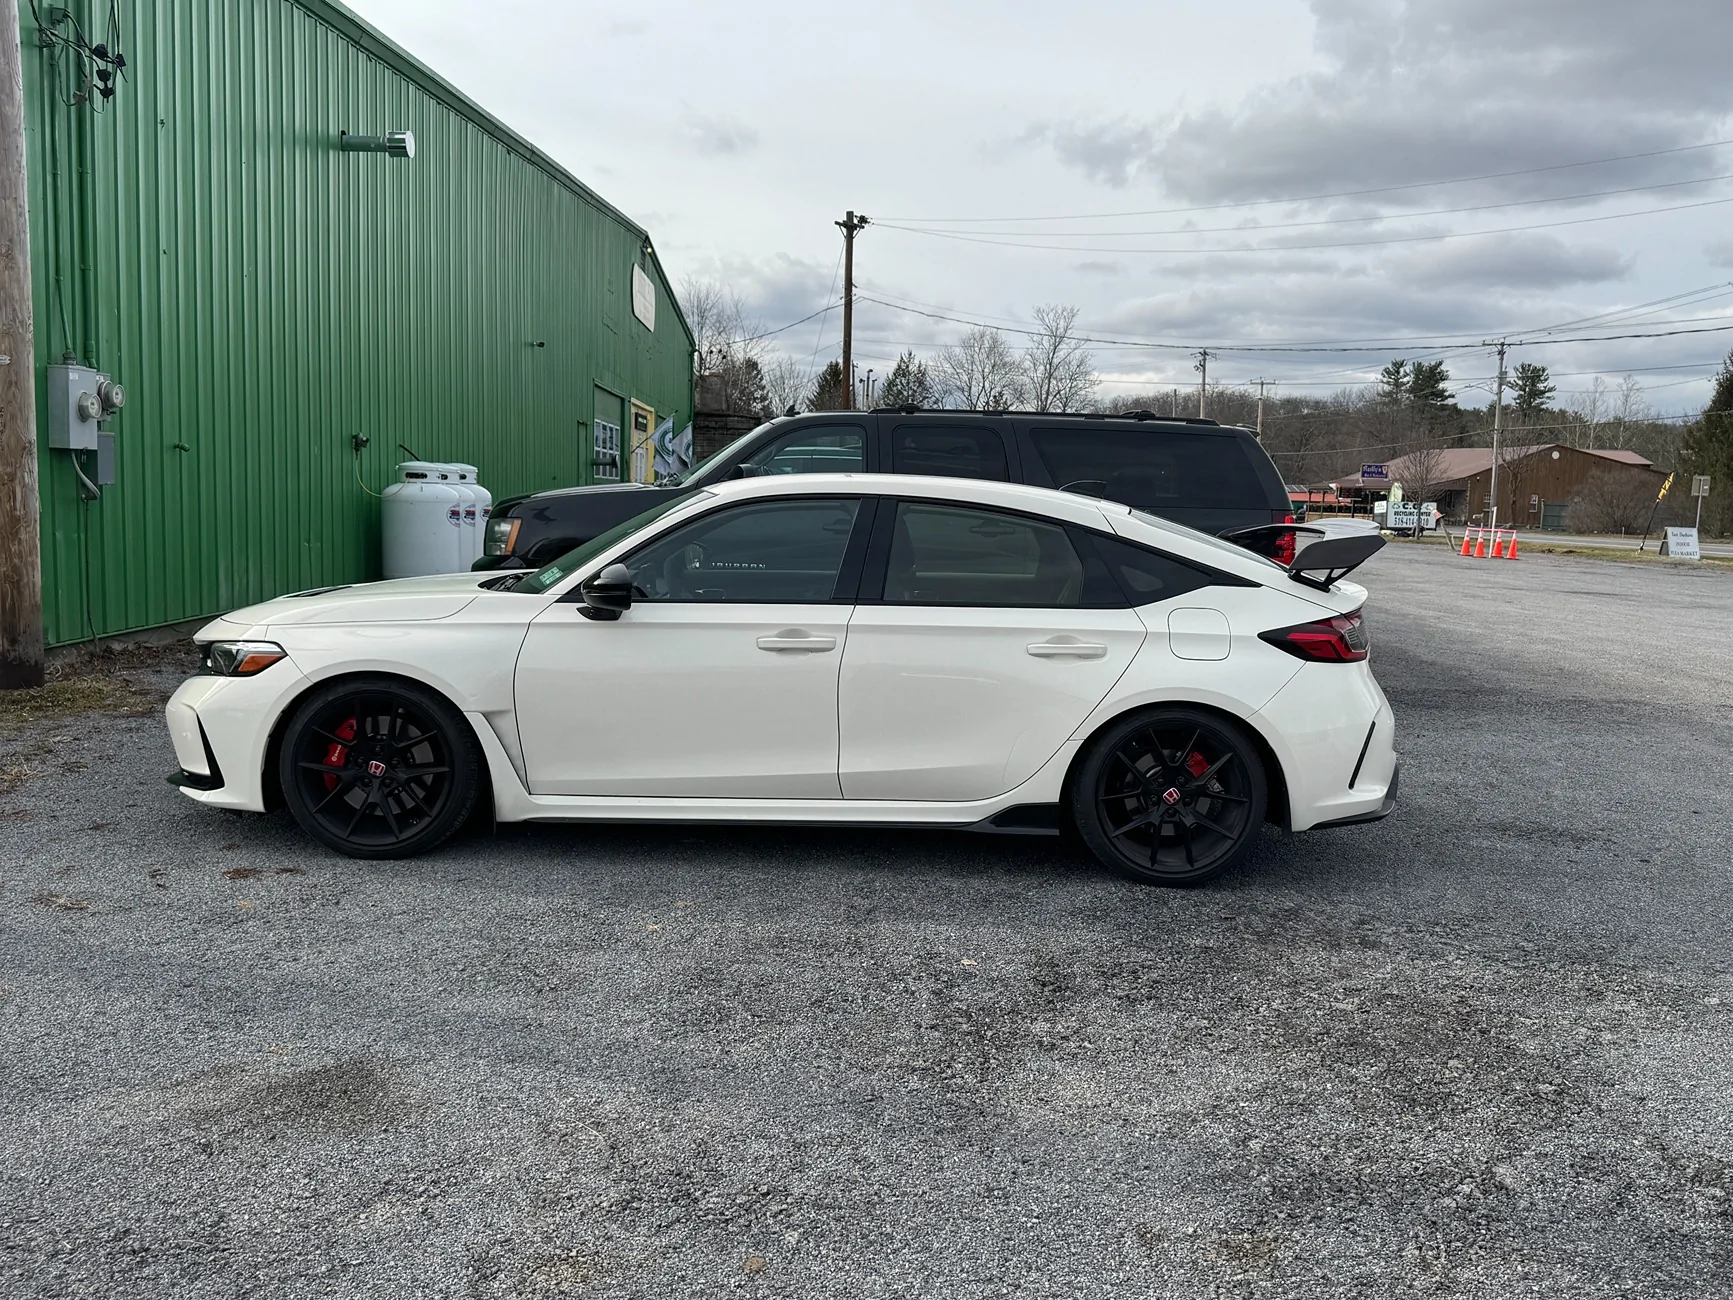
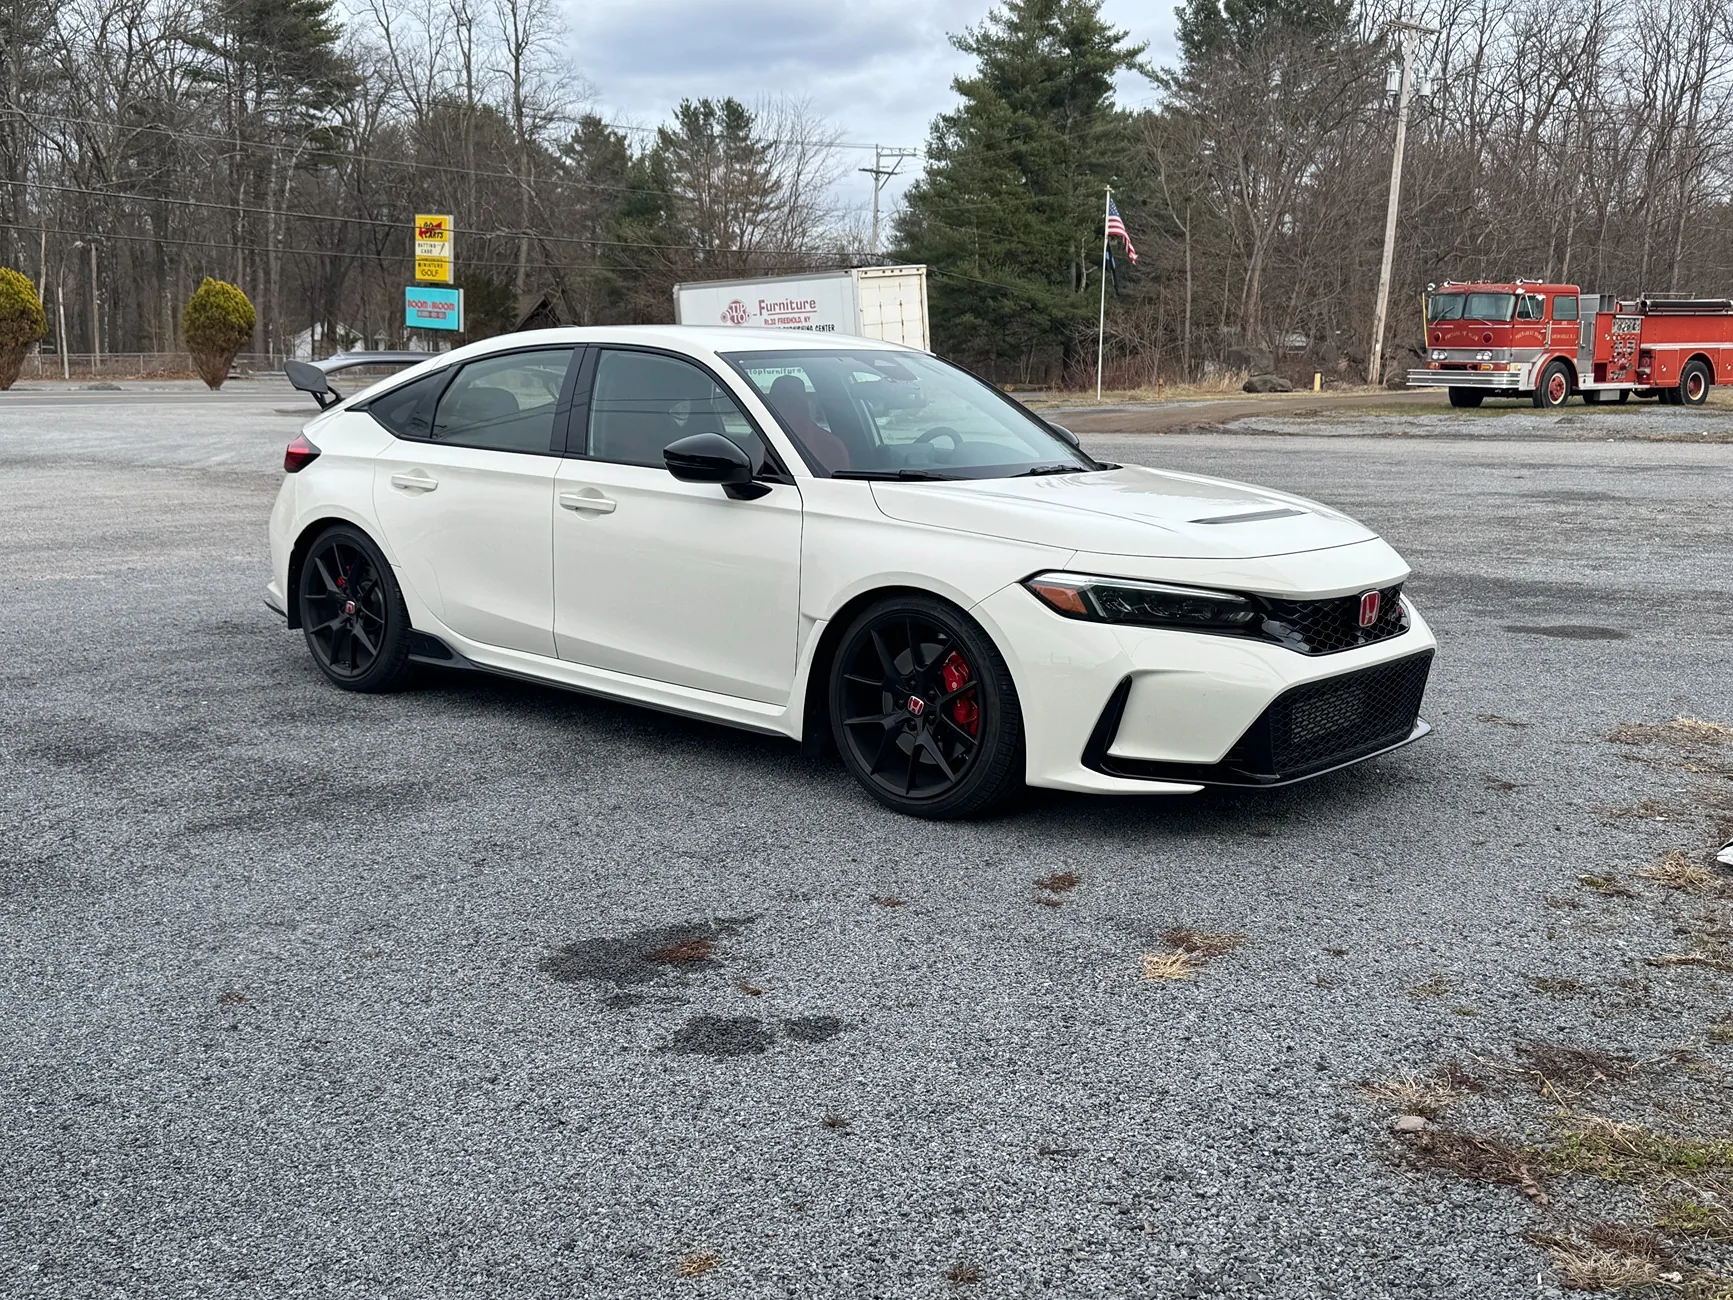
Finally got some springs installed, H&R which have the least drop possible and IMO is absolutely perfect. Also got camber ball joints installed in the front. Still need an alignment but went on a little drive to get things settled in. The awesome dudes that installed eye balled the toe and they got a good eye because the car drives perfect lol, I am sure its still off but feels fantastic.

Just waiting for alignment for some new wheels to go in

11th Gen Honda Civic What did you do to your FL5 today? IMG_1123
11th Gen Honda Civic What did you do to your FL5 today? IMG_1124
 

zumbooruk

Senior Member
Joined
Oct 19, 2024
Threads
11
Messages
666
Reaction score
621
Location
Ventura CA
Vehicle(s)
2025 FL5, 2014 Chevy Suburban (wife), previous 2007 FA5
Thanks for sharing. You should have your ECU back from COBB by now. Interested to hear your thoughts on their OTS map.
I don't have it yet :-(

I have no idea why but UPS held it for an extra day at the local UPS facility, and only delivered on Wed (two days) instead of Tuesday

I wrongly assumed next day air shipping both ways. but COBB shipped it back via UPS ground. though they did ship it on Wednesday, the same they they received it.

and lastly I got notification from UPS that the ground shipment is delayed due to weather...

so I don't even have a delivery date

Today I installed the COBB intake in anticipation for the ECU

I got unlimited tune from @JST Performance in the bundle with the AccessPort and Jailbreak way back in November (but then my mother-in-law passed and I was very busy helping my wife)

I am new to this process, I am not sure if I'll even use the OTS map with the COBB intake

also, I'll be the first one to admit that I drive like an ape, and I am not a very attuned driver (pun intended).
 
Last edited:

TheFactor

Senior Member
First Name
Factor
Joined
Apr 7, 2024
Threads
7
Messages
1,153
Reaction score
1,224
Location
So Cal
Vehicle(s)
2025 CW Civic Type R
So i know most want to hear what the @PRL Motorsports PRL P700 turbo sounds like with the T51r mod. Here’s a quick cold start, and a few pulls (not sure what happened to my mic after but i’ll get better rolling videos and sounds)


Nice ! Sounds like a Jet plane 😆


BLU RRR

Senior Member
First Name
Jeff
Joined
Feb 18, 2026
Threads
0
Messages
52
Reaction score
63
Location
South Central PA
Vehicle(s)
2025 Civic Type R
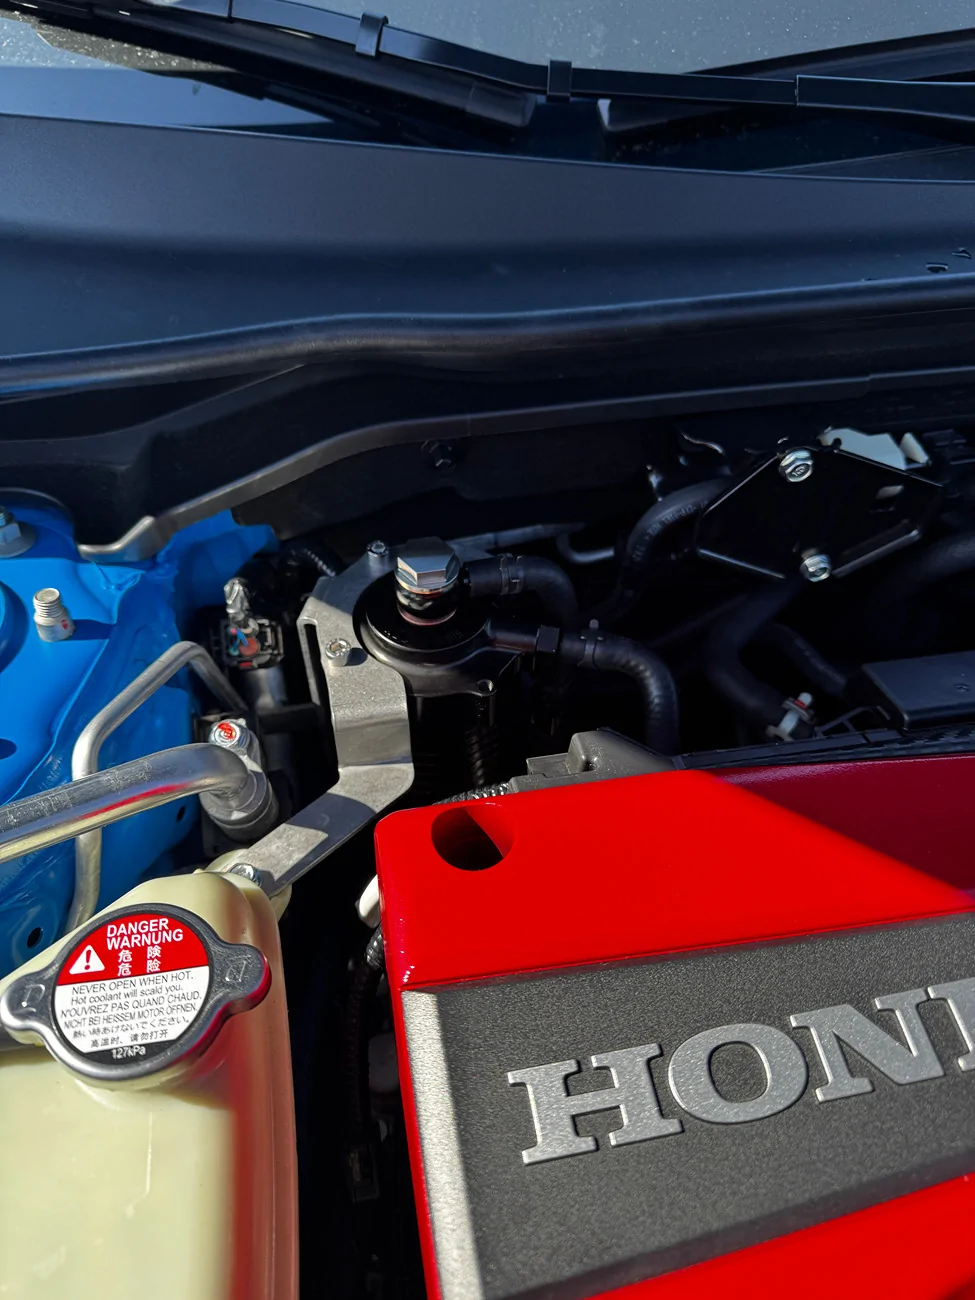
PRL catch can and WOT hood struts installed. Easy installs on both for the most part. the PRL hoses are a bit smaller diameter than OEM and not as flexible so def use dishwashing soap, oil or windex to help put them on and dont get frustrated. There is little room to work but enough to get it done.

Anyone have a good solution to the OEM engine cover bolts? The heads are short and soft AF and I rounded one off trying to get it loose.


11th Gen Honda Civic What did you do to your FL5 today? IMG_4507
 

Chilly613

Senior Member
Joined
Nov 5, 2022
Threads
13
Messages
1,162
Reaction score
1,462
Location
Southern California
Vehicle(s)
2025 FL5 Civic Type R
Build Thread
Link
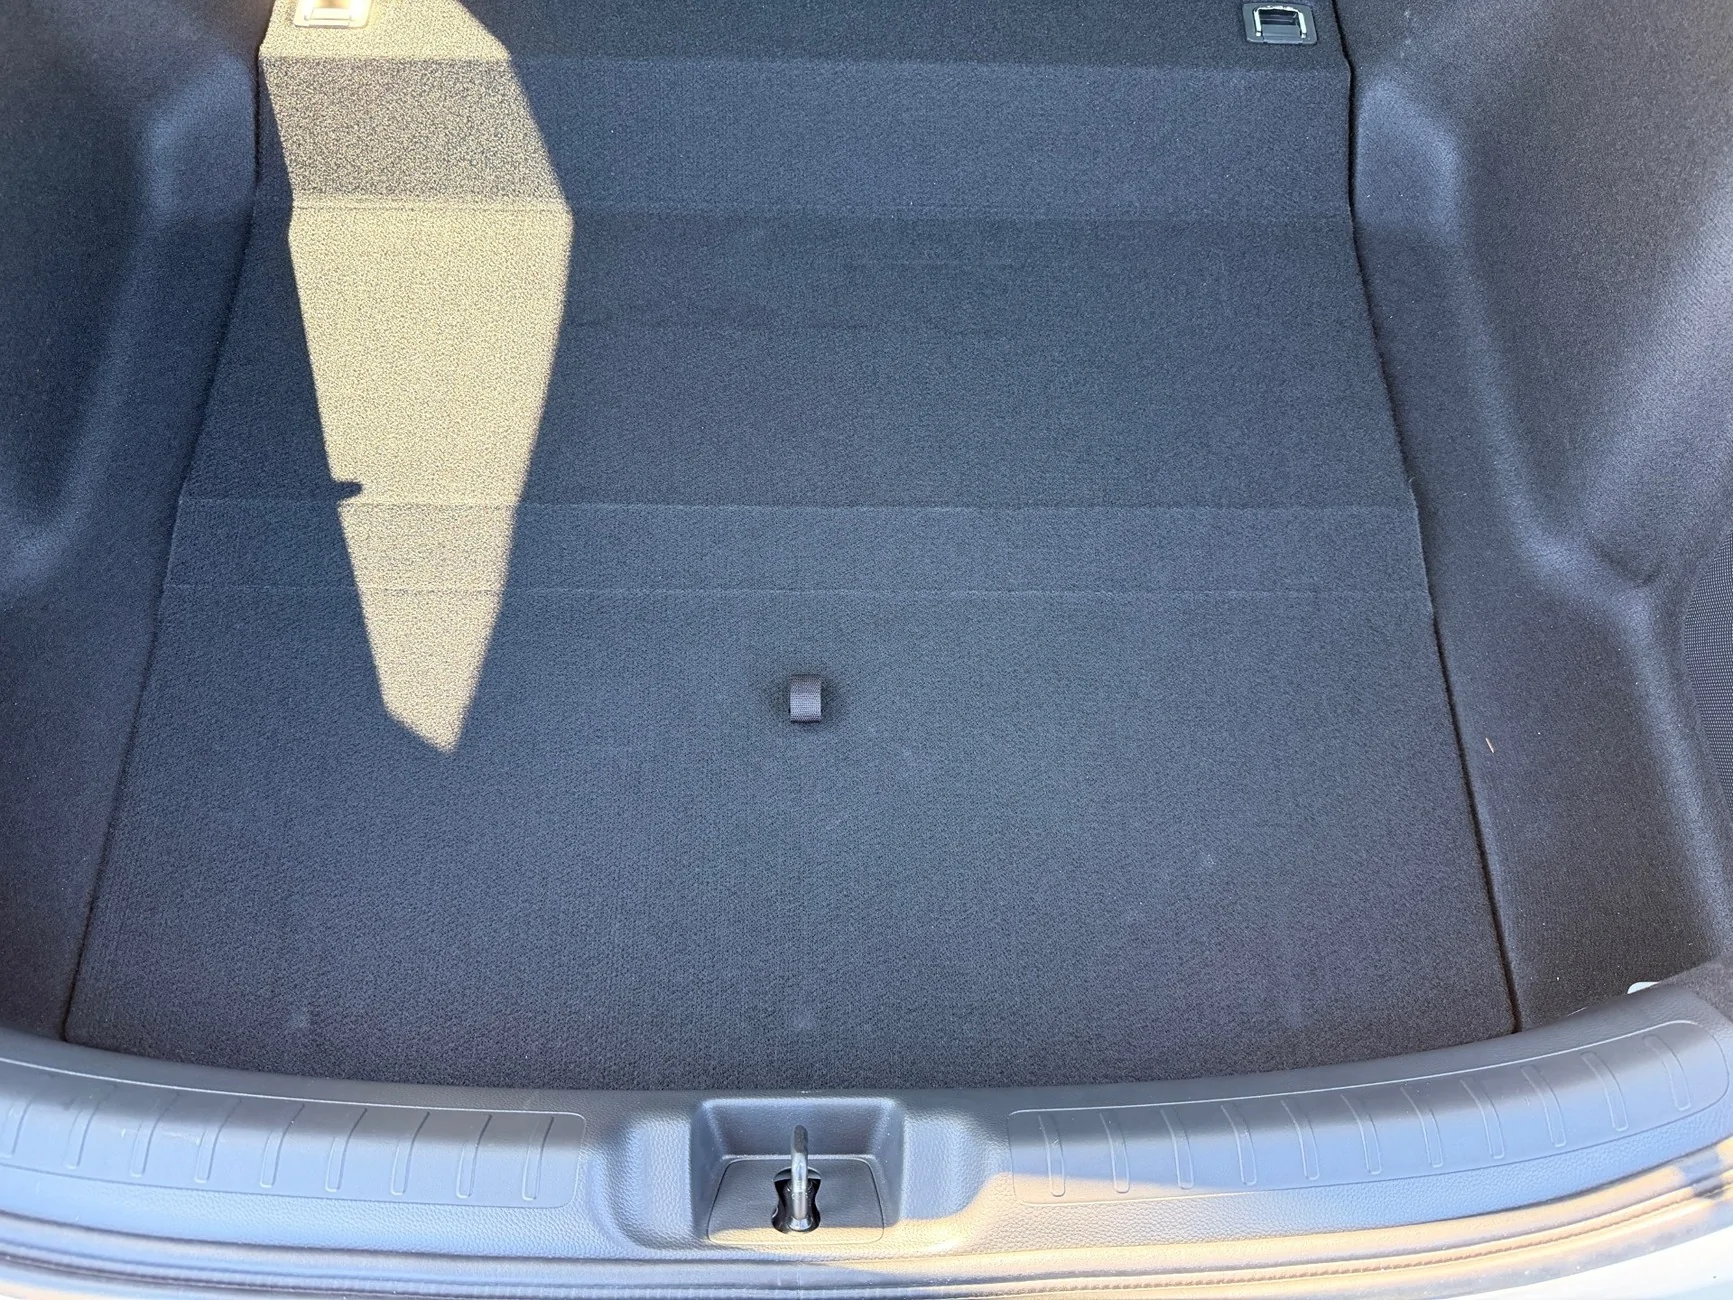
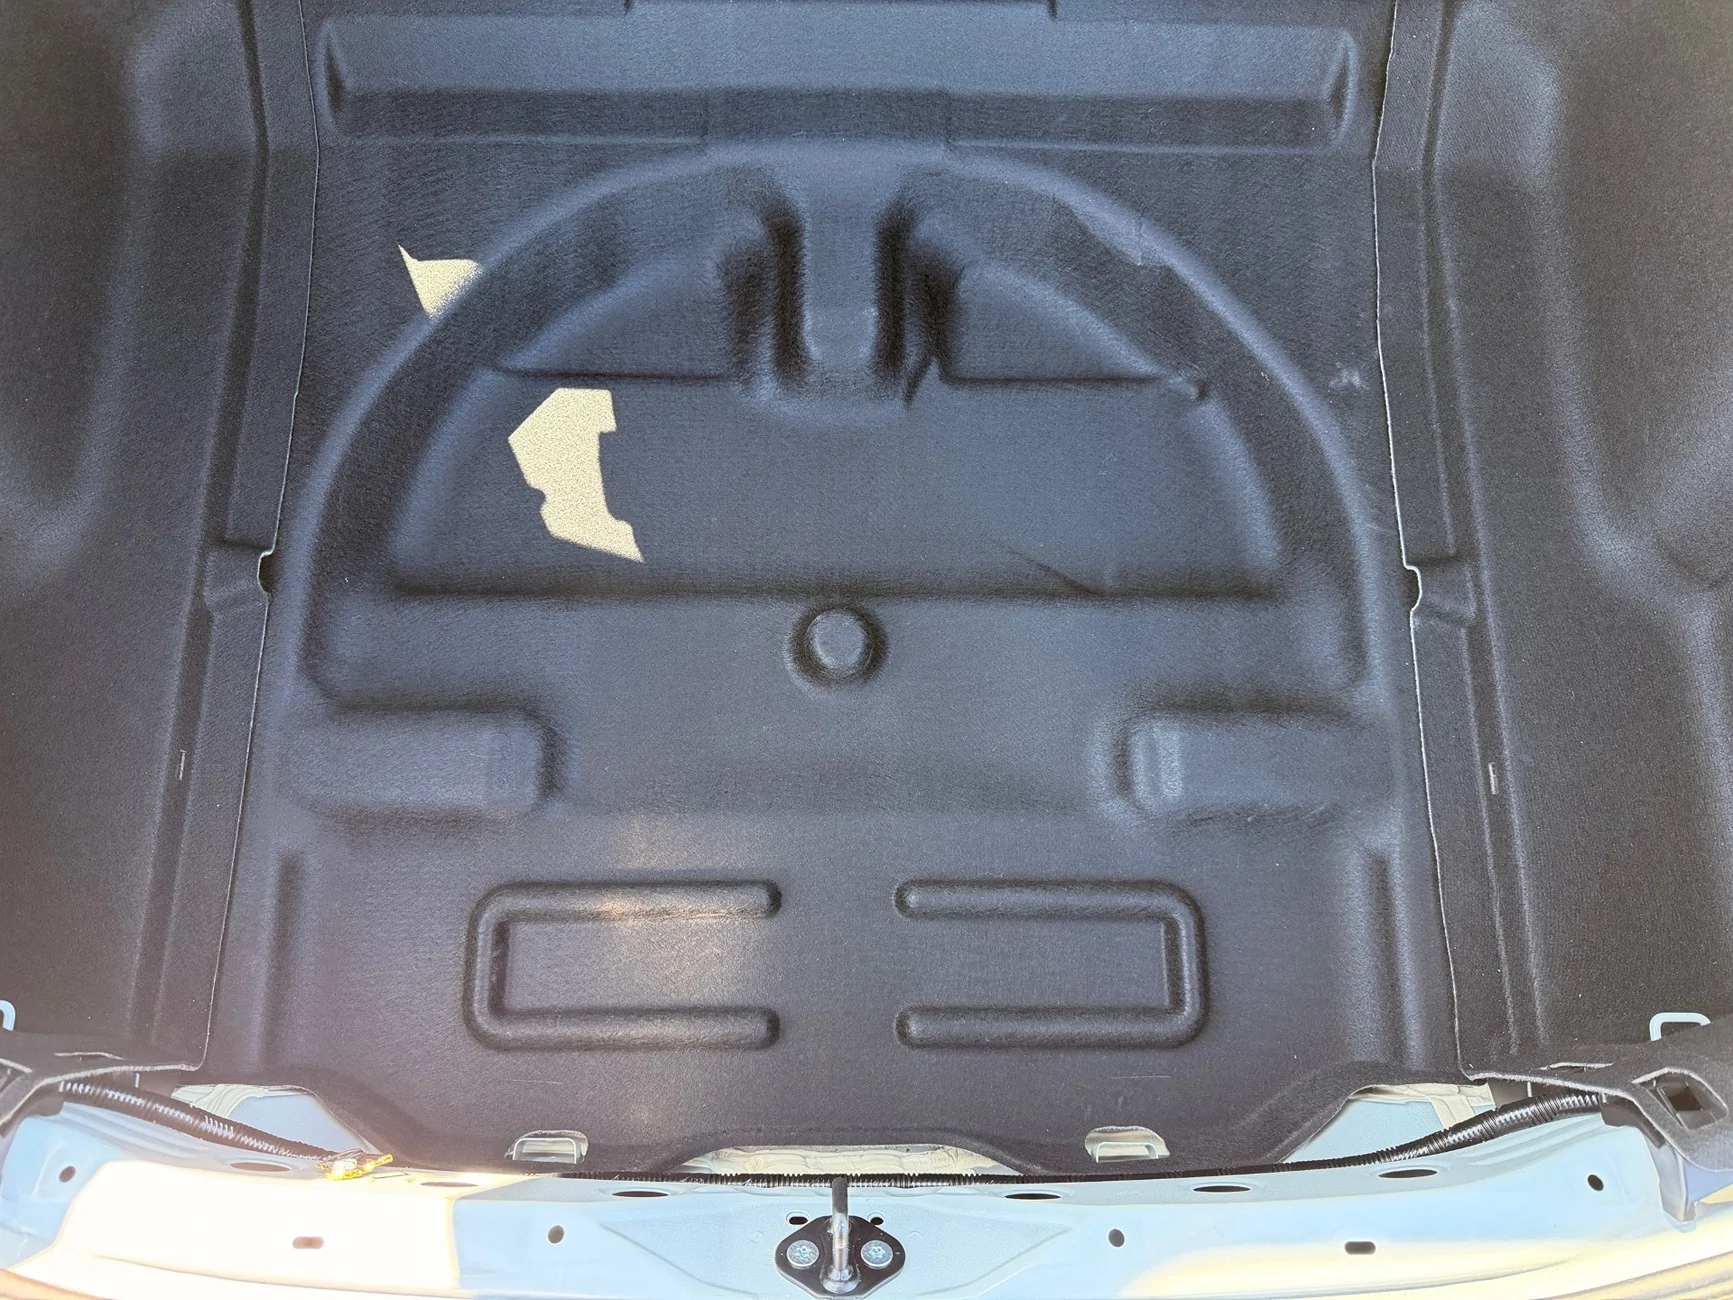
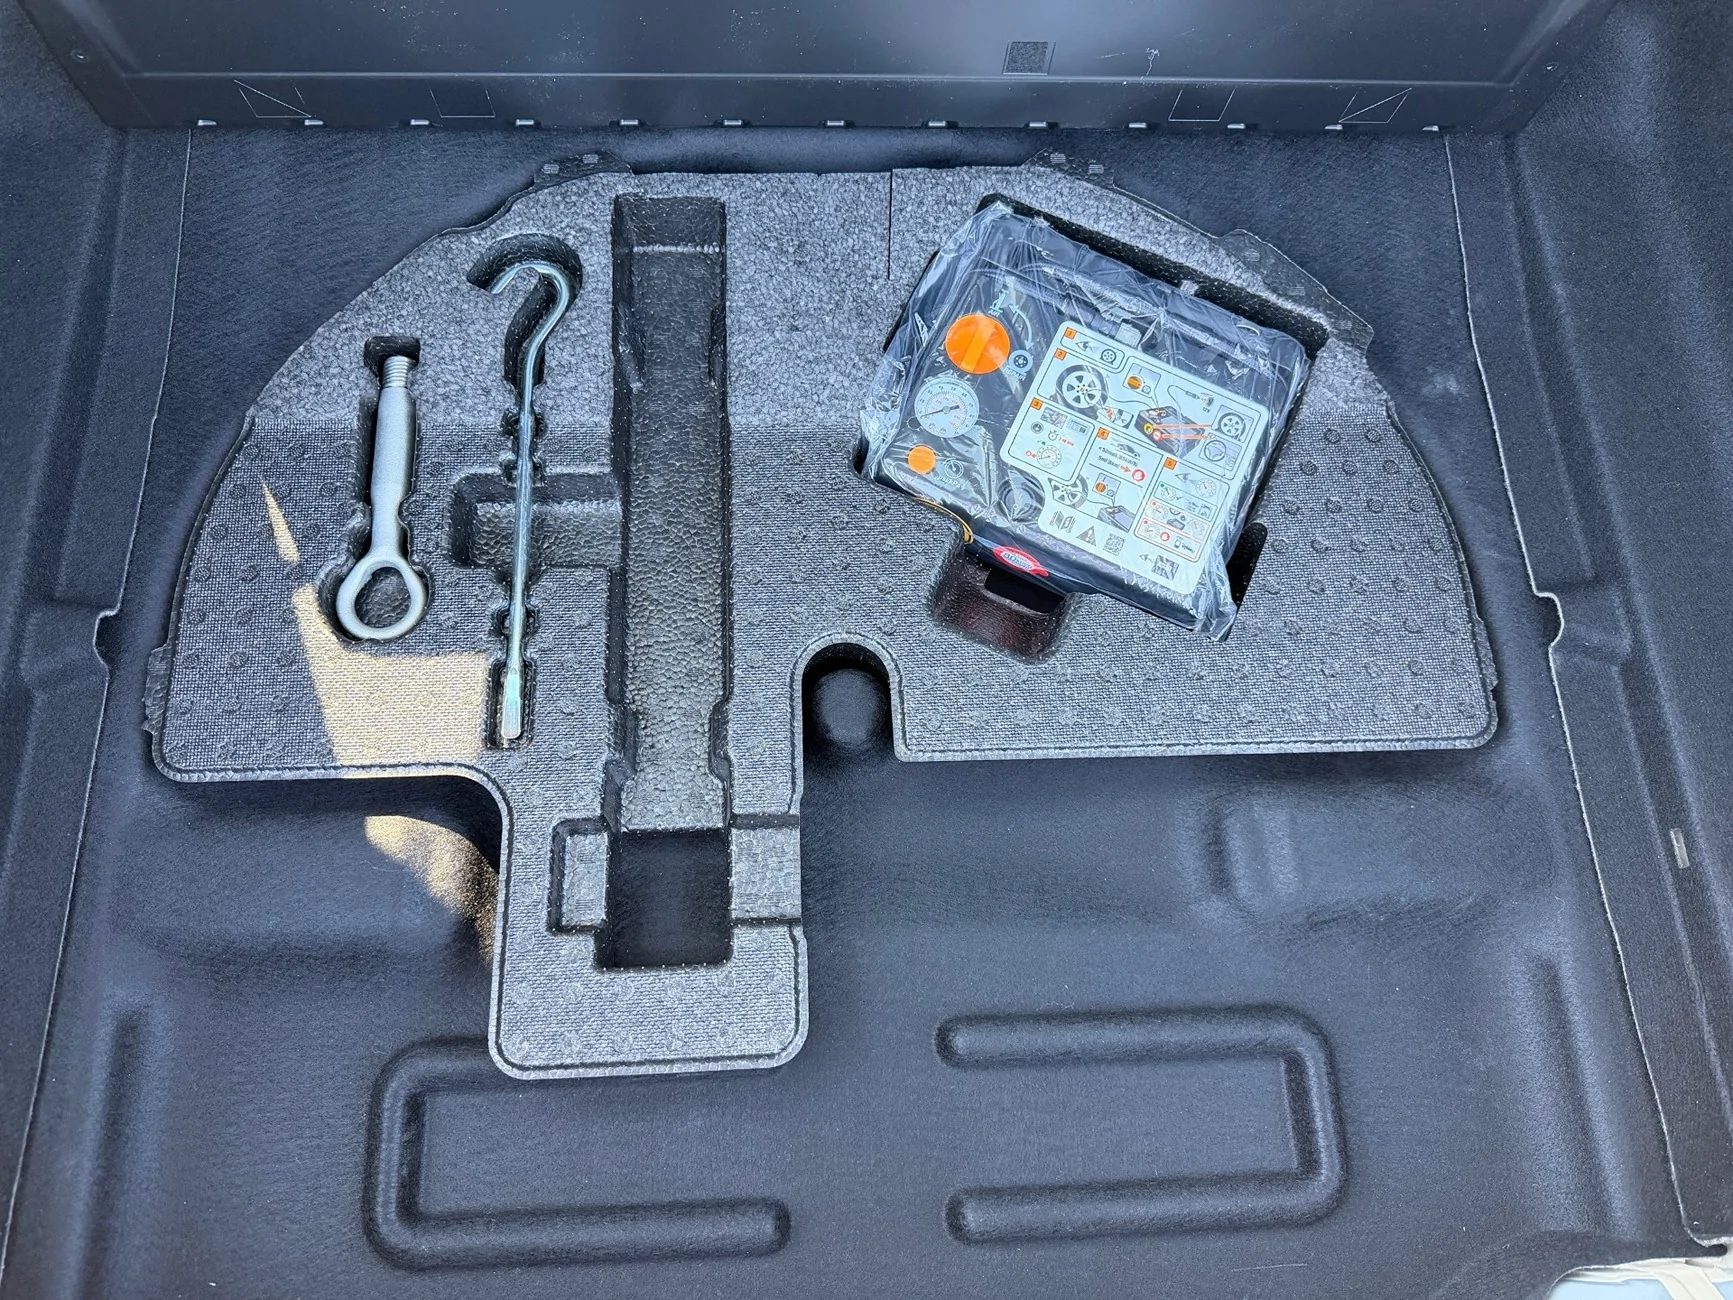
Wanted to try this carpeted well liner for the hatch from the FL4. I want to see if it helps cut down any road nose in the hatch and to also make it look more "finished", even though I know I don't open it up much or at all.

If you want to retain the foam insert with the patch kit and tools, you will need to shave down the high spots of the foam. I used an old chefs knife I did not care to mess up. Still sticks up a little bit but, it'll be hidden by the OEM all weather cargo tray. I might get a small tool bag that can fit everything and get rid of the foam later on, but it works for now.

P/N: 84528-T50-J51ZA


11th Gen Honda Civic What did you do to your FL5 today? 1774393811895-fx


11th Gen Honda Civic What did you do to your FL5 today? 1774393838506-q0


11th Gen Honda Civic What did you do to your FL5 today? 1774393850907-4g
 
Last edited:

zumbooruk

Senior Member
Joined
Oct 19, 2024
Threads
11
Messages
666
Reaction score
621
Location
Ventura CA
Vehicle(s)
2025 FL5, 2014 Chevy Suburban (wife), previous 2007 FA5
I got the jailbroken ECU late last evening.

I was done installing the ECU, but after I tightened the negative battery cable, and pulled the ratchet off the bolt, the socket flew off the ratchet and fell into the engine bay...

I hate Murphy

I decided to remove the OEM air intake box, thinking that it would be easier to search/find the socket, since anyway I was going to install the COBB air intake this weekend, might as well do it now...

No luck, ended up jacking the car and removing lots of underbody stuff, the HPT cooling plate, Bad Ann LV front guard, various plastic trim around the wheel well, and it eventually fell off.

since I had the OEM out, I proceeded to install the COBB intake, finished the installation and flushed with the Stage1+SF 91 octane.

I was up till 4am since I had trouble following some of the instructions, and to spend time researching for some missing or unclear instructions.

removal step 6: when I attempted to use Phillips screwdriver, it just cam-out and the head was stripped. I did not have a 5.5mm but I found a 7/32" SAE socket that fit (7/32" = 5.556mm)

removal step 7: the clamp with the broken off head - I was not able to just "wiggle the tube free", but I was able to use a plier to grab the "tail" end of the worm gear and turn it.

Pre-Installation:

step 1:
"Using the two small allen bolts, install the bracket into the side of the airbox with a washer and nut on the back side."

they should specify the length of the bolts to use. for this step, these are the 16mm not the 12mm (which are "smaller" than 16mm), also probably helpful to say "thick rubber washers" instead of just washers, as I was looking for standard metal washers...

step 5:
"On the back side of the MAF housing, use the provided load spreader to line up with the three lower bolt holes (with the hole for the MAF sensor at the top) and screw in the three provided m6x12mm allen bolts to hold the housing into the airbox."

However there was also a gasket in the exact same shape of the load spreader in the kit, but the gasket is not mentioned in the instructions... It was not clear if I should stick the gasket to the spreader, or maybe stick the flange on the MAF tube which would seal it from the inside. eventually I figured that the gasket is not for sealing, but for protecting the carbon fiber, and applied it to the metal load spreader.

step 9:
"Grab the MAF harness you removed the hard plastic shell from earlier."

I somehow skipped this earlier step, and searching the installation instructions for MAF harness didn't find any earlier mention. I eventually found the instruction I missed in the "removal" section. and was able to follow step 9

Installation step 3: had no mention of the stock T30 torx or the orange gasket from the Honda original part. (which were removed in removal step 5) I had to guess that I should be reusing these stock parts for this step.

installation step 7: "tighten down all the bolts and hose clamps" but no mention as to how much to tighten... no torque specs, not even "hand tight plus quarter turn"...

I am very good at snapping bolts. I tighten them very gently and slowly but then I usually hear SNAP

Bolt extractors used to be a frequently used tool till I got a small 1/4" torque wrench.

it would be very helpful if COBB provided some guidance as to how much to "tighten down"

instructions did not mention the seal that goes on the top of the airbox. but it was fairly obvious how to install it.

Loctite was not mentioned at all in the instructions. I eventually figured which bolts I was supposed to apply the lotite to (the three 12mm bolts holding the load spreader, and the two 16mm bolts holding the bracket), and then had to remove them one by one. luckily all were accessible without uninstalling anything else.

one of the large hose clamps was defective, the worm gear was too high and did not engage the slots in the strap. I had to squeeze the worm gear housing using a vise to make the worm gear engage the slots.

In general I do not like worm gear clamps. I've mangled so many of them when I attempt to get them tight. with these I was very careful not to over tighten, but I wish COBB would have included "better" hose clamps, such as the ones Honda uses.

The CARB sticker was not provided, COBB will be sending one.

I took the car for a short gentle test drive this morning to test that I did not mess up. no issues. started and ran well.

I drove about 20 miles on the freeway tonight. acceleration felt faster. overall felt more power/torque.

but recall that I drive like an ape, and I am not intune with the car...

the COBB intake makes the turbo bypass valve whoosh sound louder, which I think is fun.

I plan on getting a custom tune from Brian @JST Performance soon, but will post more about the OTS COBB map as I drive and notice any changes/improvements

Over all I am very happy so far with both the COBB intake and the AccessPort.
Sponsored

 
Last edited:


Top