Stan23
Senior Member
- First Name
- Stan
- Joined
- Feb 20, 2024
- Threads
- 5
- Messages
- 100
- Reaction score
- 216
- Location
- SF Bay Area
- Vehicle(s)
- 2024 FL5, 2007 AP2 S2000, 2017 991.2 C2
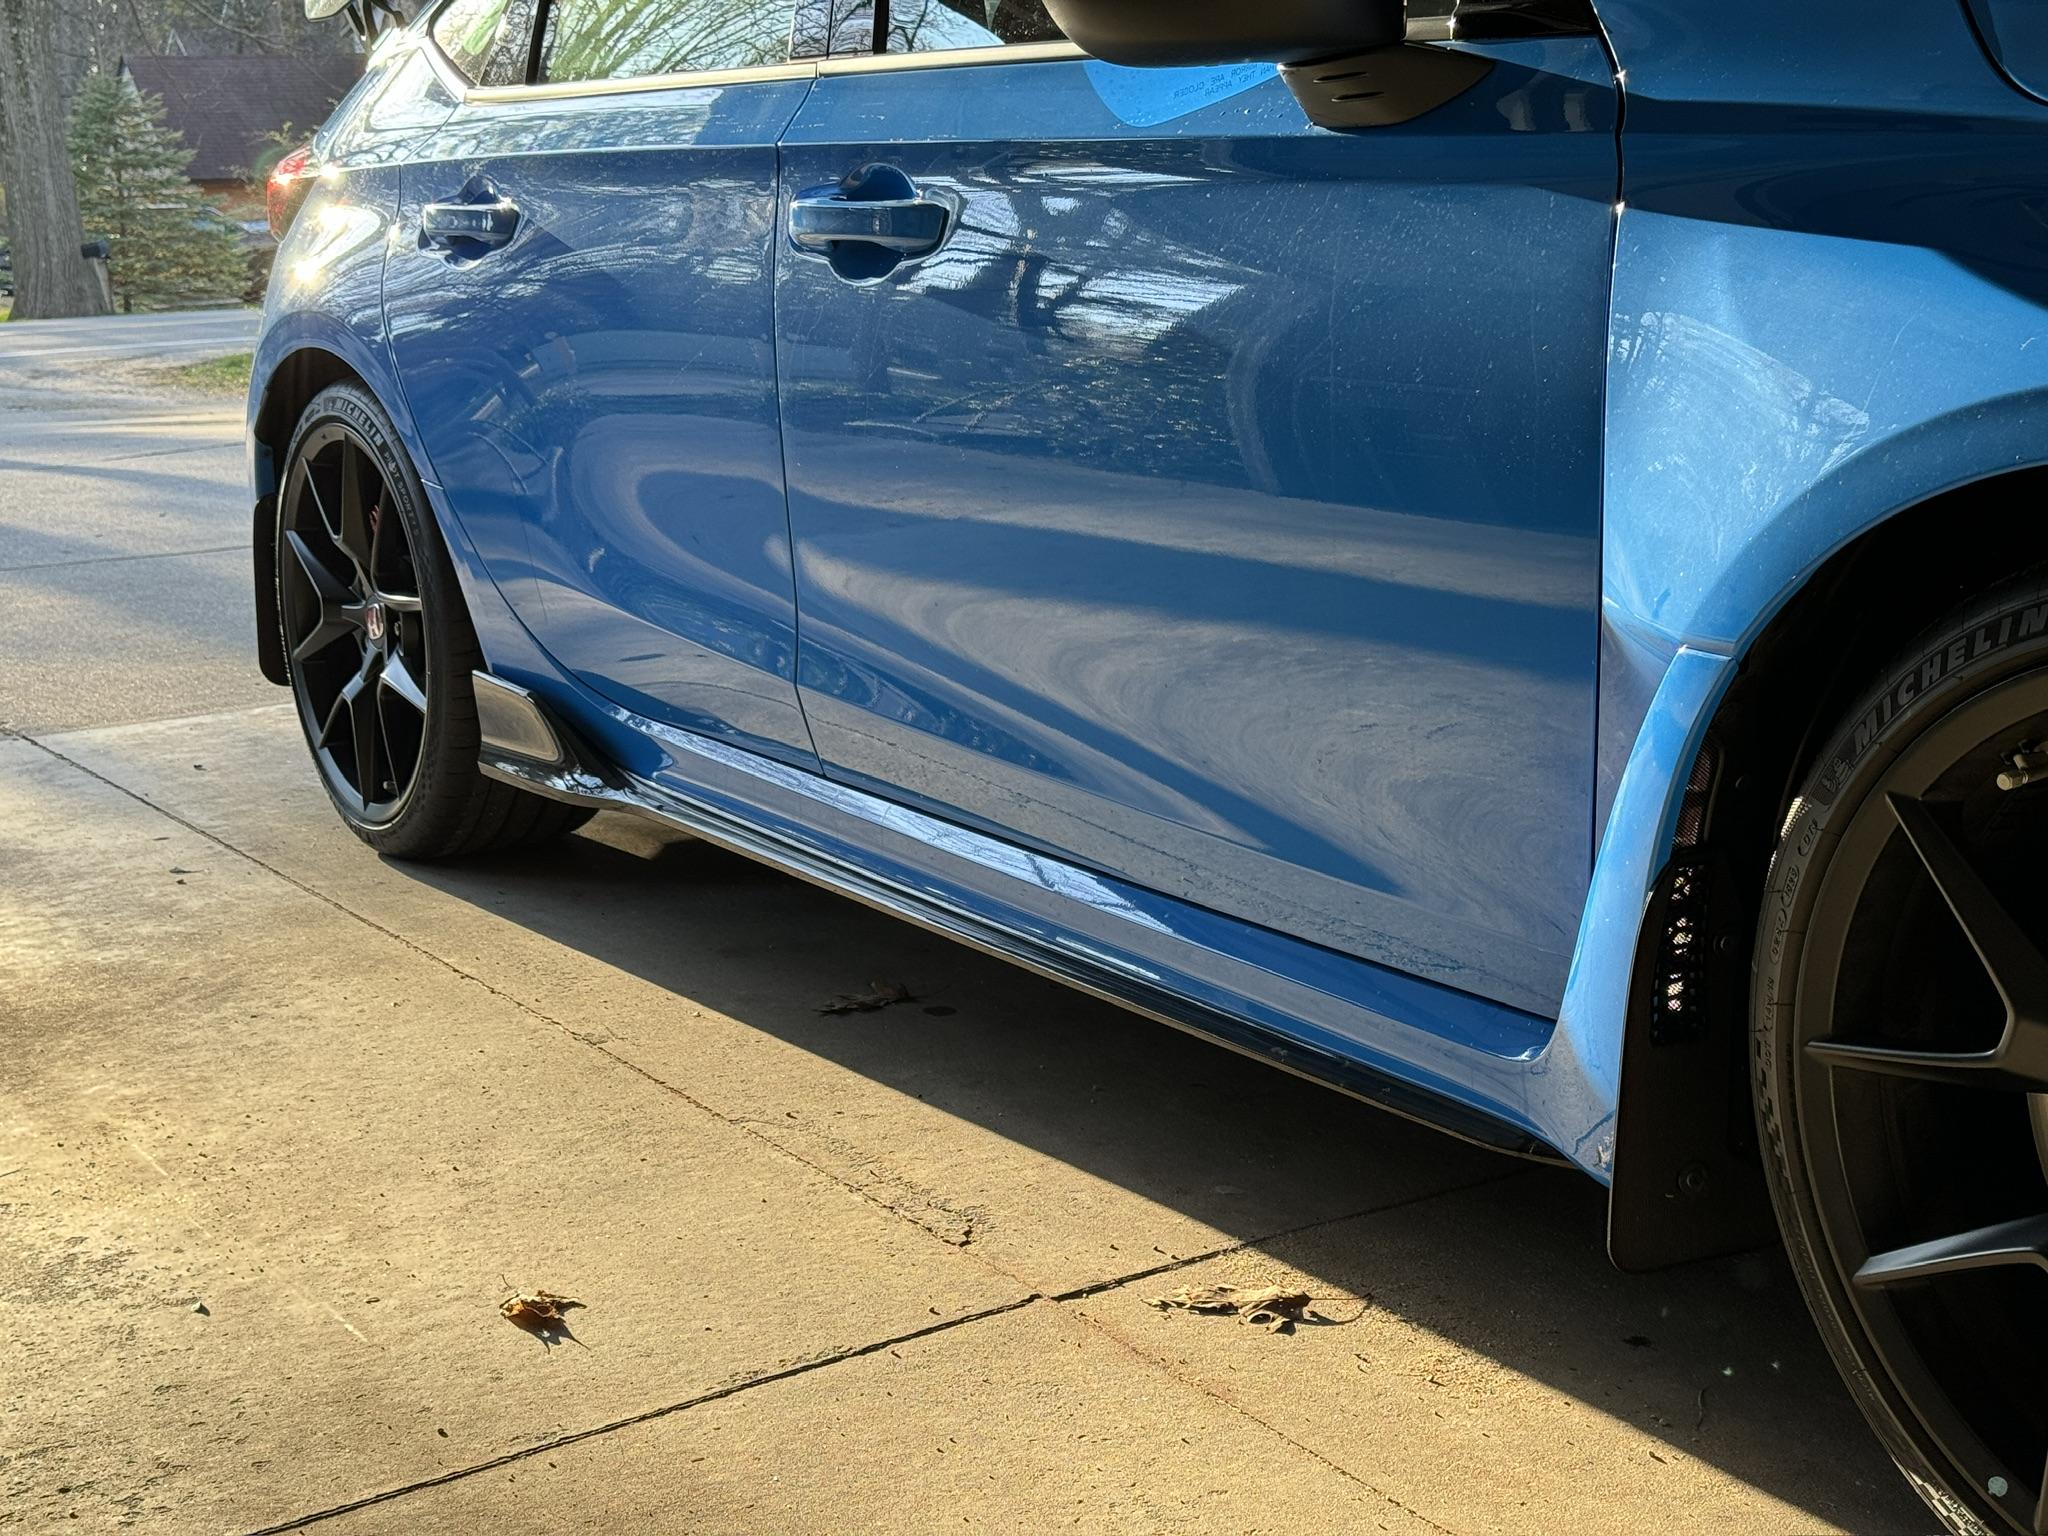
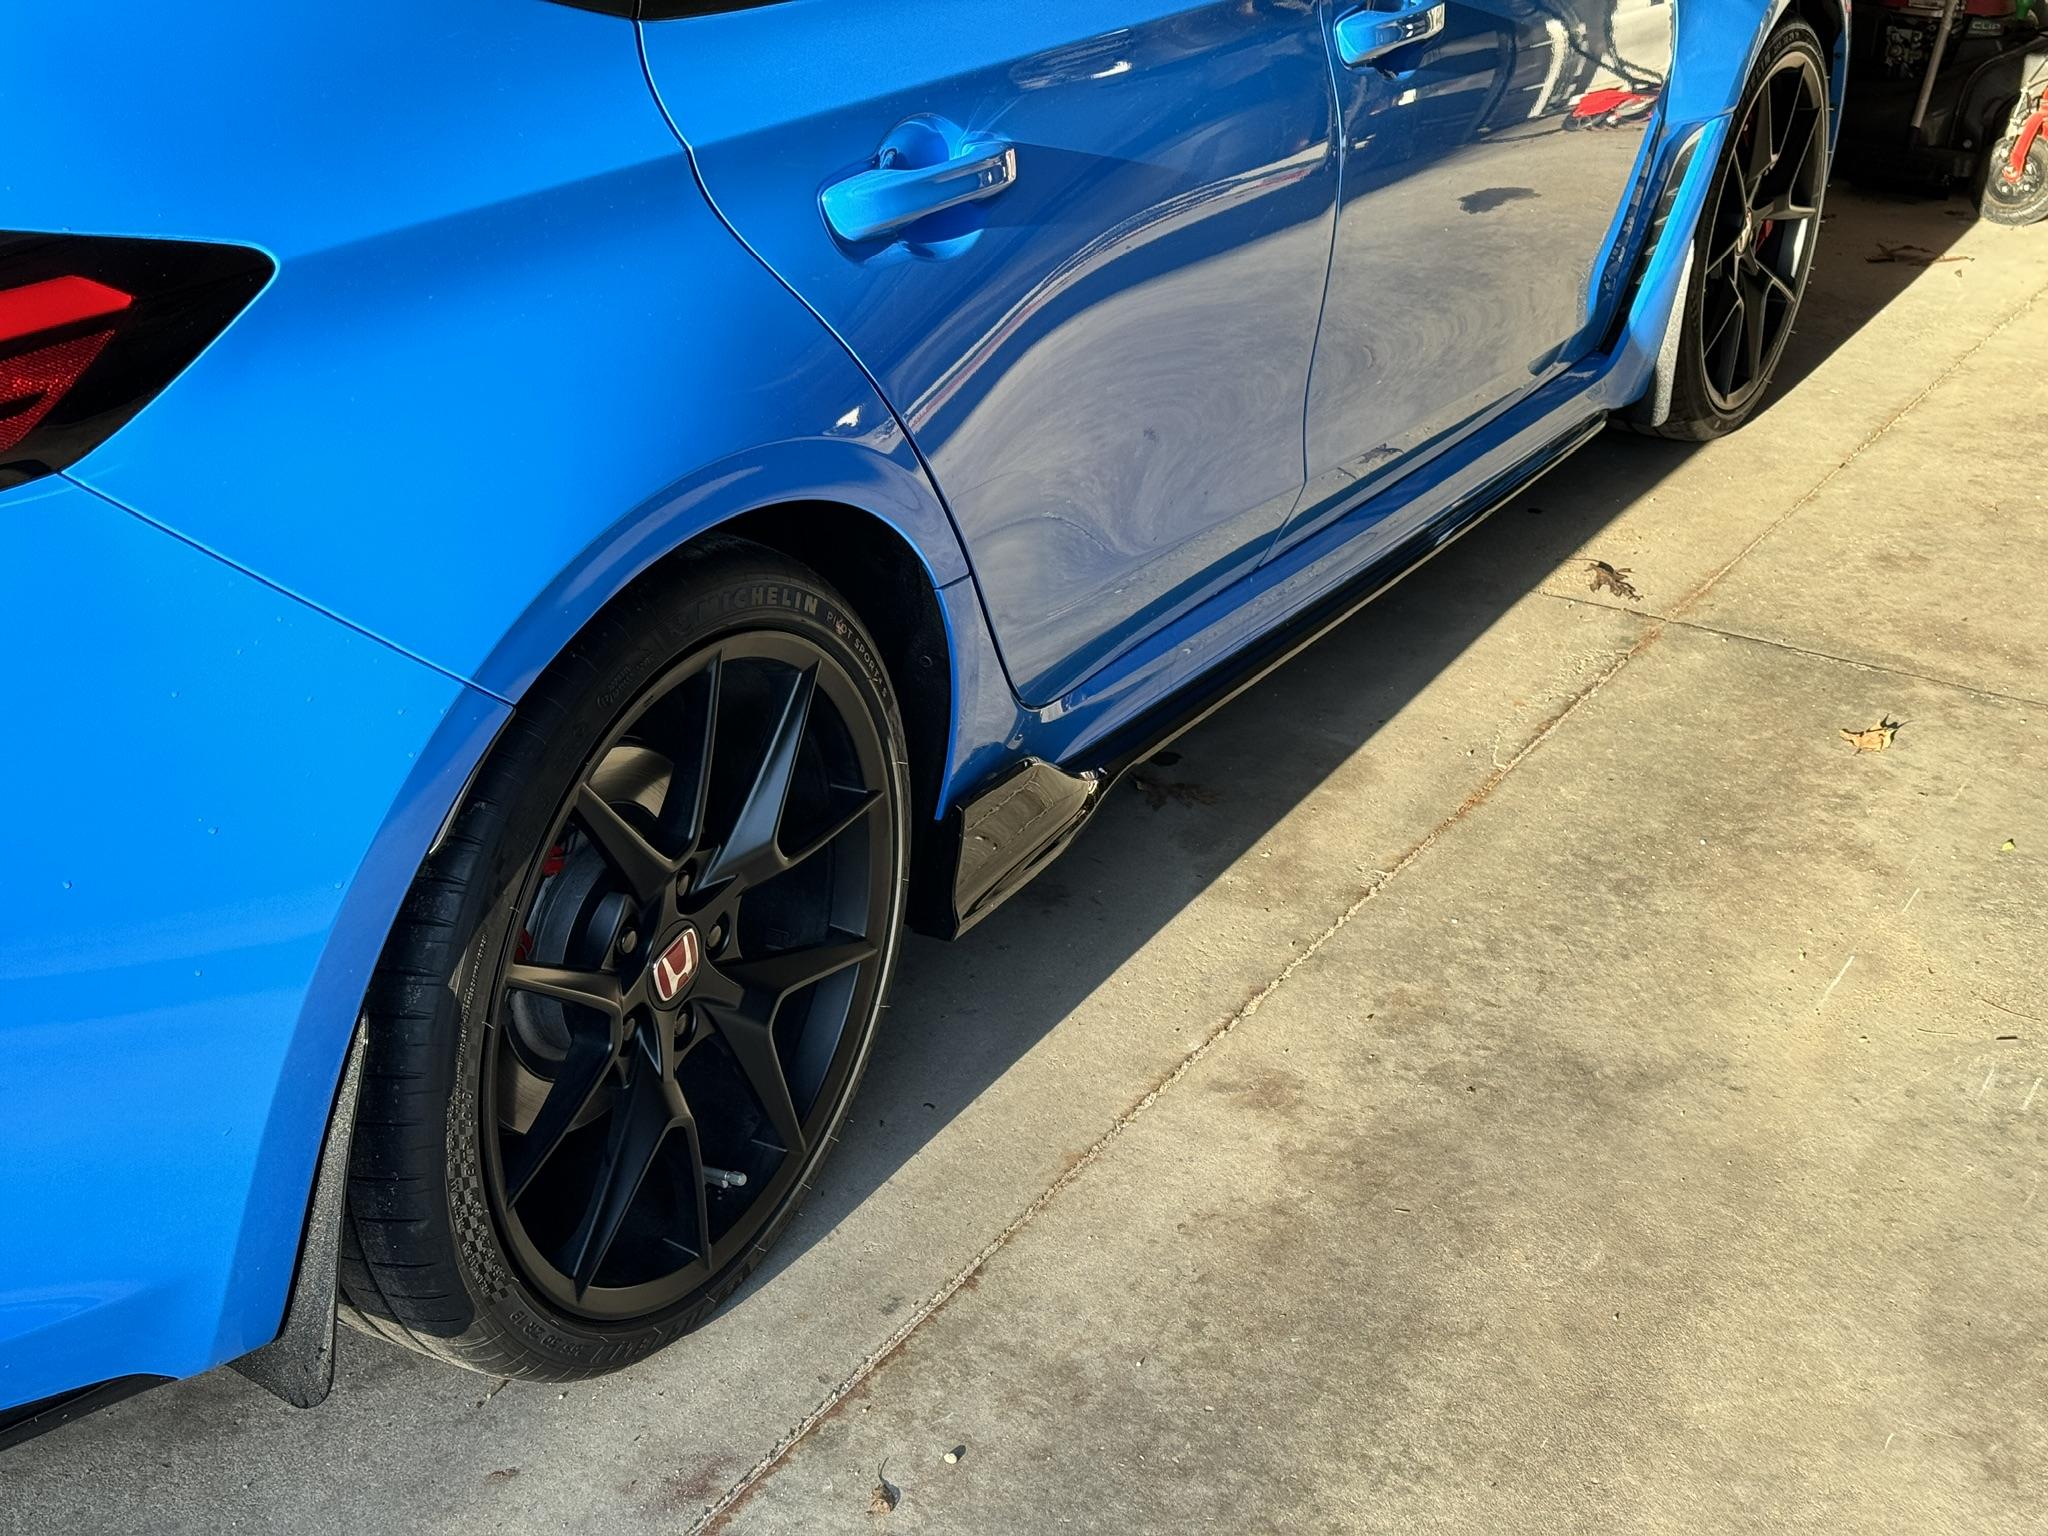
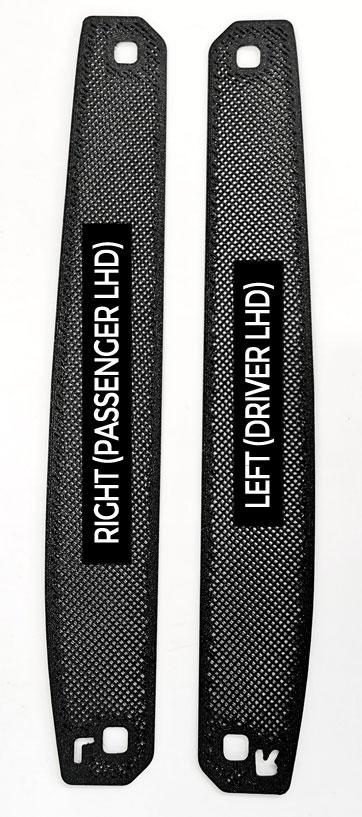
You don't need to remove the wheels for the rear. I just jacked up one side and used a stubby finger grip screwdriver.Mine showed up this week, but I am waiting for the weather to improve a bit before I tackle the front install. I will probably wait until it's time for the winter-to-summer wheel/tire swap to do the rears since I will be pulling the rear wheels anyway.
Sponsored