qingcong
Senior Member
- Joined
- Nov 29, 2023
- Threads
- 8
- Messages
- 75
- Reaction score
- 135
- Location
- North Carolina
- Vehicle(s)
- 2024 FL5, 2013 Si, 1991 NSX
- Thread starter
- #1
I changed my front brake pad and rotors today. I don't do a lot of work on my cars, but in my job I work on equally challenging stuff with my hands so I felt it was within my ability. For whatever reason I always felt a block about working on my cars, maybe because I care less about my company losing money if I break things vs me losing money if I break my car.
Anyways, I decided it'd be fun to work on changing out the brake pad and rotors for once. I replaced the stock rotors and pads with Paragon rotors and Akebono ASP1001 pads. I want that fun aggressive slotted rotor look but with no brake dust, so basically I'm a fake racer.
I made sure to buy all the junk I needed. Nothing worse than trying to use the wrong tool for the job and getting stuck or ruining things.
The things I needed to get the job done: impact wrench, ratchet, torque wrench, 19mm socket, 22mm socket, impact driver for removing caliper screw, punch set, hammer, flat head screwdriver, pliers
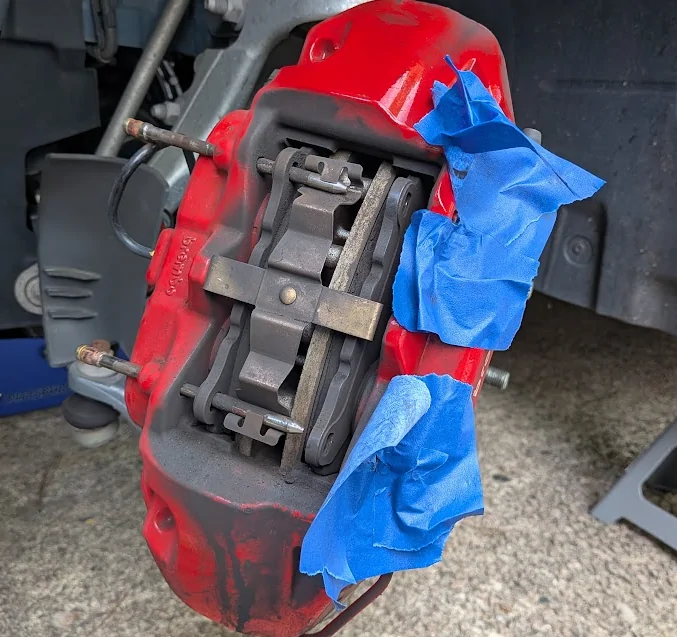
Optional: Anti-seize lube, caliper compression tool, painters tape for protecting caliper from punch
Some safety tips that nobody else mentions: I prefer to wear eye protection. In my job we always wear eye protection on the floor. When I was hammering out the pins a little chip came off. That could have landed in my eye. Also, with all the hammering and wrenching, a lot of that brake dust flies up in the air. I blew my nose later that night and out came a ton of black gunk on the tissue, that can't be good. Next time I'm wearing a mask when I do this. I don't understand how people do this without gloves. I wear gloves. Your tools get dirty AF. I'm gonna have to figure out how to clean them.
My approach is below. In total I was out there for about 3 hours. It was about 1 hour of setup and cleanup, 2 hours of actual work. I'm not the fastest.
I drove the car up on ramps, then jacked up the front and put the jack stands on each side. Safety first

Used the impact wrench to remove the lug nuts because the fucking monkeys at the shop pile drive the nuts on. I had a lot of anxiety about getting the caliper screw off, but this Craftsman impact driver made it super easy. Also the caliper screw was in surprisingly great shape, no rust at all, so I guess I was lucky it wasn't seized up. I didn't have to use WD40 or PB blaster or anything.


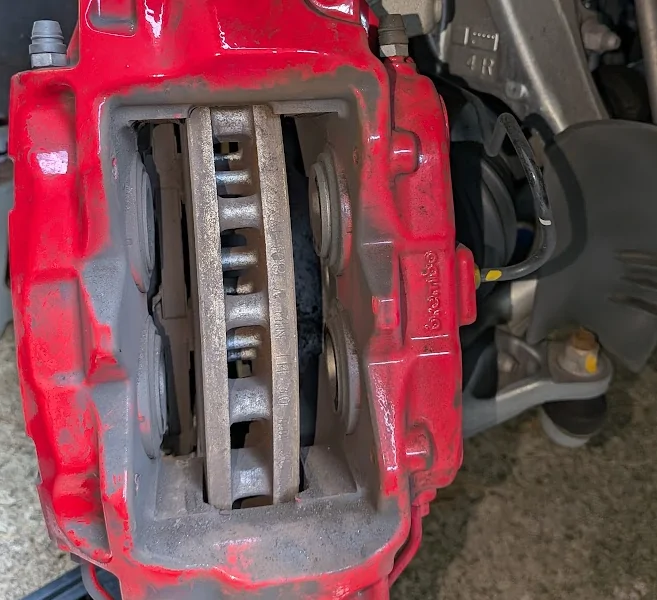
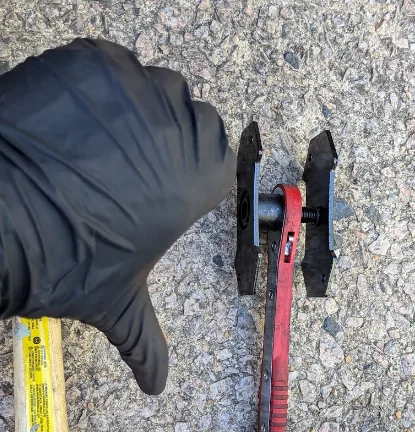
Punching out the pin and bracket was a little bit of a pain, but not the worst thing in the world. Once I got the pins punched out to a certain point I used pliers to get them out. Once the first one is out the other one is also out. Getting the old brake pads out was straight up brute force. I used a flat head screwdriver to separate the pad from rotor and compress the pistons. I got a piston compression tool but it was useless because it wouldn't fit in there. So don't get this thing, get another one. I used the old pads to compress the pistons. When you compress the piston, the other side pops out, so better to have the pad on both sides while doing the compressing.


Used a 19mm socket and impact wrench to take out the caliper bolts. I considered removing the 12mm bolts to give the hardline some more play, but I didn't need to so I left them. I ziptied the caliper to the springs and set them on a box for extra support. Removed the old rotor.


With the rotor off I slathered some anti-seize on the hub face to make life easier next time.

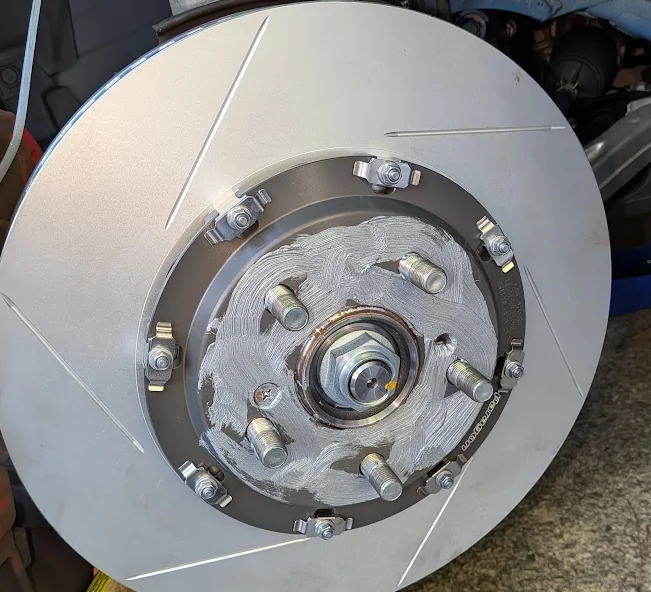
Put the new rotors on and replaced the screw, slathering anti seize on the screw thread and the rotor hat. For the first rotor I left the screw off because I figured it was useless, but it ended up being a pain trying to make sure the rotor was flush while replacing everything. So for the second rotor I put the screw on and slathered the thread with anti-seize so that next time it's easy to remove. I recommend reusing the caliper screw to make reassembly easier.

Put the caliper back, torqued it to 103 ft-lb. Put in the new pads, put back the pins and bracket.

Put the wheels back on, torque lug nuts to 94 ft-lb. Done.

Anyways, I decided it'd be fun to work on changing out the brake pad and rotors for once. I replaced the stock rotors and pads with Paragon rotors and Akebono ASP1001 pads. I want that fun aggressive slotted rotor look but with no brake dust, so basically I'm a fake racer.
I made sure to buy all the junk I needed. Nothing worse than trying to use the wrong tool for the job and getting stuck or ruining things.
The things I needed to get the job done: impact wrench, ratchet, torque wrench, 19mm socket, 22mm socket, impact driver for removing caliper screw, punch set, hammer, flat head screwdriver, pliers
Optional: Anti-seize lube, caliper compression tool, painters tape for protecting caliper from punch
Some safety tips that nobody else mentions: I prefer to wear eye protection. In my job we always wear eye protection on the floor. When I was hammering out the pins a little chip came off. That could have landed in my eye. Also, with all the hammering and wrenching, a lot of that brake dust flies up in the air. I blew my nose later that night and out came a ton of black gunk on the tissue, that can't be good. Next time I'm wearing a mask when I do this. I don't understand how people do this without gloves. I wear gloves. Your tools get dirty AF. I'm gonna have to figure out how to clean them.
My approach is below. In total I was out there for about 3 hours. It was about 1 hour of setup and cleanup, 2 hours of actual work. I'm not the fastest.
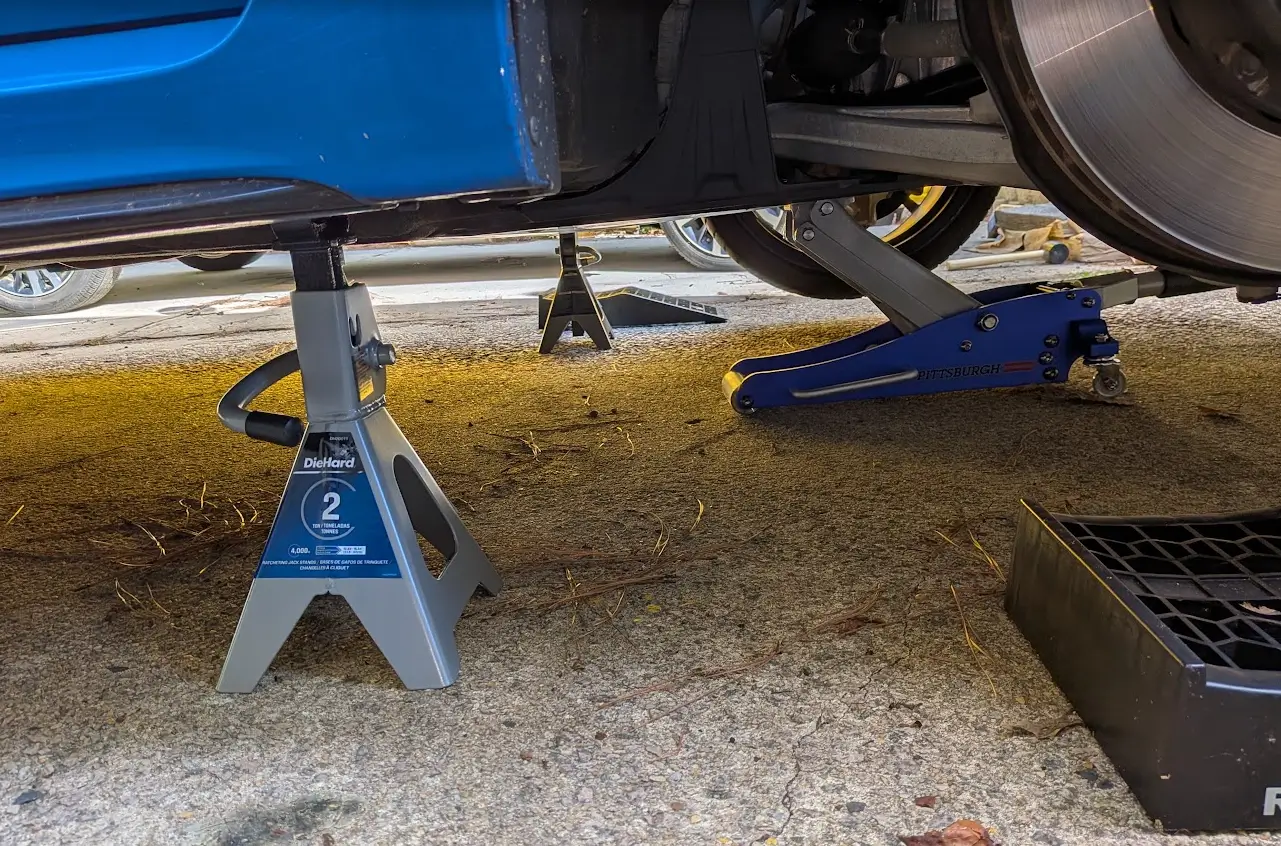
I drove the car up on ramps, then jacked up the front and put the jack stands on each side. Safety first
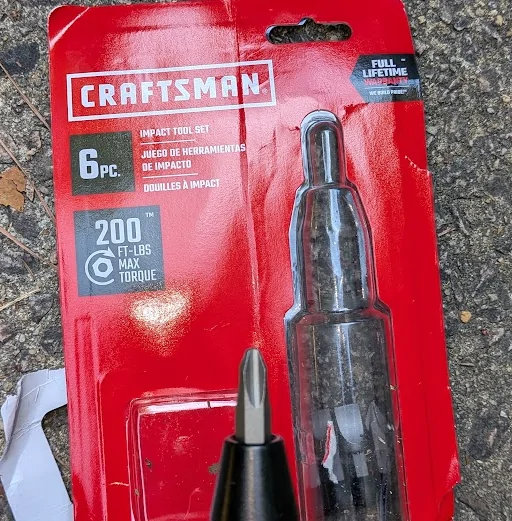
Used the impact wrench to remove the lug nuts because the fucking monkeys at the shop pile drive the nuts on. I had a lot of anxiety about getting the caliper screw off, but this Craftsman impact driver made it super easy. Also the caliper screw was in surprisingly great shape, no rust at all, so I guess I was lucky it wasn't seized up. I didn't have to use WD40 or PB blaster or anything.
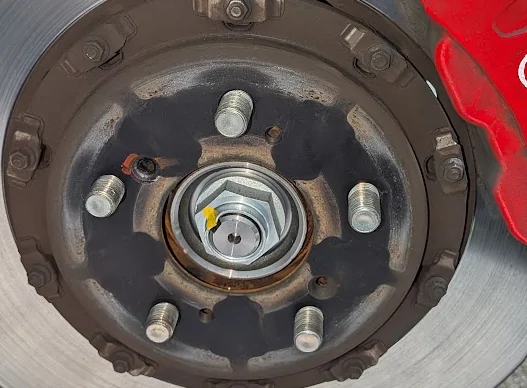
Punching out the pin and bracket was a little bit of a pain, but not the worst thing in the world. Once I got the pins punched out to a certain point I used pliers to get them out. Once the first one is out the other one is also out. Getting the old brake pads out was straight up brute force. I used a flat head screwdriver to separate the pad from rotor and compress the pistons. I got a piston compression tool but it was useless because it wouldn't fit in there. So don't get this thing, get another one. I used the old pads to compress the pistons. When you compress the piston, the other side pops out, so better to have the pad on both sides while doing the compressing.
Used a 19mm socket and impact wrench to take out the caliper bolts. I considered removing the 12mm bolts to give the hardline some more play, but I didn't need to so I left them. I ziptied the caliper to the springs and set them on a box for extra support. Removed the old rotor.
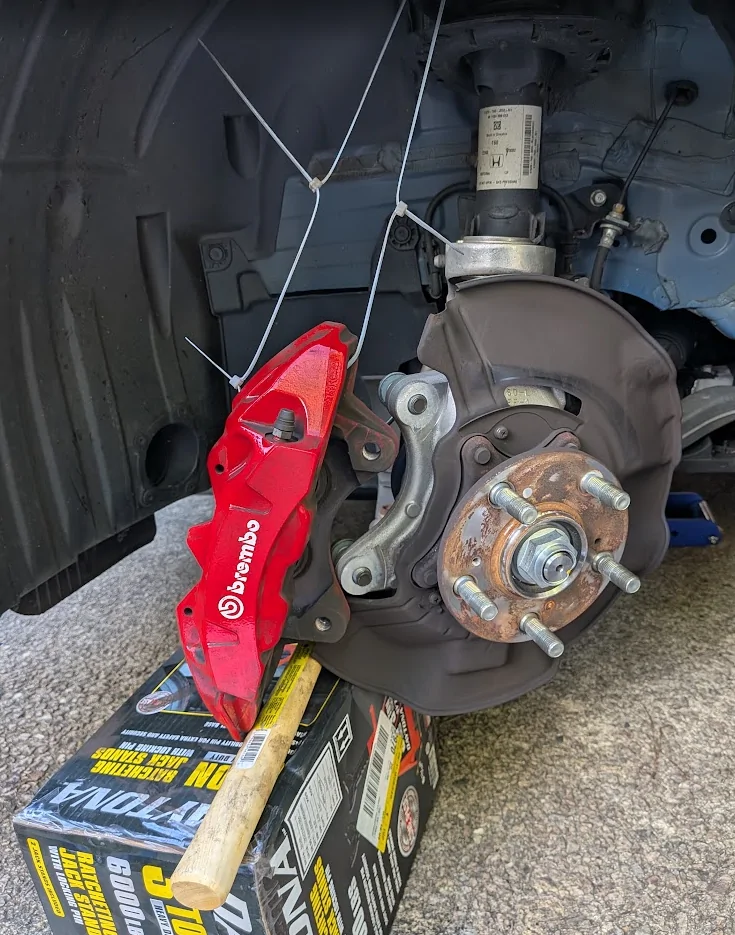
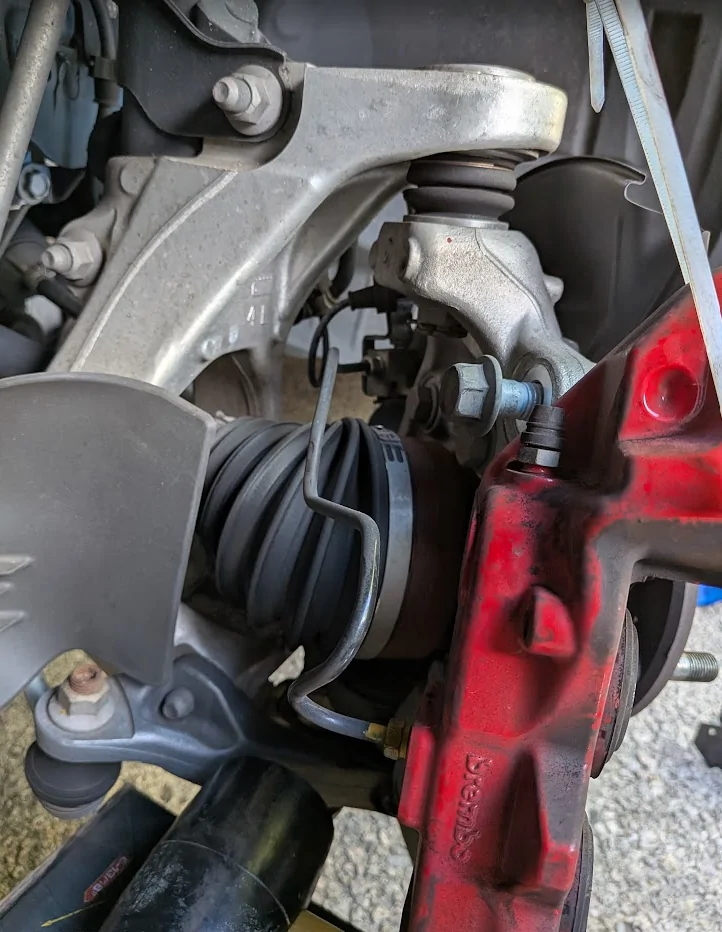
With the rotor off I slathered some anti-seize on the hub face to make life easier next time.
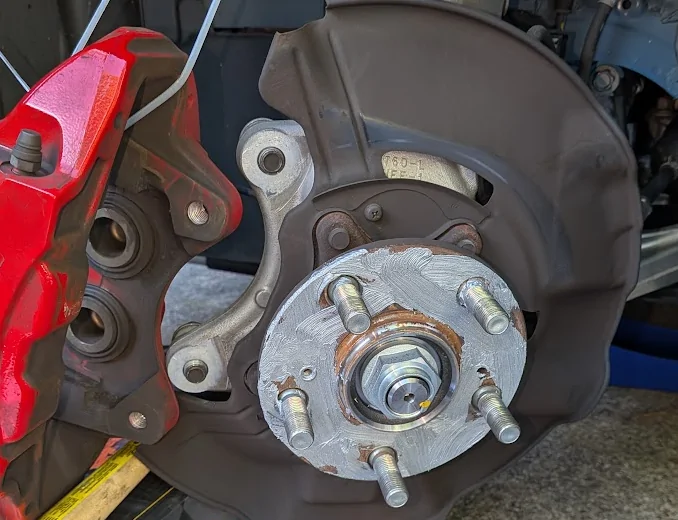
Put the new rotors on and replaced the screw, slathering anti seize on the screw thread and the rotor hat. For the first rotor I left the screw off because I figured it was useless, but it ended up being a pain trying to make sure the rotor was flush while replacing everything. So for the second rotor I put the screw on and slathered the thread with anti-seize so that next time it's easy to remove. I recommend reusing the caliper screw to make reassembly easier.
Put the caliper back, torqued it to 103 ft-lb. Put in the new pads, put back the pins and bracket.
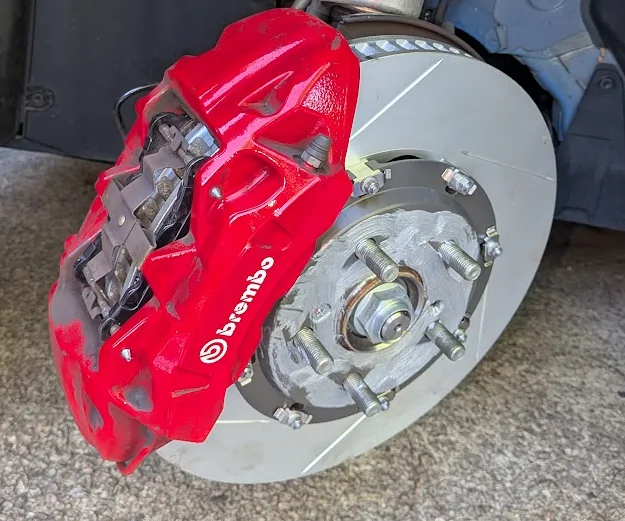
Put the wheels back on, torque lug nuts to 94 ft-lb. Done.